Page 5 of 13
Re: Rebuilding Sofia - 1971 Spider in Oz
Posted: Mon Apr 14, 2014 11:55 am
by cos
nice!!!
makes assembly more fun working with parts like that.
Re: Rebuilding Sofia - 1971 Spider in Oz
Posted: Wed Apr 16, 2014 6:34 am
by Sambo42
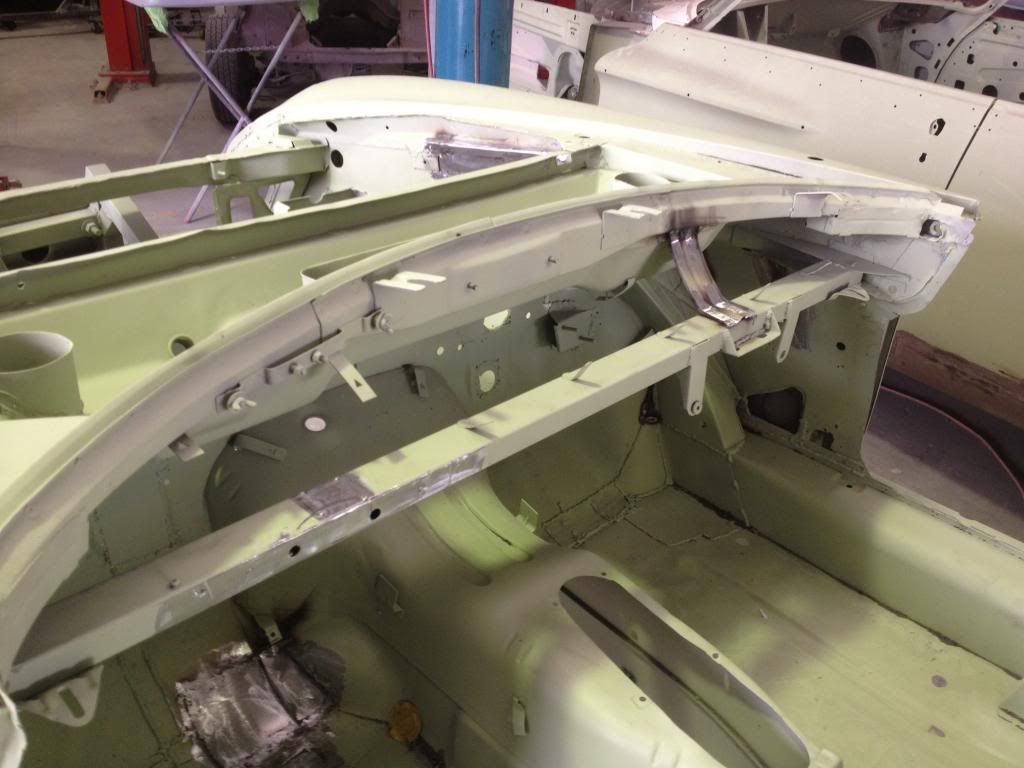
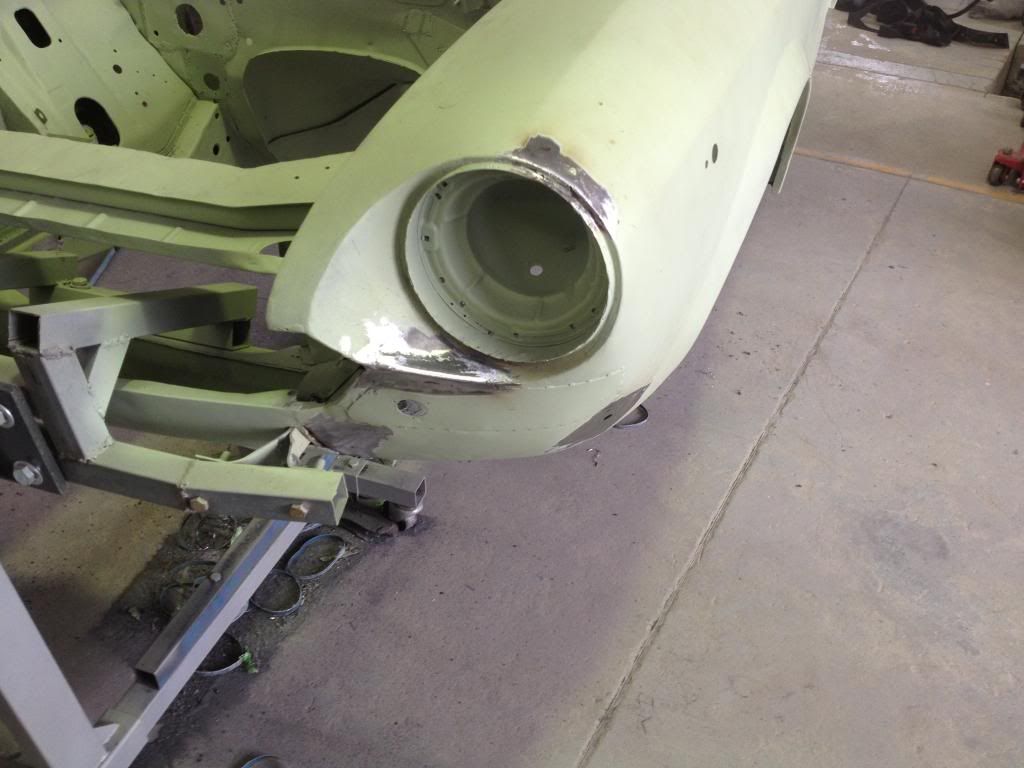
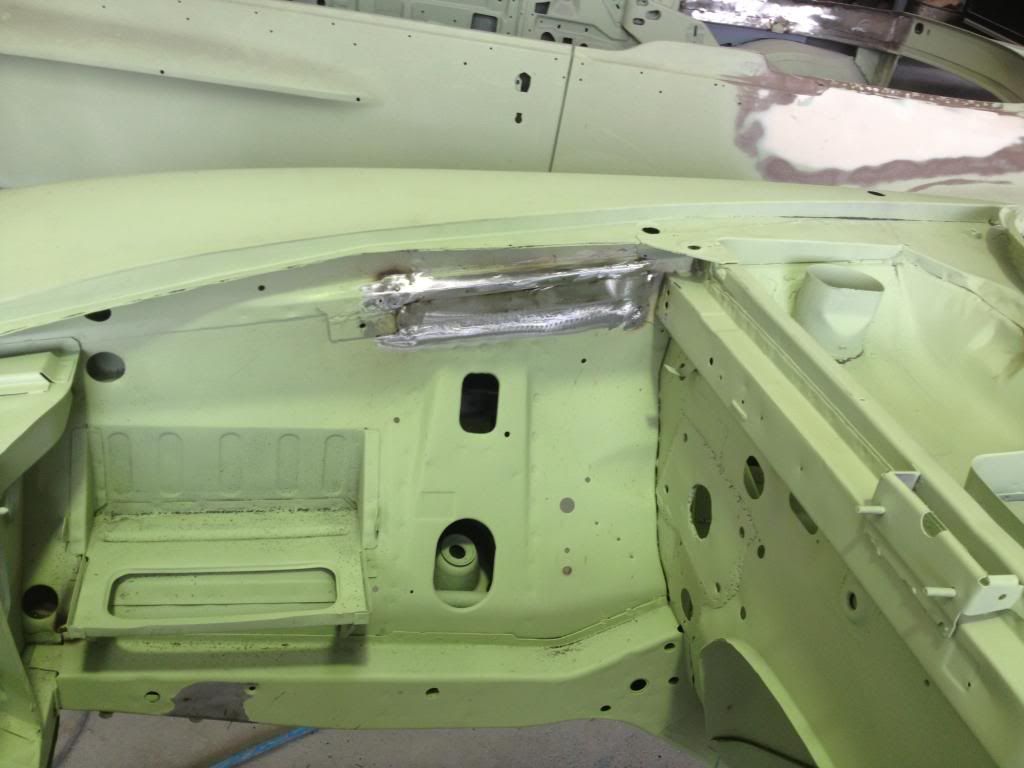
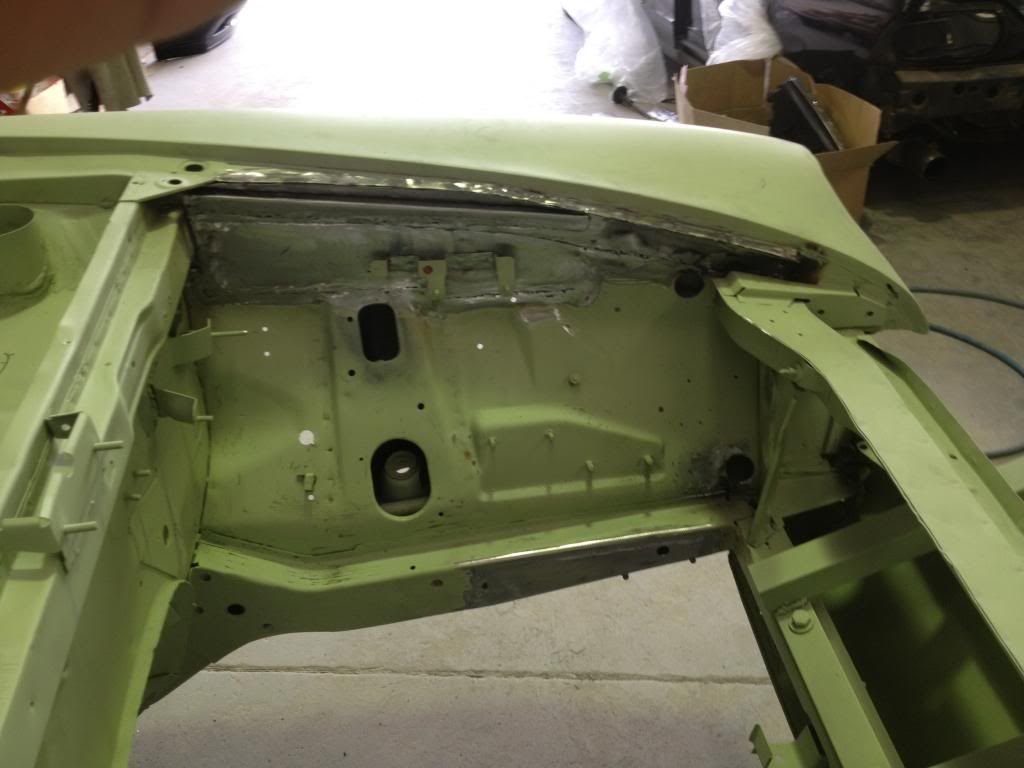
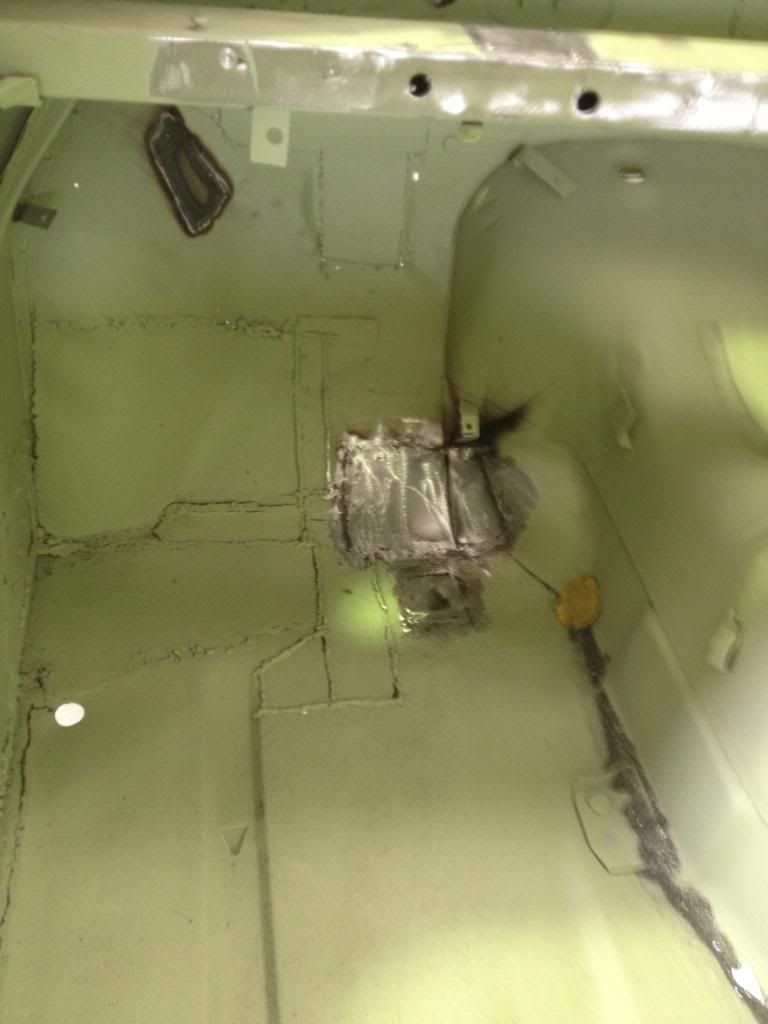
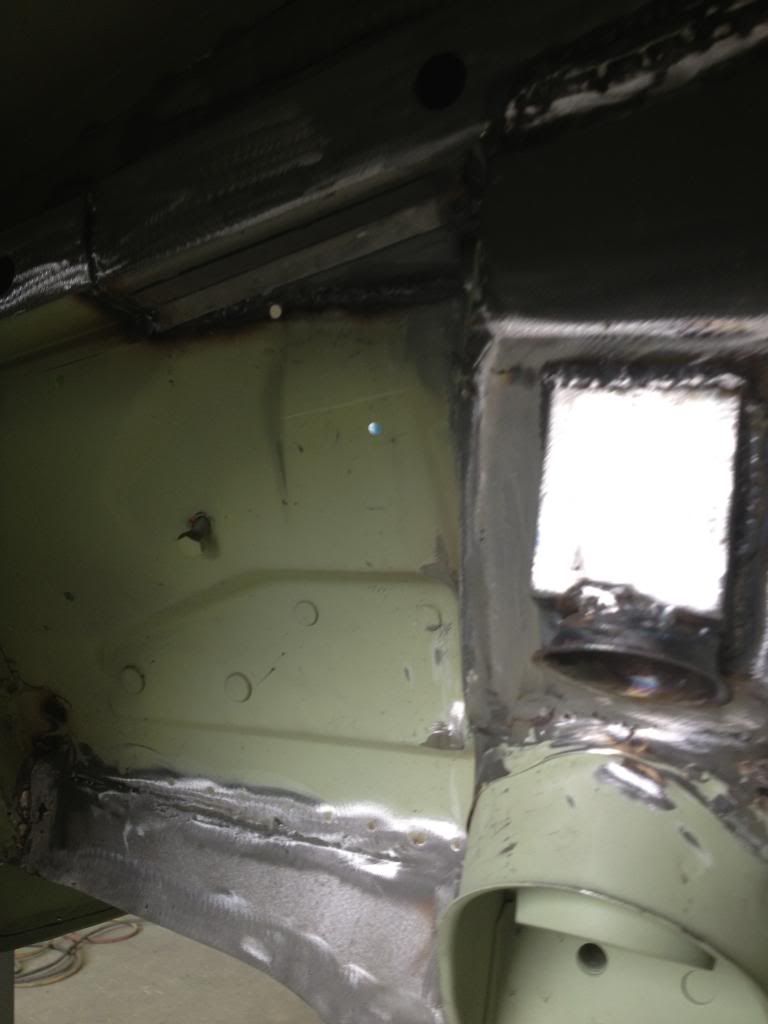
Another update - the panelbeater has been hard at work and getting close to finishing up the metalwork. In a week or so the stone guard goes on, then I put the suspension back on (and axle...which reminds me, I need to get the ratios changed....)
The support bracket moved to the right
Touching up around the left headlight
engine bay right side
engine bay left side
passenger footwell (left side)
inner left wheel arch
Re: Rebuilding Sofia - 1971 Spider in Oz
Posted: Mon Apr 21, 2014 8:41 am
by Broadsword
Hi Sambo,
I am new to the Forum & this is my first post.
As I am located in Melbourne & may need some cosmetic work done (on the car), I was wondering who Gary is & where he is located?
Is he doing the paintwork as well?
Many thanks,
Re: Rebuilding Sofia - 1971 Spider in Oz
Posted: Wed Apr 23, 2014 8:30 am
by Sambo42
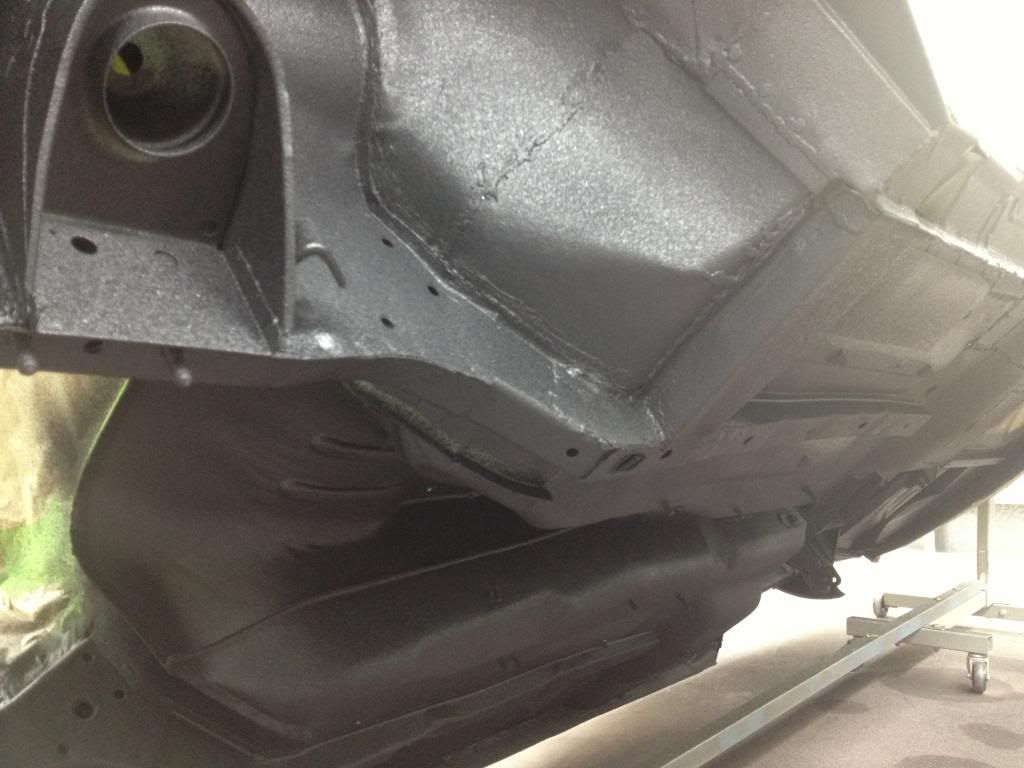
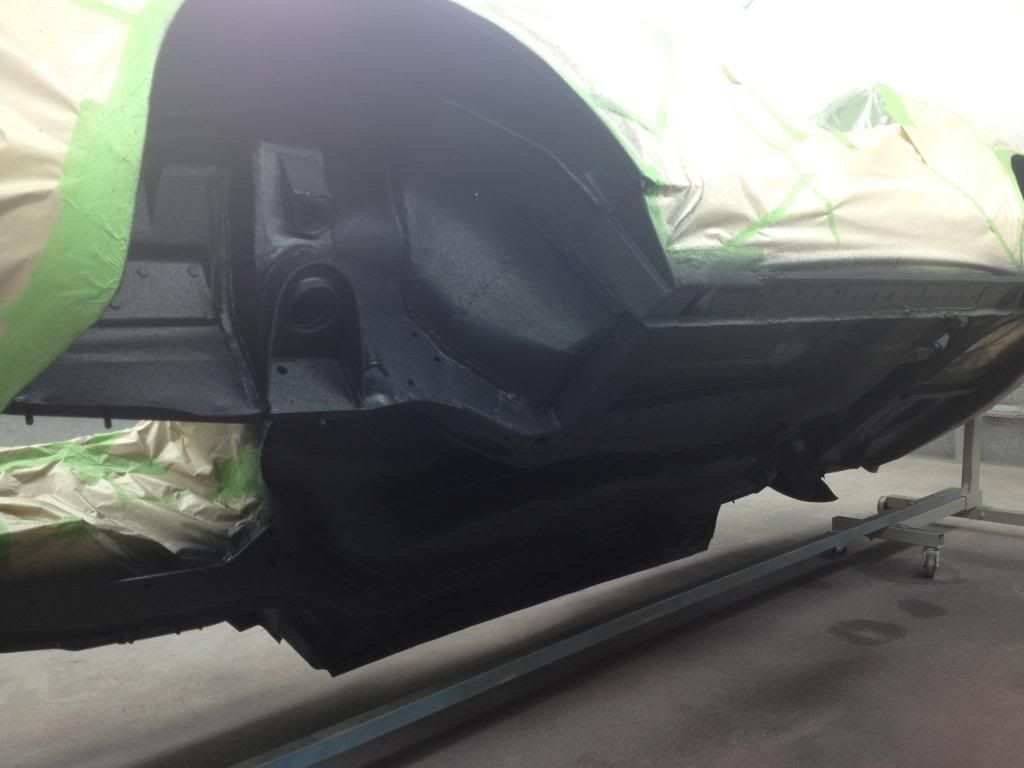
Just another quick update - stone-guard went on today. Which means I have to get a move on with fitting the suspension and wheels so the rest of the car can get painted (next week or week after). Just waiting on some bushes from germany so I can fit the rear suspension + wheels. And have decided to sandblast the rear axle and paint with POR 15 (this weekend)
Re: Rebuilding Sofia - 1971 Spider in Oz
Posted: Sun Apr 27, 2014 6:08 am
by Sambo42
time for another update. Bodywork still continuing, and the axle is off being sandblasted. Have had a weekend in the garage tackling the brakes, fuel tank and windscreen. After reading lots on brakes have decided to overhaul the lot.
Rear caliper dismantled and cleaned. After I took apart the first i had to check the orientation of the 5 thrust washers in the second. To me they all look identical.
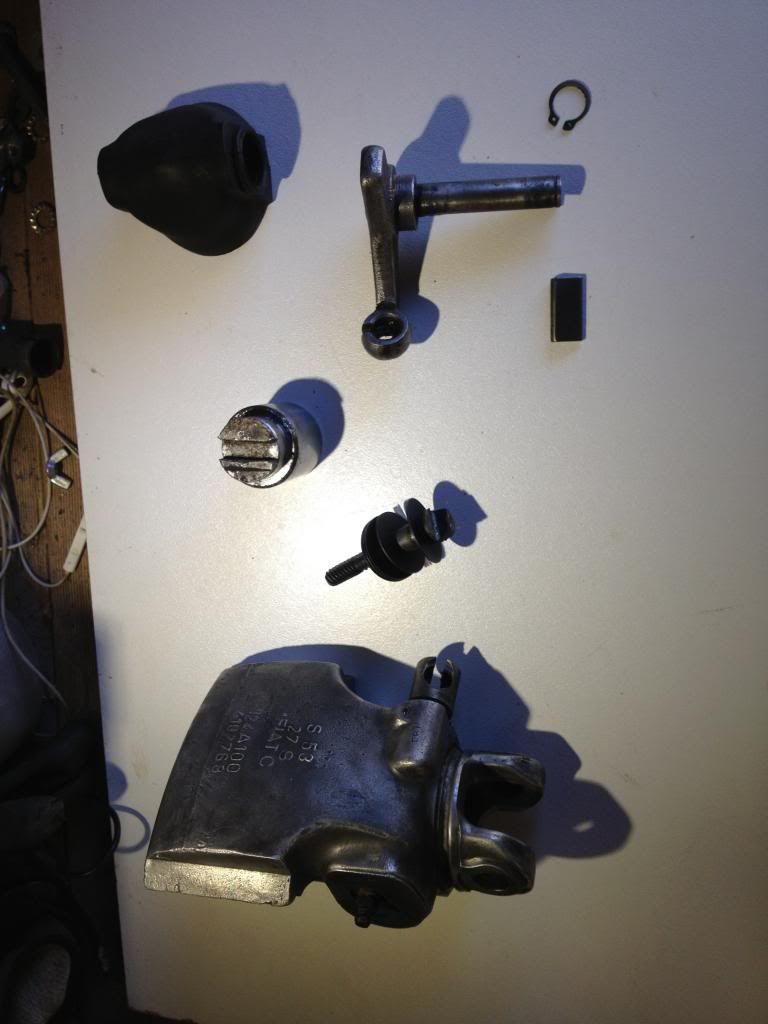
I cleaned up the callipers as much as possible with the wire wheel on the bench grinder. I tried screwing out the piston with a file (the mirafiori guide is really good) and manage to snap it. Good ol' chinese tools. I found it easiest to turn with a pair of vice grips, as much as I hate using those things - a bit of wiggling and both pistons came out fine.
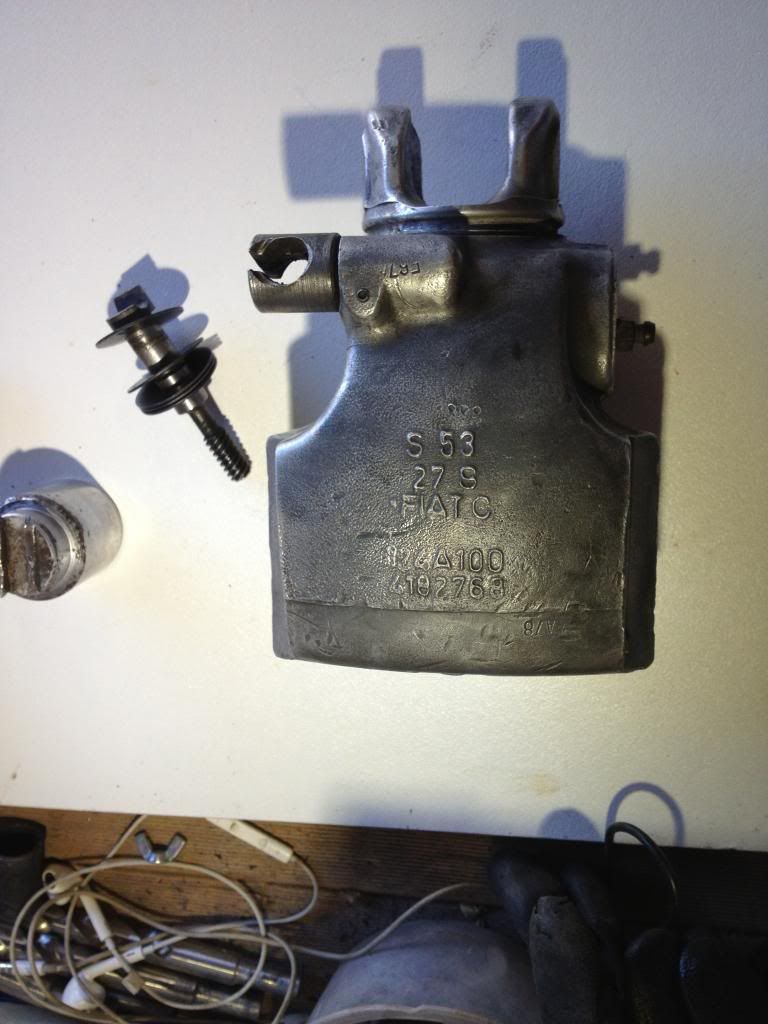
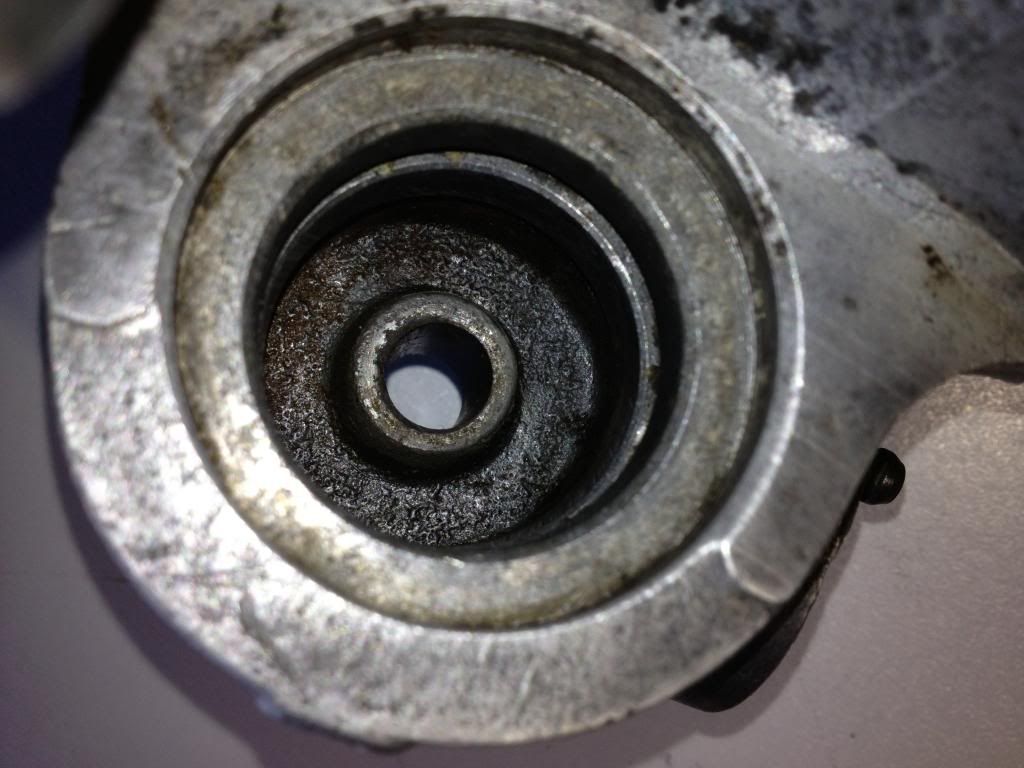
I've cleaned out the grooves where the rubbers will go as best as I can. Brake calliper cleaning fluid just doesn't do a great job...
Re: Rebuilding Sofia - 1971 Spider in Oz
Posted: Sun Apr 27, 2014 6:13 am
by Sambo42
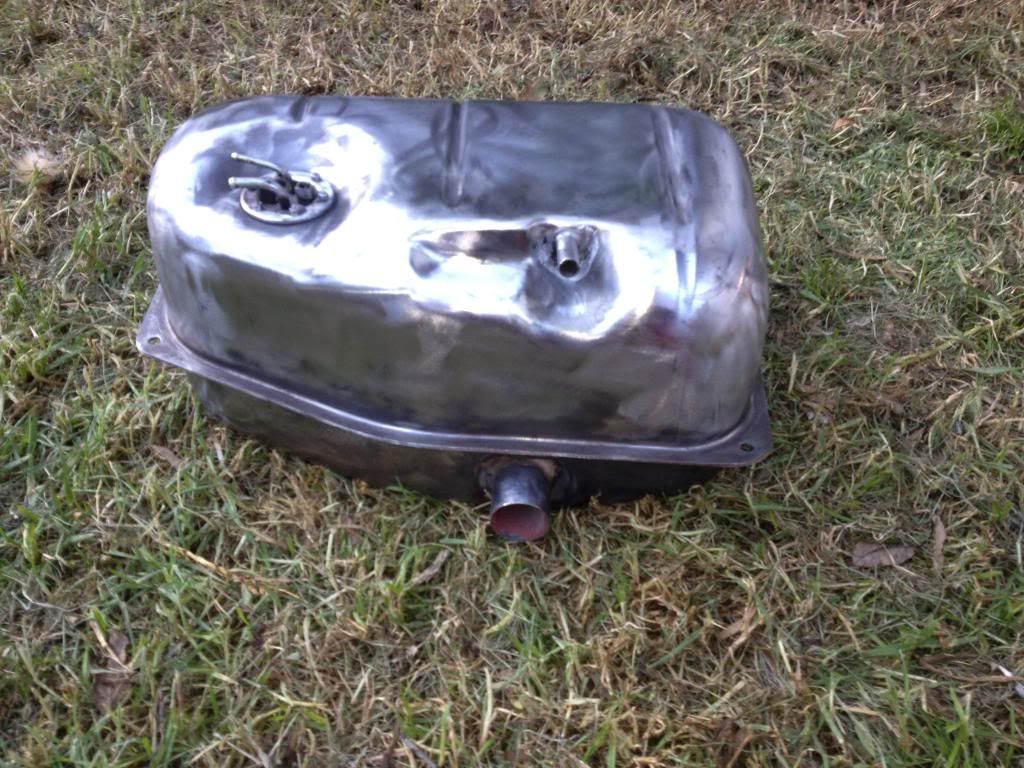
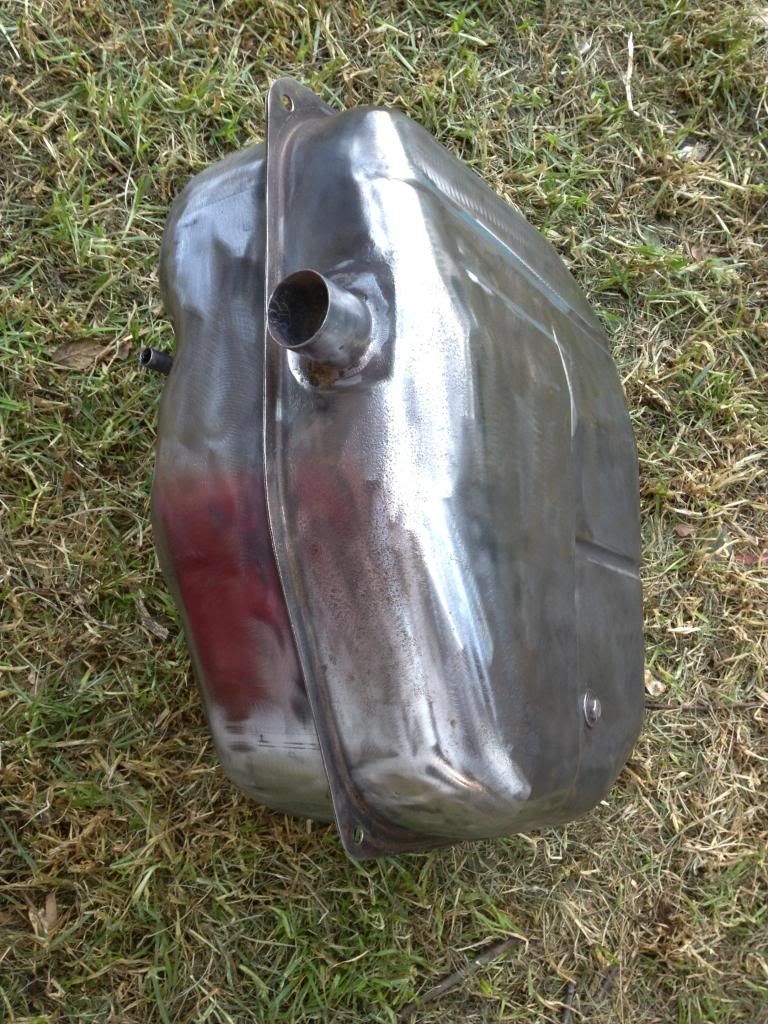
Fuel tank now cleaned up. It looks pretty good - some slight pitting on the front but I can't see any pinholes. I'm going to POR15 the outside and use the fuel tank reconditioning kit on the inside.
Re: Rebuilding Sofia - 1971 Spider in Oz
Posted: Sun Apr 27, 2014 6:22 am
by Sambo42
And I finally fished out and cleaned up the windscreen. I was slightly worried I was going to find ground metal filings melted in from my bodywork earlier but so far so good....
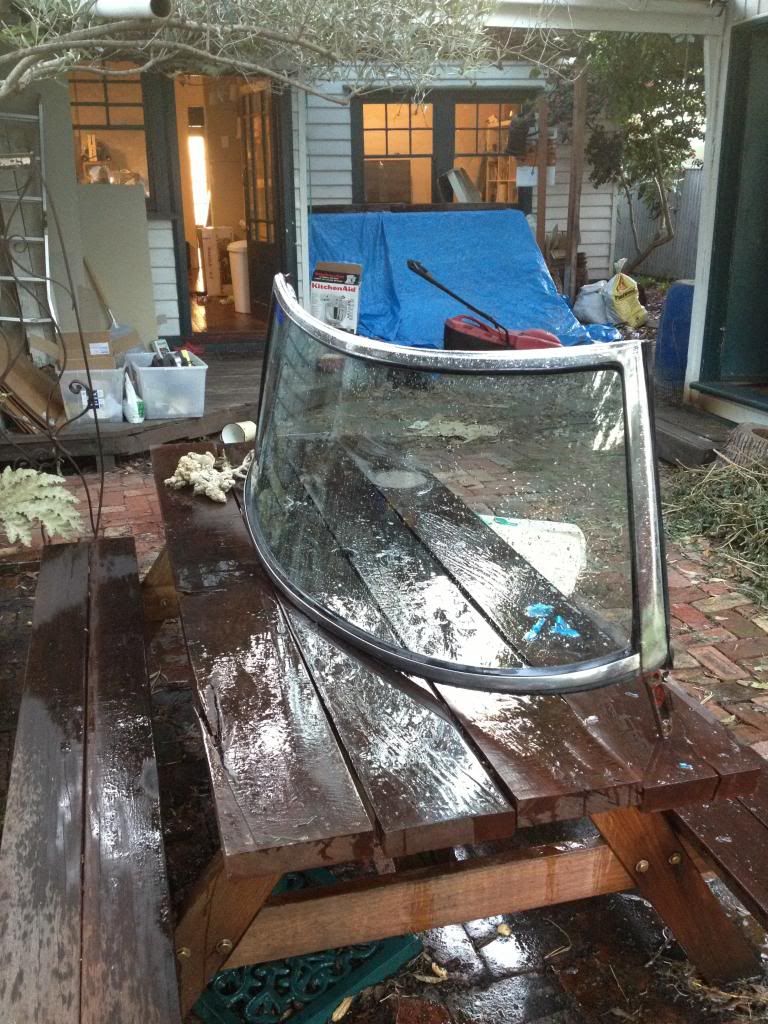
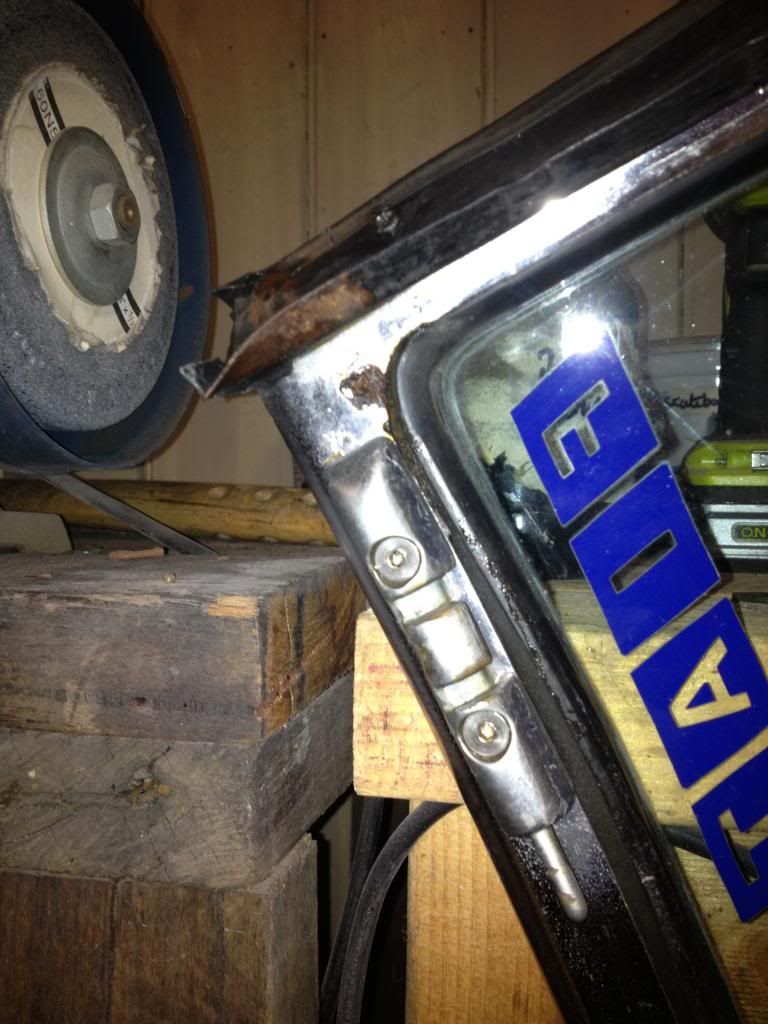
A bigger worry is the rust in the top corners. I had thought that I could just remount it with just a polish but it looks like I'm going to have to pull out the glass and do it properly. My first assumption that the frame is stainless steel is obviously not correct - presumably it's steel underneath chrome plating. The pic only shows the tip of the iceberg...
Re: Rebuilding Sofia - 1971 Spider in Oz
Posted: Fri May 09, 2014 12:38 am
by Sambo42
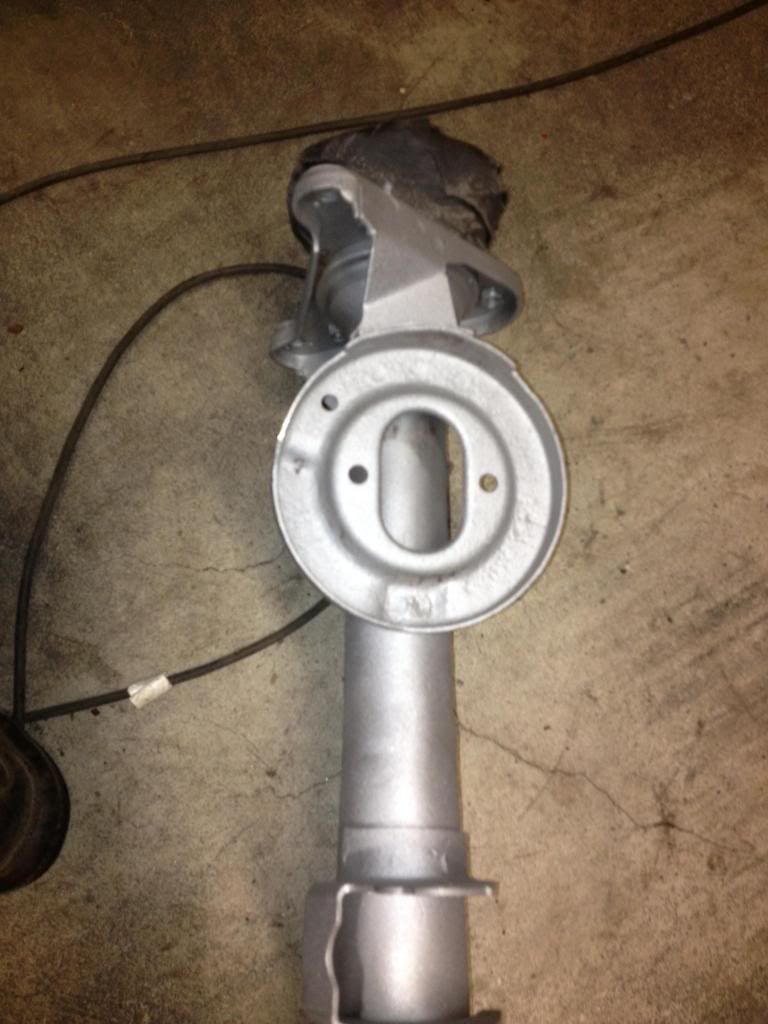
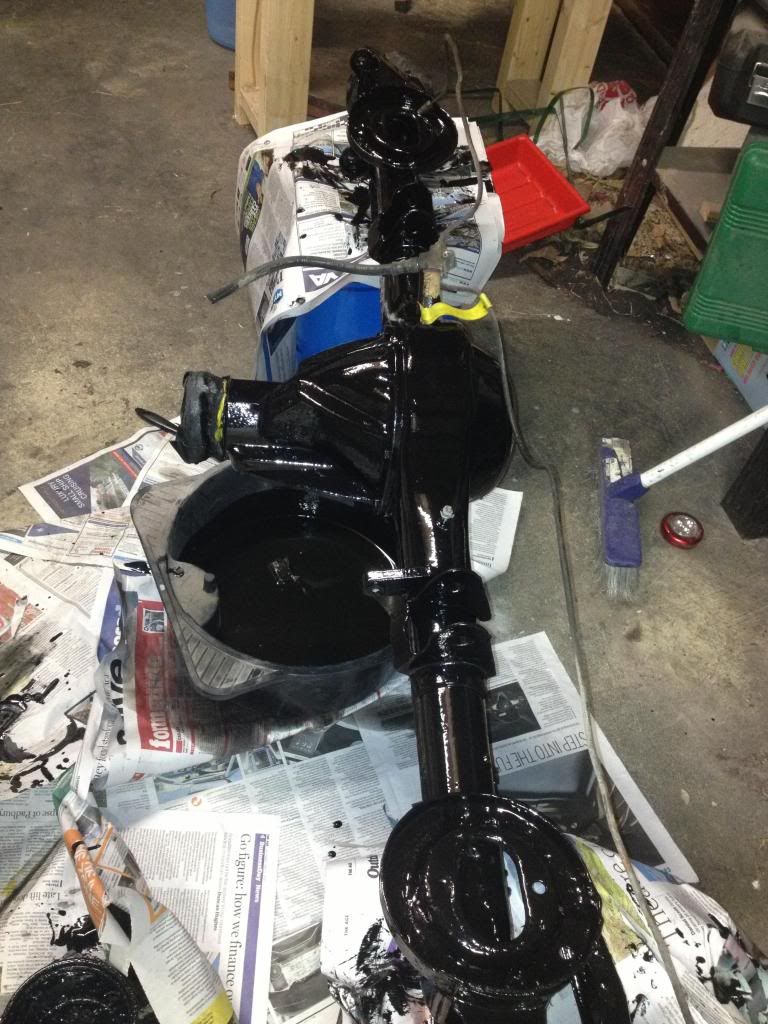
Time for another update. I'm planning to put Sofia back on her wheels this weekend so I'm frantically getting the suspension bits back together. So far:
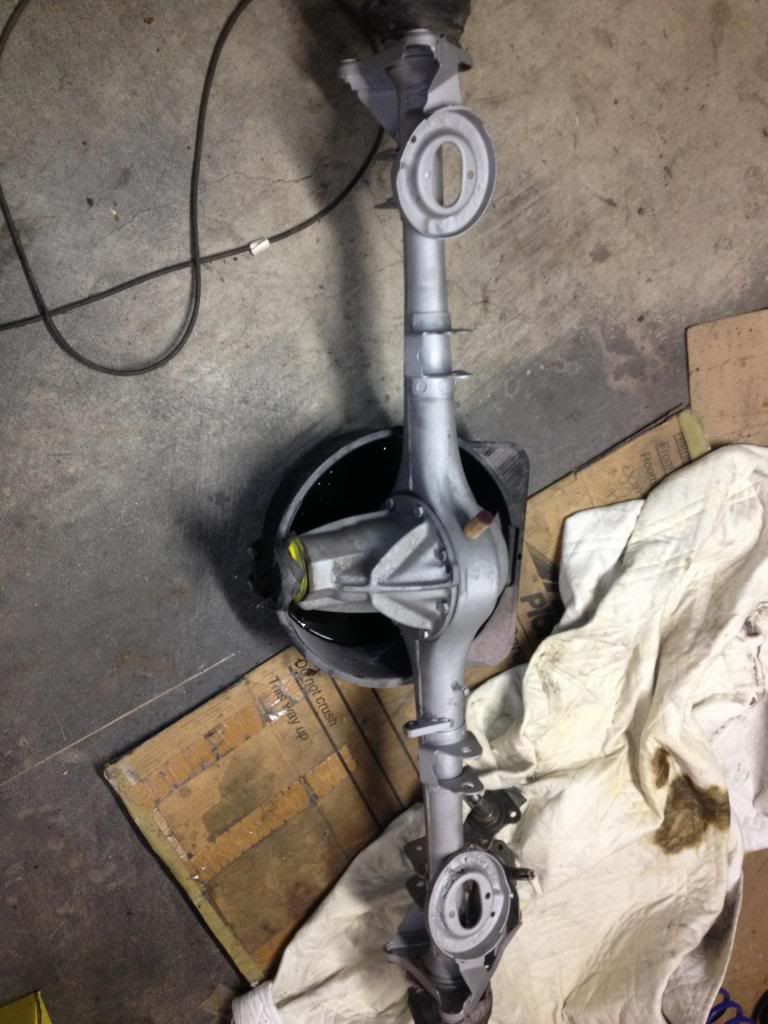
rear axle sandblasted then painted with POR15 (I need a better system than resting the parts on newspaper...maybe some wire hanging is better). The spring seats weren't as bad as I feared...
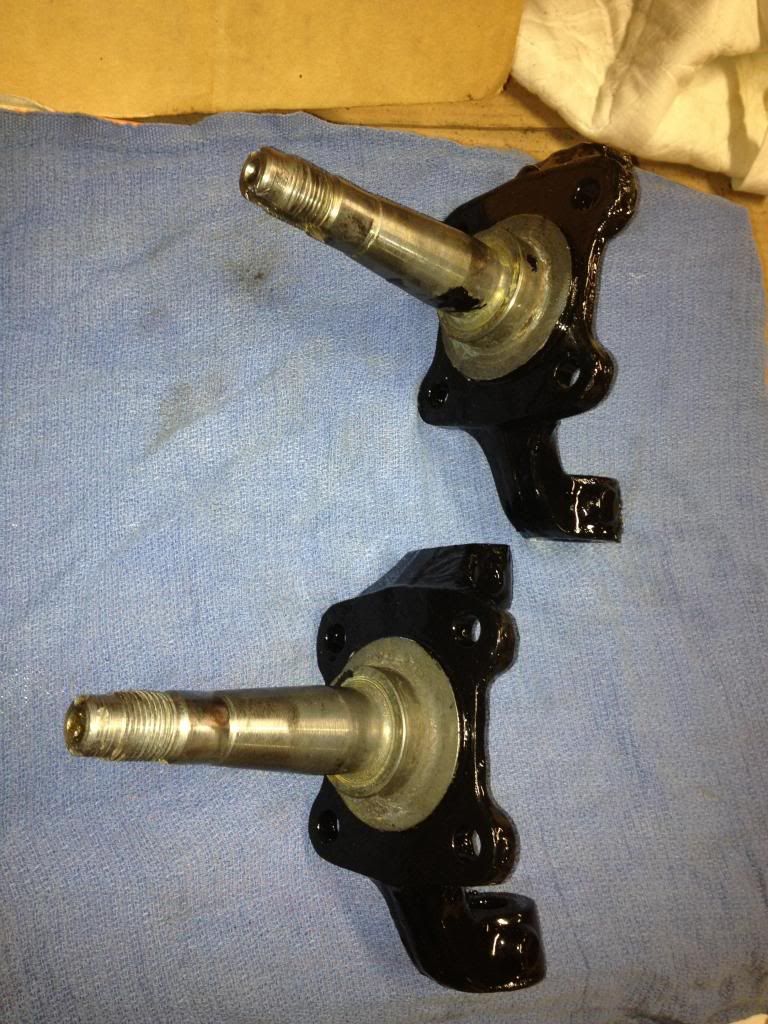
Steering knuckles now cleaned with wire wheel and POR15 painted
Re: Rebuilding Sofia - 1971 Spider in Oz
Posted: Fri May 09, 2014 12:40 am
by Sambo42
I've also had the bushes pressed into the trailing arms. Here's a question for the brains trust - I got 10 new bushings from spider-point who only sell the one type. They fit the short trailing arms and the transverse link, but not the long trailing arms (which look like they need a bigger bushing). Any thoughts on where I get the bigger bushings from? IAP? Midwest-bayliss?
Re: Rebuilding Sofia - 1971 Spider in Oz
Posted: Fri May 09, 2014 1:40 am
by djape1977
just install the ones you got, it will be fine
Re: Rebuilding Sofia - 1971 Spider in Oz
Posted: Fri May 09, 2014 7:18 pm
by Broadsword
My rear brake calipers are looking much the same now.
What are you doing with yours after they have been cleaned?
Keep as is, apply a clear coat, wax or similar to shed dust better, paint, or something else?
I polished some wheel bolts on another recently and they came up a treat, followed with a clear coat.
The clear coat did not feel very hard to me, almost like a plastic fim, so how long it lasts I am not sure?
Any other suggestions?
Would like mine to look period original rather than contemporary red or yellow?
Re: Rebuilding Sofia - 1971 Spider in Oz
Posted: Sat May 10, 2014 10:45 pm
by Sambo42
Broadsword wrote:My rear brake calipers are looking much the same now.
What are you doing with yours after they have been cleaned?
Keep as is, apply a clear coat, wax or similar to shed dust better, paint, or something else?
I polished some wheel bolts on another recently and they came up a treat, followed with a clear coat.
The clear coat did not feel very hard to me, almost like a plastic fim, so how long it lasts I am not sure?
Any other suggestions?
Would like mine to look period original rather than contemporary red or yellow?
My plan was to go with calliper paint from the POR15 range (yet more money). I thought it would be too risky to powder coat the callipers the same way as the pad holders and the calliper paint can be masked off safely. You could go with a POR15 silver colour to keep it subtle. I'm very glad I powder coated where i could - it's a beautiful finish. Other option is the clear coat which I haven't any experience with but I'd been considering too (I'm thinking I'm going to zinc plate things like the bolts for the transverse links etc etc)
Re: Rebuilding Sofia - 1971 Spider in Oz
Posted: Sat May 10, 2014 11:12 pm
by Sambo42
Three steps forward, two steps back....
Another update. I got 50% of the way towards getting Sofia back on her wheels - rear suspension installed (mostly) and now thinking that I have to get nice shockers installed - looks too crappy with the original shocks. So the list of problems I encountered:
1) the long trailing arm bushes are definitely too small. Can someone tell me where they order theirs from (and what type)? Something like this?
http://www.midwest-bayless.com/storefro ... =291329999 (in which case I need a 22mm OD centre steel bushing - where do I get one of those?
2) The upper wishbones on both sides I fitted with new bushings from spider-point which seem to be too long - they're fouling the shock tower on both sides. The gap between the bushings is about 10mm too short. Has my guy pressed the bushings in too far? (is that possible??) Is it possible to slightly stretch the 2 arms apart to accommodate?
3) at some point somewhere the lower wishbone on the L side has been either dropped or pressed together too hard when the bushing went in so the bushing is too loose on one side. Which presumably means a new control arm (presuming I can't restretch)....
4) I'm missing 2 nuts for the engine cross mount (where the lower wishbone mounts)
On the hoist with the back end in
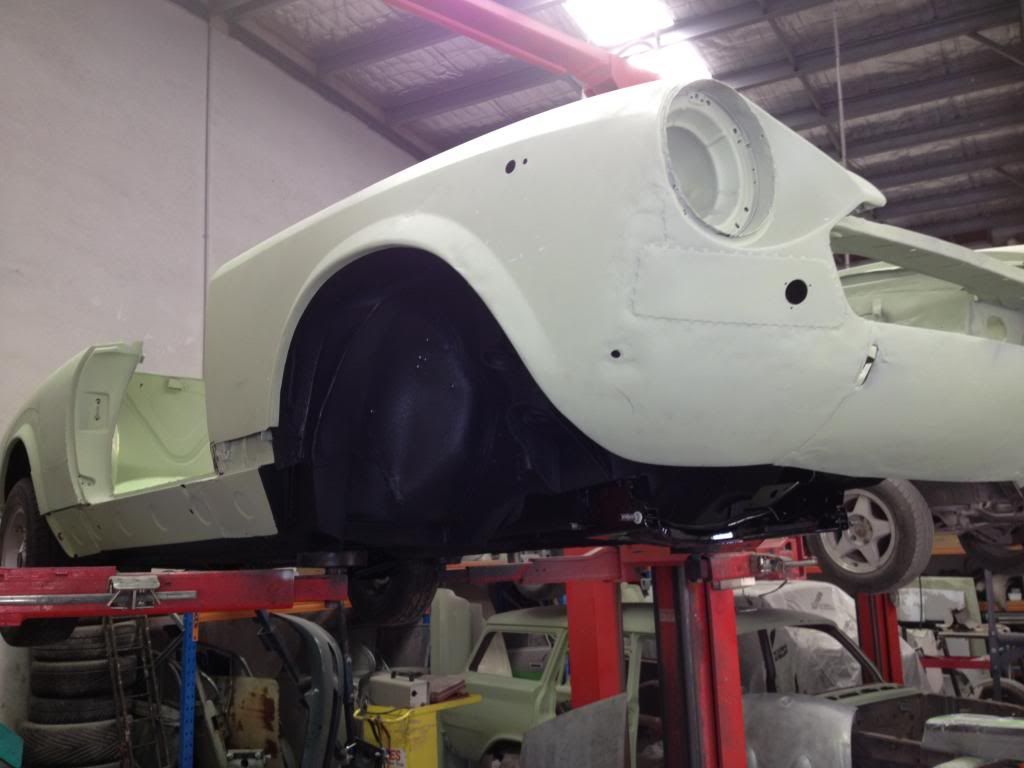
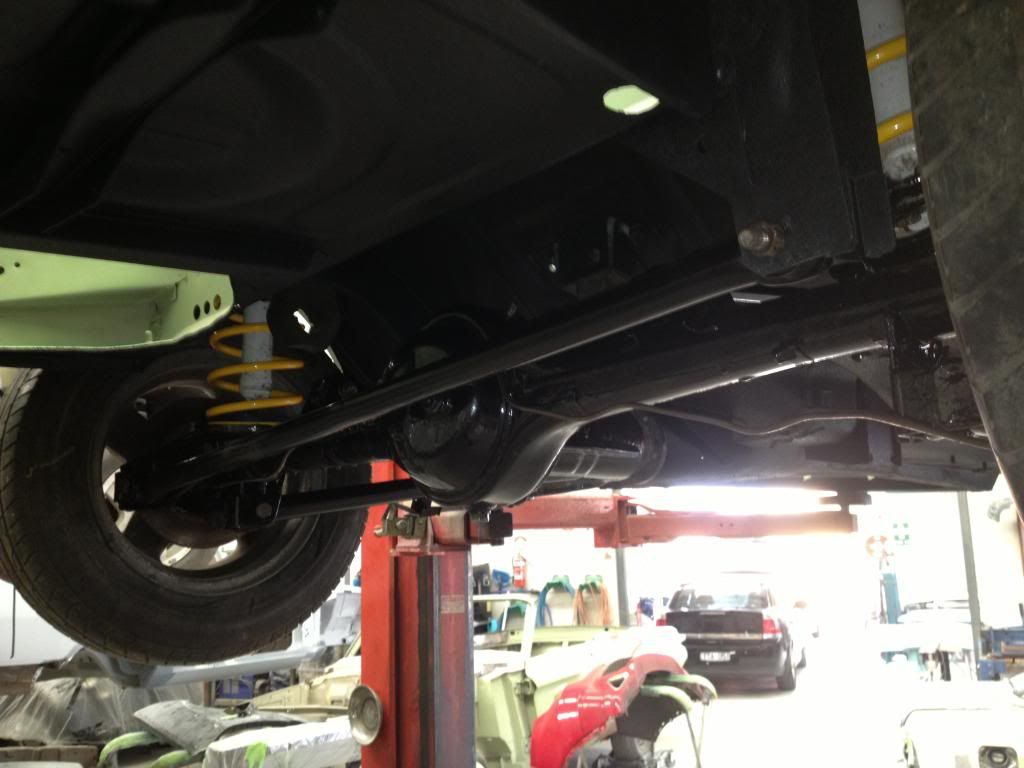
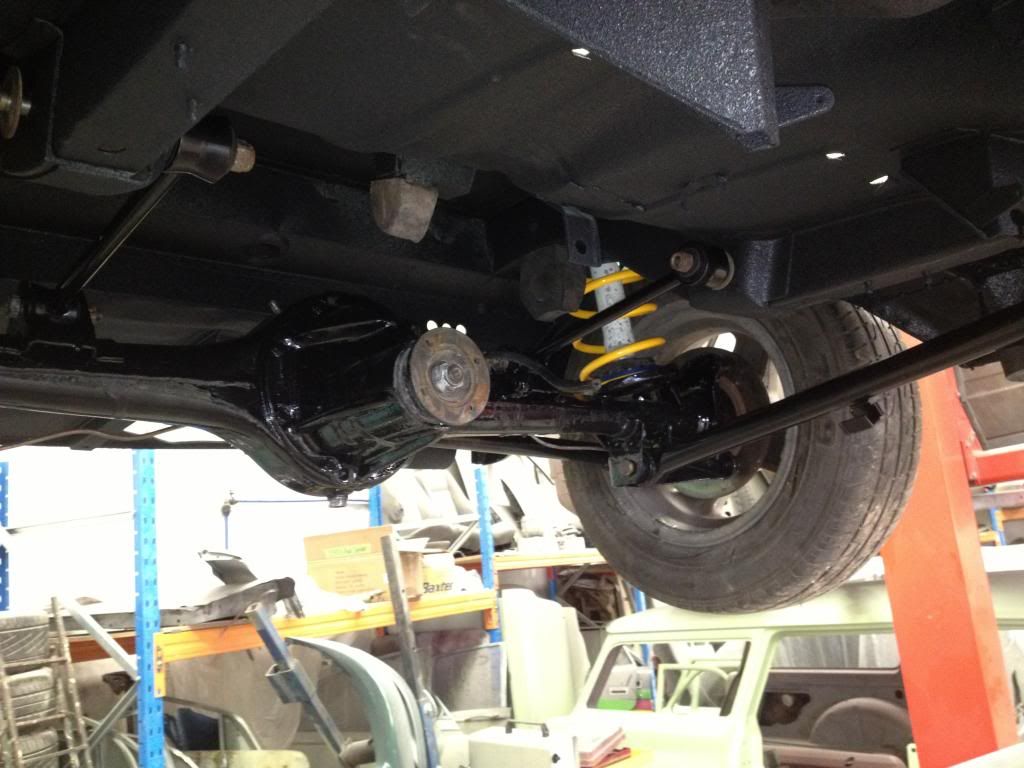
Newly painted crossmember
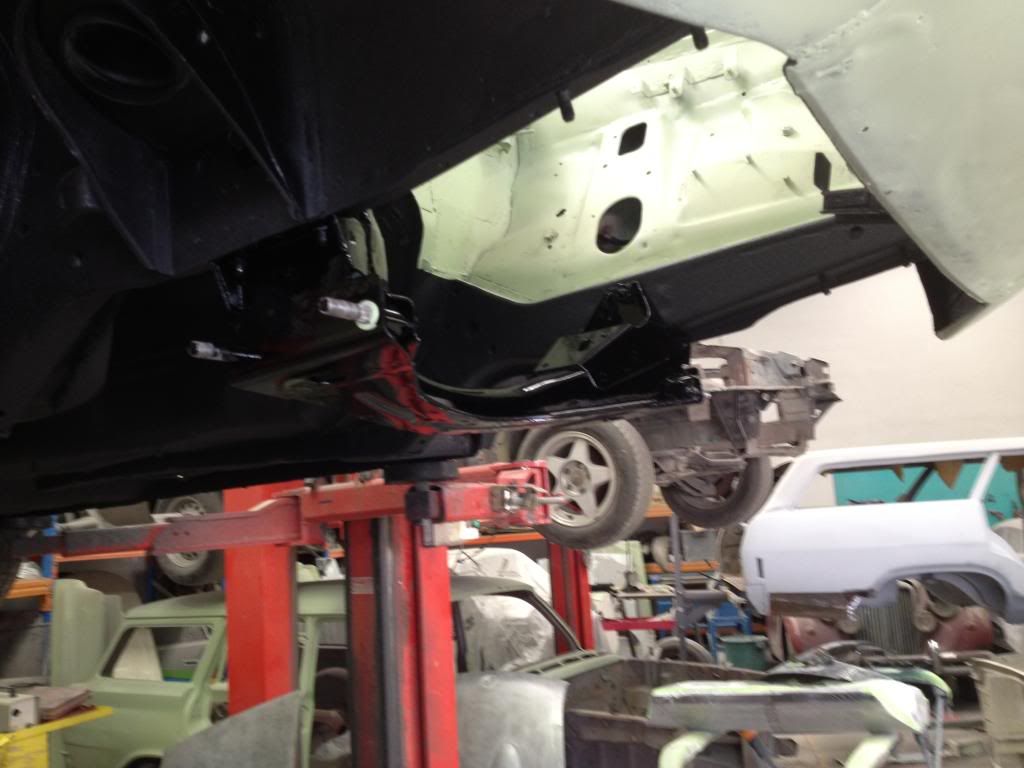
Re: Rebuilding Sofia - 1971 Spider in Oz
Posted: Sun May 11, 2014 12:25 am
by vandor
>1) the long trailing arm bushes are definitely too small.
We have them:
http://www.autoricambi.us/product/SU2-4 ... shing-Set/
> (in which case I need a 22mm OD centre steel bushing - where do I get one of those?
Do you not have the ones from the old bushings/arms?
>2) Has my guy pressed the bushings in too far? (is that possible??)
It's possible. They are supposed to be pressed in until the ridges hit the arm, but with some bushings that is too far.
Easiest would be to remove these and press in new bushings. Maybe try to press them in again? May not work.
>3) at some point somewhere the lower wishbone on the L side has been either dropped or pressed together too hard when >the bushing went in
Likely the latter.
> Which presumably means a new control arm (presuming I can't restretch)....
Likely you'll need a new arm.
4) I'm missing 2 nuts for the engine cross mount (where the lower wishbone mounts)
12x1.25mm nuts.
Re: Rebuilding Sofia - 1971 Spider in Oz
Posted: Sun May 11, 2014 7:09 pm
by weekend warrior
Good to see progress, fine pitch M12 should be available at any specialist fastener place.
Curious as to your plans for front indicators?


