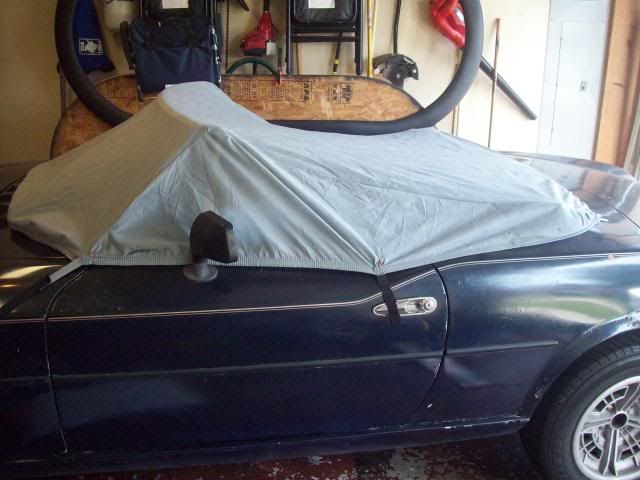
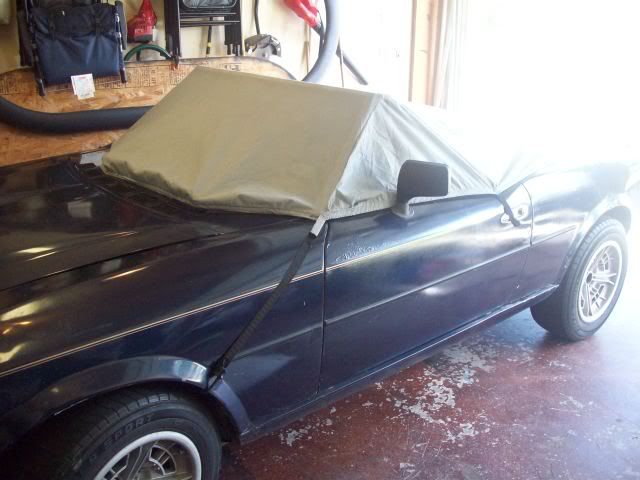
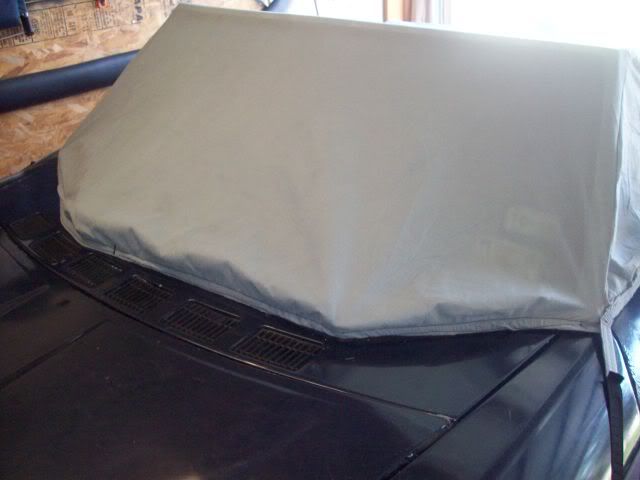
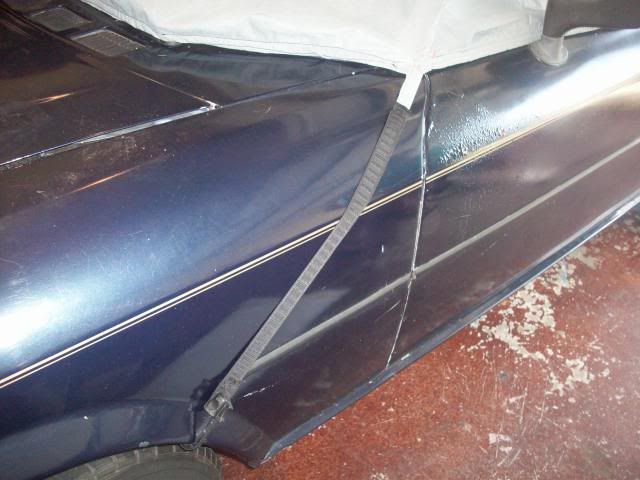
The design I used is basically the same as the IAP one with a few modifications. Instead of a 3-point attachment under the trunk and Velcro on the door handles, mirrors, and wipers I decided to use the elastic band already built into the car cover and 6 simple attachment points. 2 on the convertible top cover hooks located on the trunk (so the trunk doesn’t have to be opened to install the cover), one on each of the door handles and 2 that come from the front corner of the cover to the wheel wells. The front covers the wipers utilizing sewn in elastic instead of Velcro attached to the wipers. The overall fit of the cover is snug and it’s really easy to get on and off. Here are some pics of the finished cover. Considering my amateur sewing skills it came out better than I had expected and the price was right… $25.
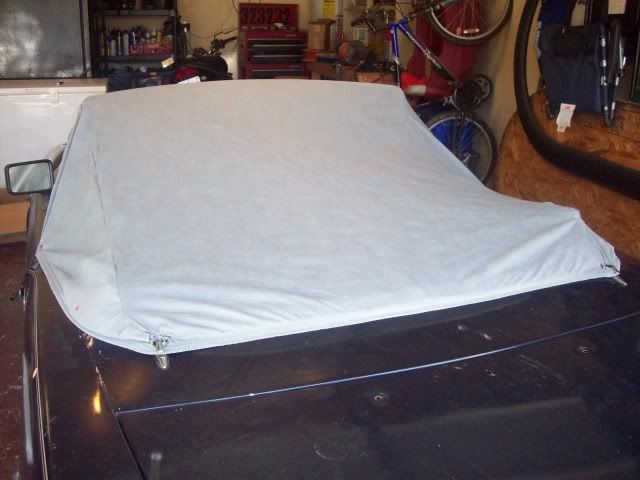
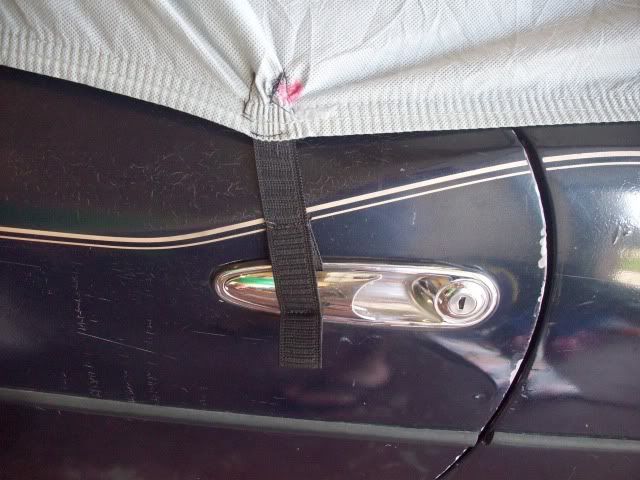
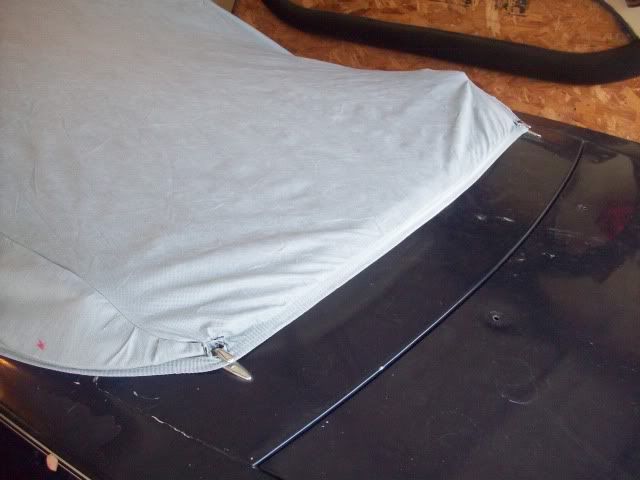
For those of you interested in how I made it here are the construction details. Some of the instructions are a little vague. If you’re in need of any additional info let me know and I’ll do my best to help.
For the cover material I used a size 5 Wal-Mart BudgetLite car cover. It’s the largest one they make for a car and retails for $23. It’s so big you could make 2 interior covers out of one. It’s water repellent and has an elastic band that runs all the way around it. They do make a better quality cover but I wanted to keep the cost as low as possible so I went with the cheap one. I also picked up 1 yard of ¾ inch and 1 yard of 1 inch elastic for $2.
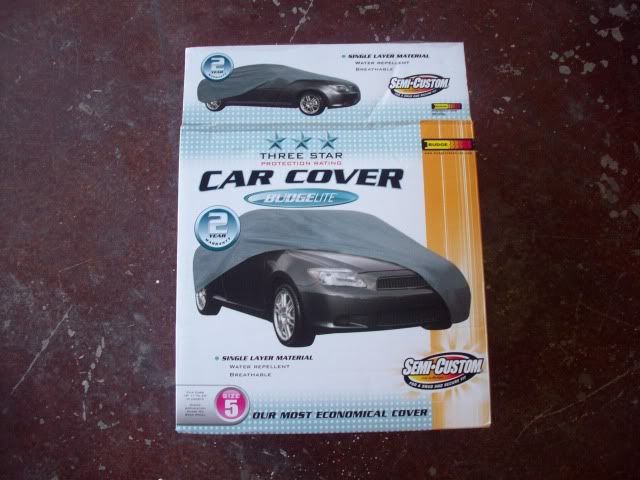
I started by finding the back center of the cover, which is easily identifiable by a cloth loop handle sewn into the cover. I laid the whole cover over the interior with the loop (not pictured) centered on the back of the trunk and stretched the elastic out across the two top cover hooks. I used some mini bungee cords on the sides to temporarily hold it in place.
Note: I stretched the elastic around the back and sides almost to the point of being completely taut. If you don’t the cover may not fit snug.
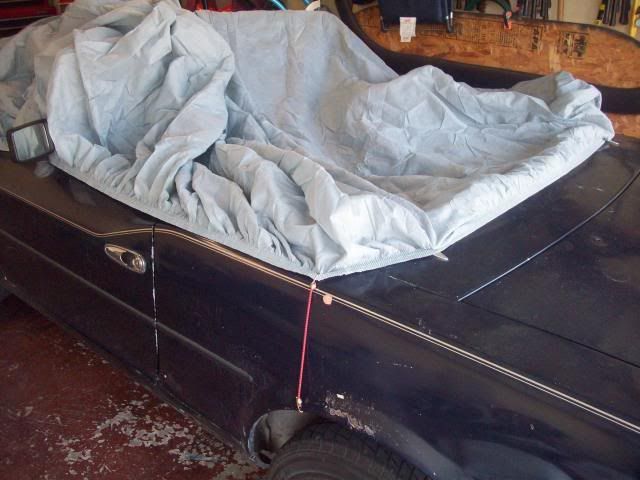
I marked the two locations where holes would be cut to attach the back of the cover to the hooks on the trunk. I didn’t cut the holes at this point. I was afraid I might rip the cover if I didn’t sew in some reinforcement around the hole.
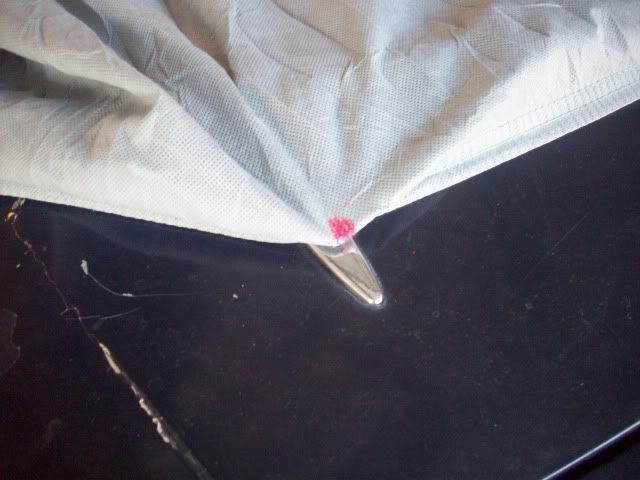
Next I stretched the sides all the way up to the front corner of the windshield and attached a small bungee to hold it in place. I also taped down the sides where the elastic would loop around the door handles.
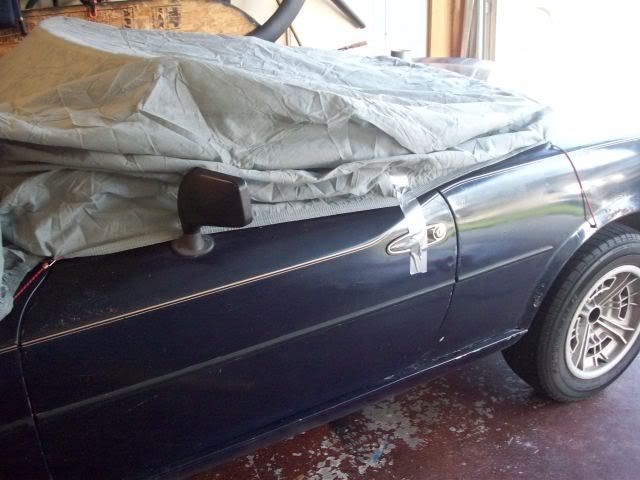
You’ll need something fairly heavy to hold the front cover down on the hood while you work with it or the elastic will pull it off. I used a 40lb bag of topsoil that I had lying around.
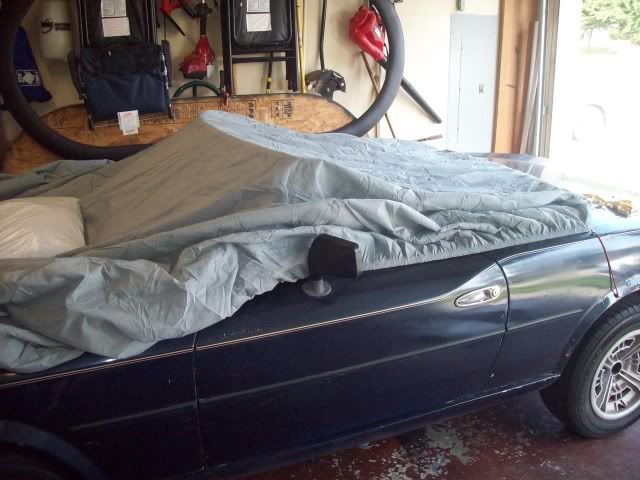
Once I got it squared up I cut the front 50% of the cover off to get it out of the way. On this particular car cover there are two plastic grommets on each side that identify the halfway point of the cover. I kept the other half, which ends up being enough fabric to make another whole cover.
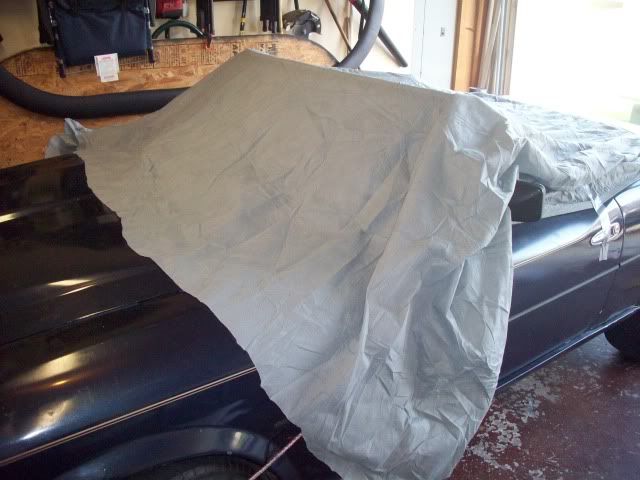
The next part is a little tricky to explain in text but you’ll see what I’m trying to say when you have the cover spread out over the interior.
At this point I started to form the cover and mark the seams. I had a bunch of office supply binder clips that came in handy to hold the material in place while I shaped the cover. Basically I just folded the excess material inside the cover and clipped the outside to get an idea of where the seams would run. You can work through the mess you’ve made on the inside when it’s time to sew. In this pic you’ll notice the two flaps taped across the front of the windshield. This was only done while I was forming the back and sides of the cover. The whole flap was turned inside the seam running along the side of the windshield and sewn in once the cover was removed.
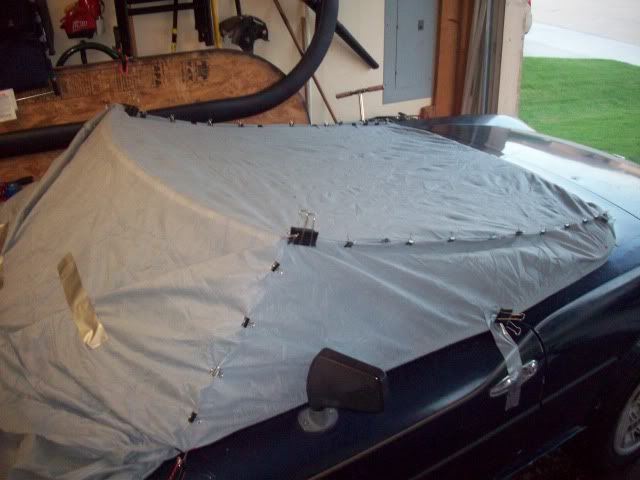
The back corners are a little tricky also; you just have to experiment with it until it works. Here’s where mine ended up.
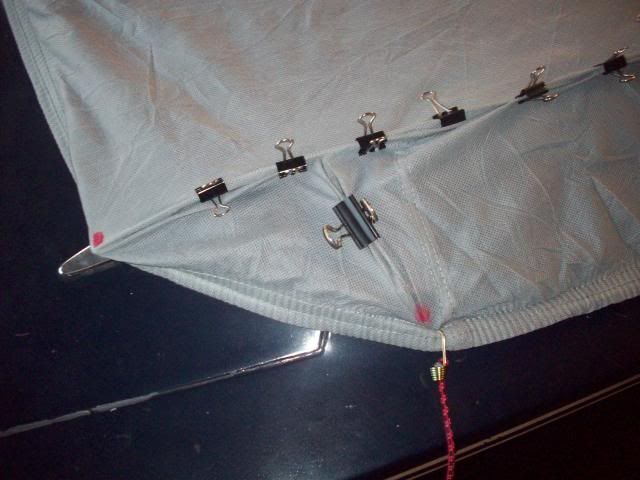
I probably should have done this in the first place but after forming the cover I removed it and replaced all of the binder clips with T-Pins that are meant for sewing.
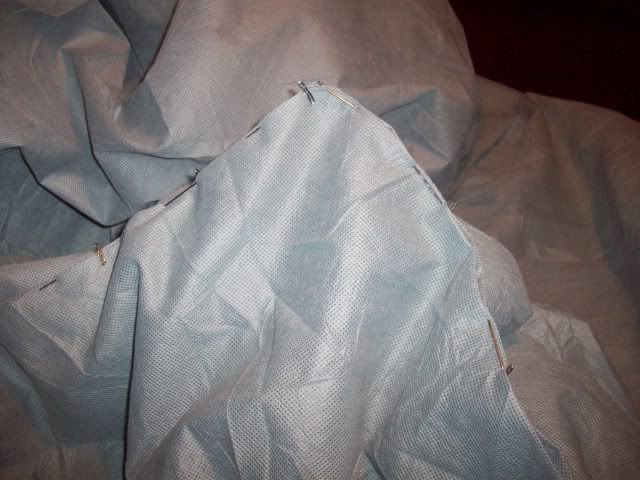
I busted out grandma’s old Singer and sewed the seams. I also made the elastic for the door handle straps and cut and reinforced the holes where the cover attaches to the hooks on the trunk. I think I mentioned that I’m a amateur at sewing so while sewing the seams I had to refit the cover a couple of times and make adjustments to get it just right.
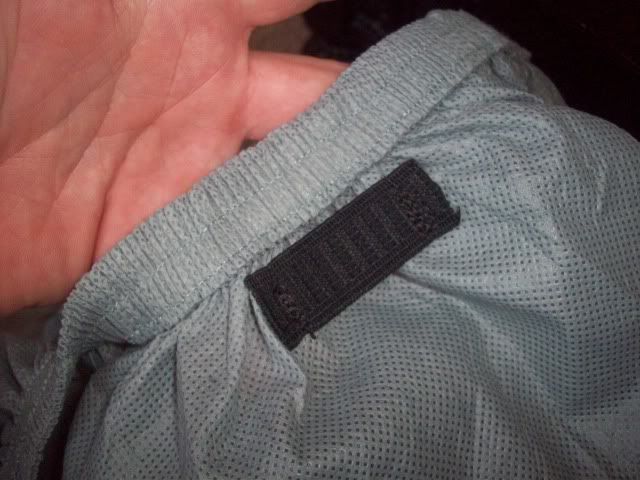
Once I did the initial seams I refit the cover and started on the front. You can see in this pic that I left about 6” of the covers original elastic in the front corner and attached it to the yard of ¾” elastic that’s pulled around the front of the windshield. I did this just to keep the sides of the top tight and to have something to attach the black elastic to while I worked on the front. The 6” of grey elastic eventually becomes part of the strap that goes to the wheel well. I made sure the cover was aligned correctly with the windshield and marked the location where the black elastic strap is going to be sewn into the front of the cover around the wipers. Although I have it on the top of the cover in the pic the black elastic is sewn under the cover in the next step with the cover wrapped around underneath it. I also cut off the excess fabric in the front.
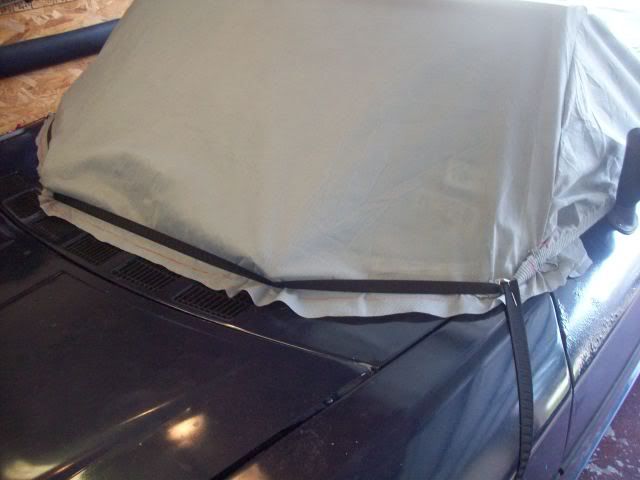
I stretch the elastic out and sewed it onto the front of the cover. This was probably the most difficult part of the project. I started in the center and sewed six or so inches at a time to one side then the other to make sure it was evenly centered across the front.

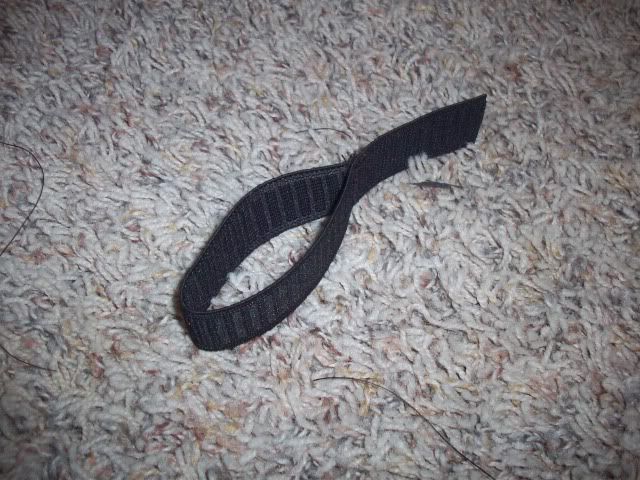
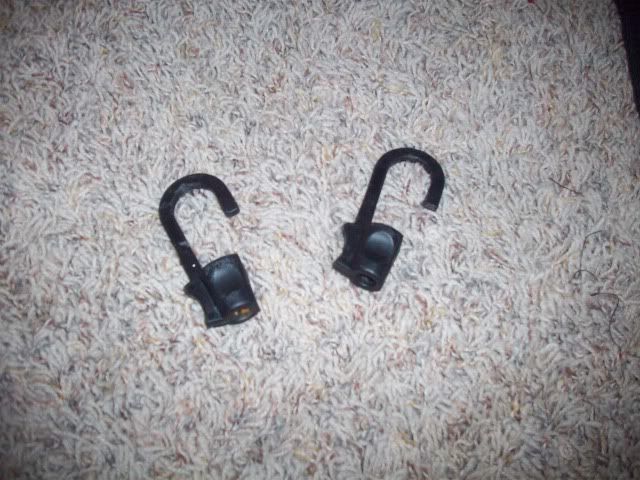
I refitted the cover and measured for the front straps that attach to the wheel wells. I used the 1” elastic and some old plastic bungee hooks I had lying around. The elastic was wrapped around the bungee hook so only the bungee material touches the car and not the plastic hook.
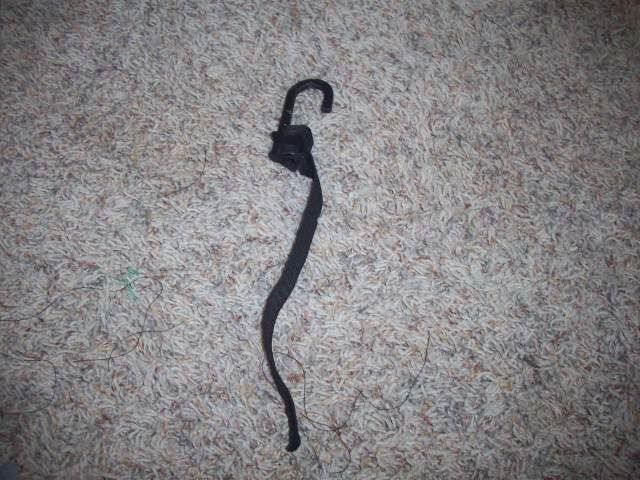
Before I attached the straps I had to do some spot sewing in this corner on the seam running down the window and where the elastic attaches at the bottom of the seam. Once I got the corner squared away I sewed the black elastic with the bungee hook to the 6” of grey elastic. I then reinstalled and checked the fit of the cover.

Spot sew what you need to so the cover fits like a glove. I actually still have a few adjustments to make on mine to get it just right. As you can see in this pic the drivers side elastic that attaches to the door handle is a little to forward causing the top to pull tight around the triangle window. Last but not least, if you didn’t do so while you were sewing the seams don’t forget to cut out all of the excess fabric from inside the cover.

Total project cost for me was right at $25 but I already had some of the items including access to a sewing machine. If you had to purchase the bungee hooks and T-Pins it would probably cost you another $5 or so.
That’s about it! Install and enjoy your sun, dust, and bird crap free interior
Rick


