I've mentioned my non-working taillight issue in other posts. With literally everything else in the light circuit working (minus hazards...still poking at that), I decided to tackle the remaining taillight. With great offline tutoring and help from David L, I'd managed to narrow the issue to a non-functional socket. I still had both old, scarfed up taillight fixtures, so I had possible replacement parts. Figured I'd post a few pix of the changeout process for anyone interested.
First, I tested one of the potential replacement sockets (still in its housing), with the yellow power lead and a jumper ground. Worked great! Using a drill and 11/64 bit, I drilled out the rivets, and had this:
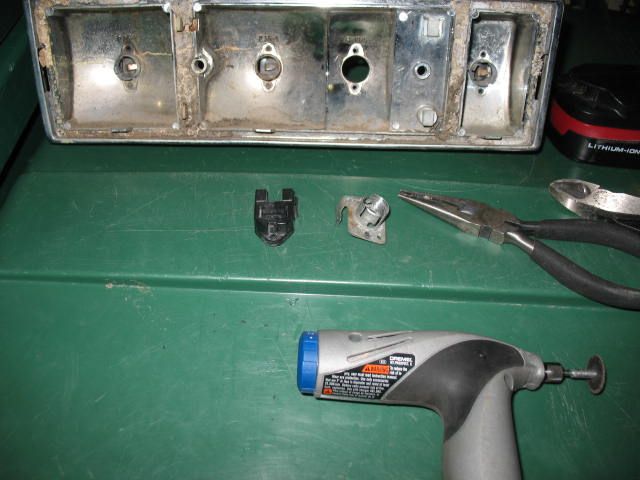
Shined up all the contacts and the inside of the socket with the Dremel tool, and moved on to the surgical candidate:
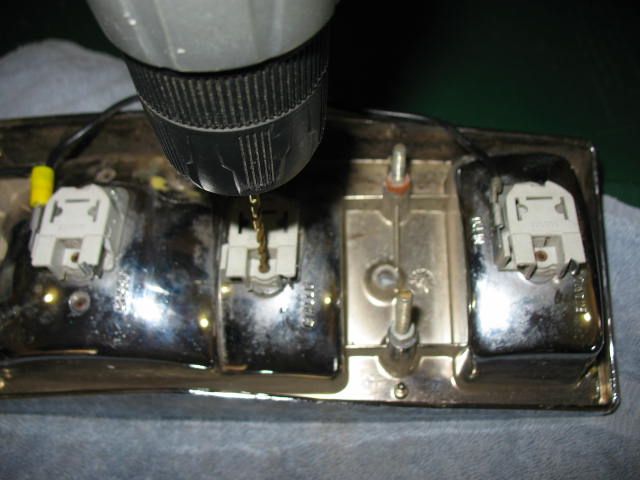
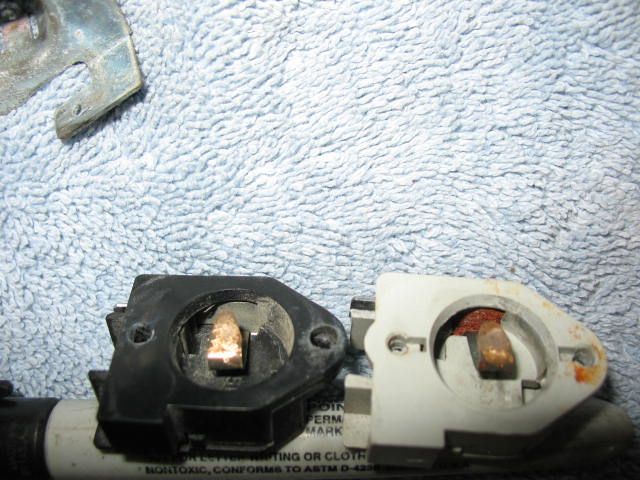
Again, drilled out the rivets with the 11/64 bit. Once disassembled, the problem with the faulty socket was clear: bad corrosion/rust on the positive side of the socket; the difference is clear in this picture:
Off to the local True Value hardware, and had two choices to refasten the socket: rivets and little tiny screws.
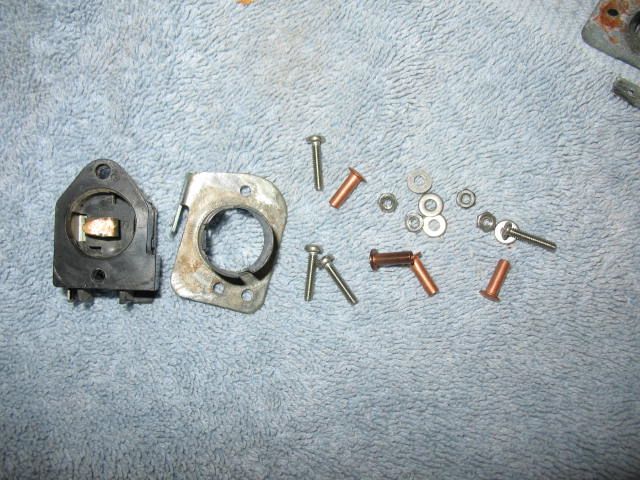
I couldn't set up a secure way to crush the rivets, between all the plastic of the housing and the recessed locations of the fasteners, so I went with the screws...and threadlock!
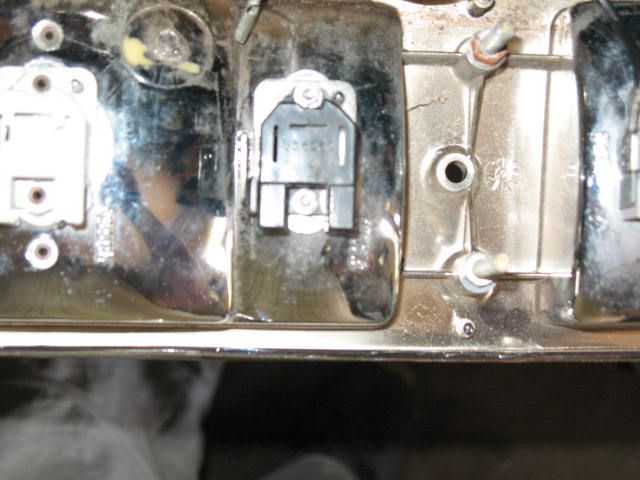
The fastener towards the bottom of the picture (in the u" shaped recess) caused the most hassle. I was struggling to fit the nut on the srew while holding the screw head with the #0 Phillips, when Pat (spouse) walked up and said "My jeweler's pliers would fix that." So with her smaller fingers and that pliers, we had the screw threaded and fastened down securely. Off to the rear of the car, insert the LED bulb, hook up all the power/ground leads, and flip the switch:
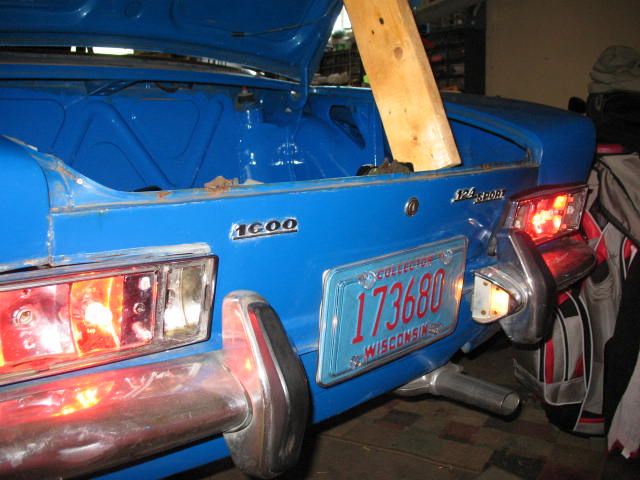
Tail lights! On both sides!!
Hope this helps someone else with a non-functional bulb socket. It's a fidgety repair, and that second pair of hands is needed, but worth the effort.
Bonus pic:
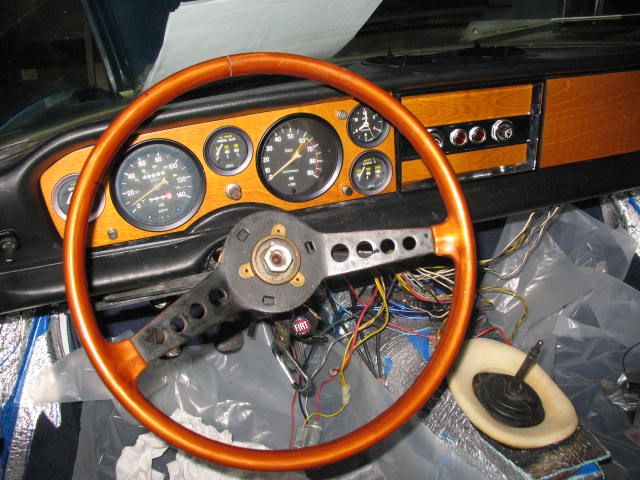
After supper (and a couple of Cows), went back out to the garage and finished trimming out the gauge openings on the new soft dash (fuel gauge bracket wasn't clearing the dash opening). Trimmed it out with the Dremel and a zip (side cutting) bit. Messy...have a shop vac handy. But it came out looking good, and....
Neil