Rebuilding Sofia - 1971 Spider in Oz

This is the place to discuss restoration problems, post questions or projects-complete or partial.
Post Reply
Sambo42
Posts: 155
Joined: Fri Apr 09, 2010 12:00 am
Your car is a: 1971 Fiat Spider

Re: Rebuilding Sofia - 1971 Spider in Oz

Post by Sambo42 »

Another quick update. Have now relocated the hole for the clutch cable. Which meant: cutting, welding, grinding, filling, priming and painting. I think it doesn't look too bad actually - found an automotive paint place near work which made up a can that has come very, very close to the what's on there... you have to look really hard to see where the new paint is.

Back to installing the wiring loom. Might see if I can do some testing as I go....

Image

Image

Image
SoFlaFiat

Re: Rebuilding Sofia - 1971 Spider in Oz

Post by SoFlaFiat »

Amazing color match! Well done!
Sambo42
Posts: 155
Joined: Fri Apr 09, 2010 12:00 am
Your car is a: 1971 Fiat Spider

Re: Rebuilding Sofia - 1971 Spider in Oz

Post by Sambo42 »

And it's 2 steps forward, one step back. Finally got back into the garage (the house reno and replastering is taking up any other spare time I have) and carried on fitting the headlights just so that I can feel I'm moving forward. Took ages for me to work out where the different bits went back together and have some paint touchups to do now. The bigger problem - the threads for the headlight adjusting screws seem to be stripped. Very painful - plus as far as I can tell there are only 2 adjustment screws and a spring to hold the frame in. Is this right? And any ideas for restoring the stripped thread for the adjustment screws? Don't really fancy welding extra nuts in behind the bucket since it will be a nightmare to access....

My only other thought is that these headlights (ordered new) are set back and have a flatter profile than my originals which makes the gap between the headlight and the chrome ring slightly bigger....

Image

Image
PininF

Re: Rebuilding Sofia - 1971 Spider in Oz

Post by PininF »

Is there a missing rubber gasket between chrome outer ring and body ? mine has a visible gasket to stop water getting in.
SoFlaFiat

Re: Rebuilding Sofia - 1971 Spider in Oz

Post by SoFlaFiat »

Looks to me like the small gasket is installed. The gaps between light and trim are fairly large from the factory. I have been playing with spacing the bucket forward to minimize the gap.
braca23
Posts: 66
Joined: Mon Jul 25, 2011 9:36 am
Your car is a: FIAT 124 Sport Spider 1971
Location: Belgrade - Serbia

Re: Rebuilding Sofia - 1971 Spider in Oz

Post by braca23 »

I can confirm this last thread, too. I have painted black everithing inside, to minimize gap effect.
adrians
Posts: 851
Joined: Tue Jan 15, 2008 6:07 am
Your car is a: 1981 Spider Turbo - missing the turbo
Location: Sydney - Australia

Re: Rebuilding Sofia - 1971 Spider in Oz

Post by adrians »

Sambo42 you can buy headlight protectors from Bits of Italy in Melbourne, they'll protect the H4 lights and help fill in the gap between the glass and the chrome ring, they dome outwards about 2-3 cms.
THE FLEET
2014 Abarth "SS"
1981 Spider 2000 (Legend Industries Turbo - minus the Turbo)
1978 X1/9 1.3 Dual IDF 40's, Coupe Cam, Allison Header/Exhaust
1971 128 Sedan 1100cc, Coupe Cam/Headers
Motokhana Special 127 rear engined Rail 903cc
Sambo42
Posts: 155
Joined: Fri Apr 09, 2010 12:00 am
Your car is a: 1971 Fiat Spider

Re: Rebuilding Sofia - 1971 Spider in Oz

Post by Sambo42 »

And finally the front springs are in. Knew my old sailing knots would come in handy some day...

Image

Image
DRUMMOND
Patron 2018
Patron 2018
Posts: 443
Joined: Thu Oct 20, 2011 11:11 pm
Your car is a: Fiat Spyder 2000 1980 Pininfarina

Re: Rebuilding Sofia - 1971 Spider in Oz

Post by DRUMMOND »

Great idea!! Sailor/Pirate
Mick124
Posts: 199
Joined: Fri Jun 24, 2011 3:08 am
Your car is a: 1967 Fiat 124 Spider

Re: Rebuilding Sofia - 1971 Spider in Oz

Post by Mick124 »

Excellent work my friend. I look forward to seeing it when finished.
Sambo42
Posts: 155
Joined: Fri Apr 09, 2010 12:00 am
Your car is a: 1971 Fiat Spider

Re: Rebuilding Sofia - 1971 Spider in Oz

Post by Sambo42 »

Gradual progress...

Brake booster installed, complete with new master cylinder. New clutch cable - my readjusted clutch cable hole is pretty spot on. Fuel lines are now in, side indicators being fitted and both wheel bearings now new and installed. Wiring loom tidying up continues....

But there's one snag - the RHD steering box I had sourced looks like the diameter of the spline is smaller than the old steering box. Anybody have any experience with RHD 124 steering boxes and/or conversions? Why would it be a different size to the LHD??

Image

Image

Image
User avatar
divace73
Posts: 1380
Joined: Sun Oct 17, 2010 5:59 am
Your car is a: 1980 Fiat 124 Spider Silver
Location: Sydney, Australia

Re: Rebuilding Sofia - 1971 Spider in Oz

Post by divace73 »

just something to think about, I ran a copper pipe behind the engine that the brake booster would connect to giving the engine bay a cleaner look
Cheers David
-=1980 silver Fiat 124 Spider=-
If you want to see pics of my car (and other random stuff) >>click here<< OR
see my >>You tube channel<<
Sambo42
Posts: 155
Joined: Fri Apr 09, 2010 12:00 am
Your car is a: 1971 Fiat Spider

Re: Rebuilding Sofia - 1971 Spider in Oz

Post by Sambo42 »

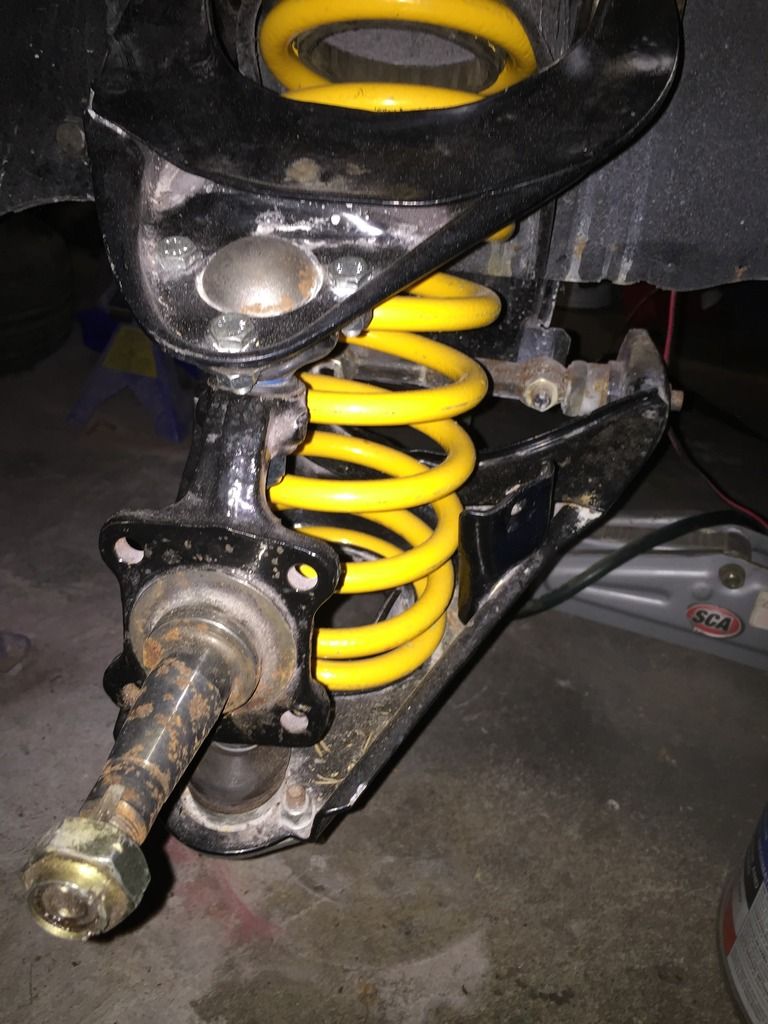
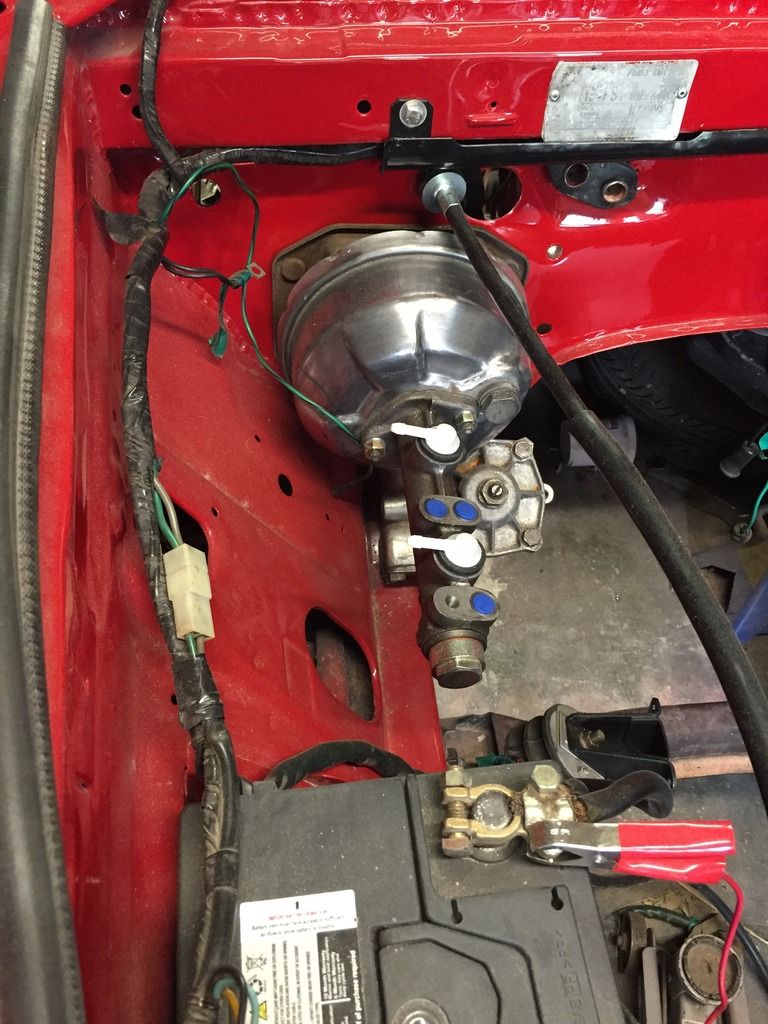
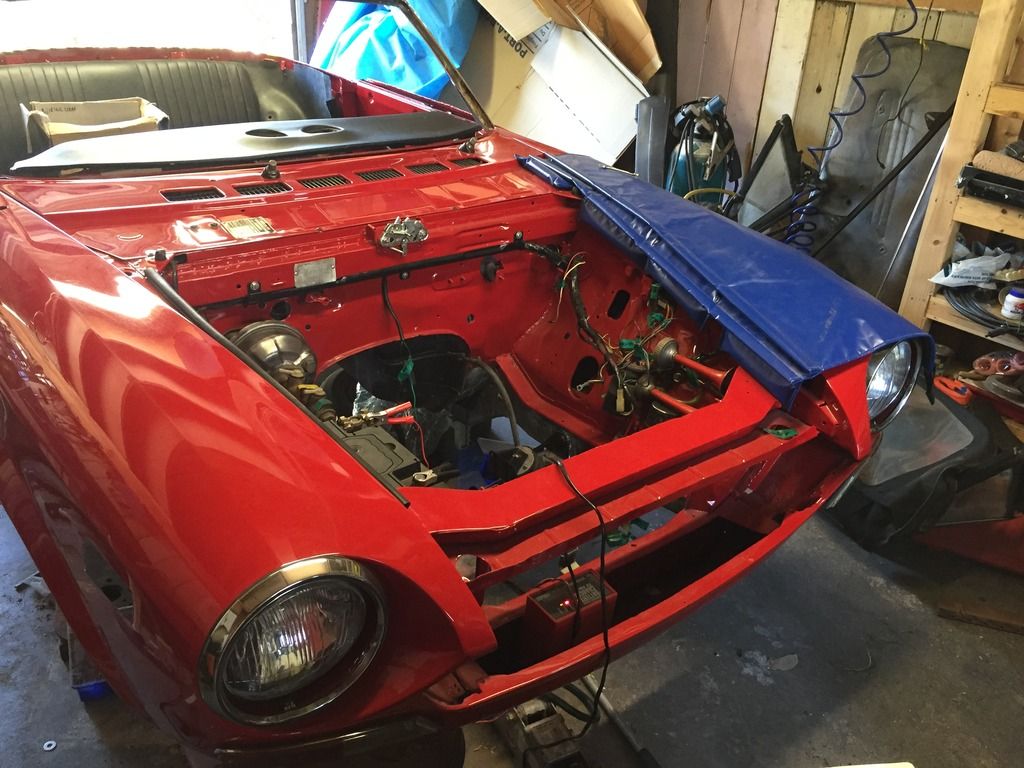
The latest in updates - small bits of progress here and there. Front steering gear in, front suspension now all complete, and now dropping the transaxle out again to fit the brake compensator and get the rear brake line all good to go so that I can get the remaining brake lines installed.

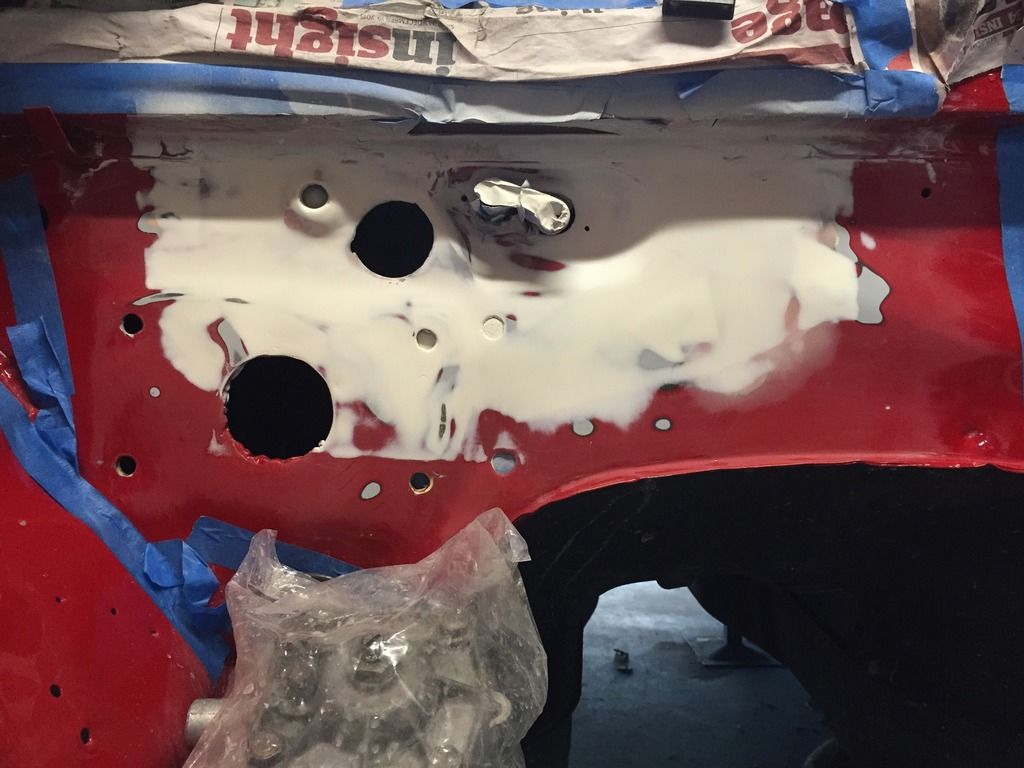
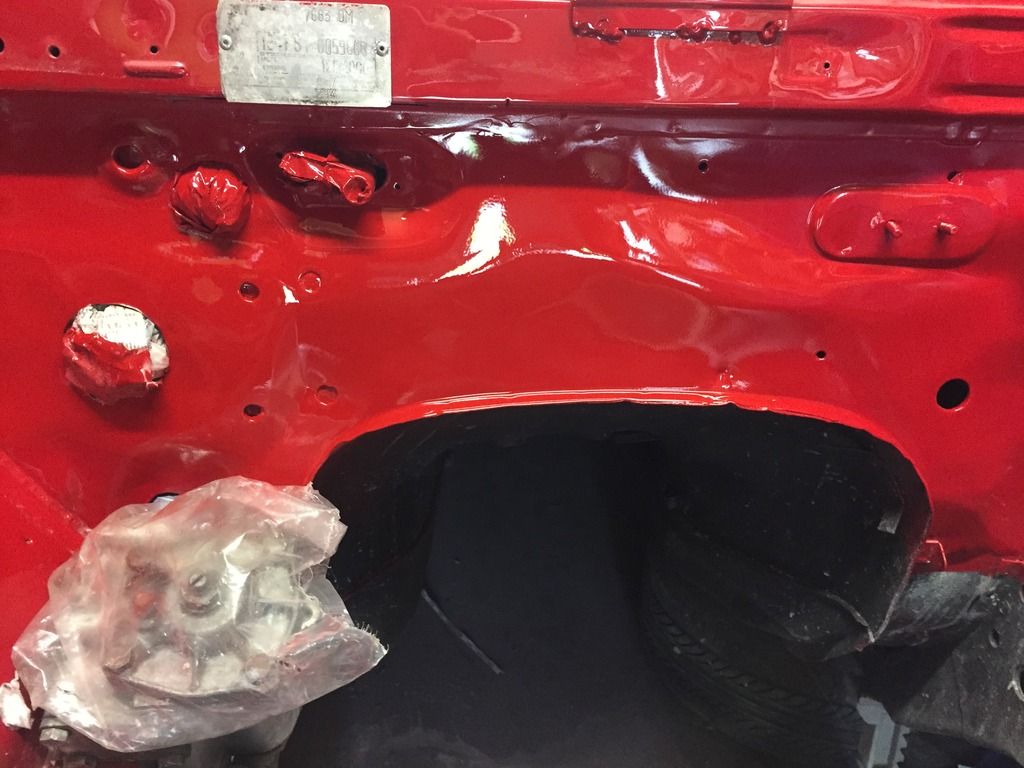
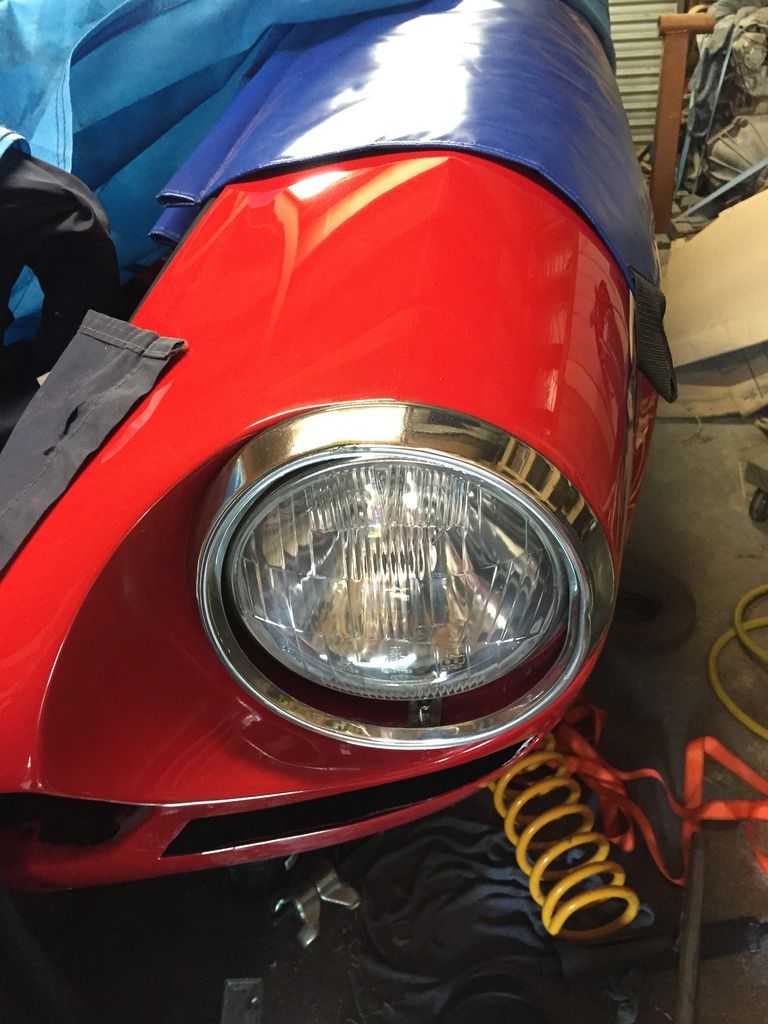
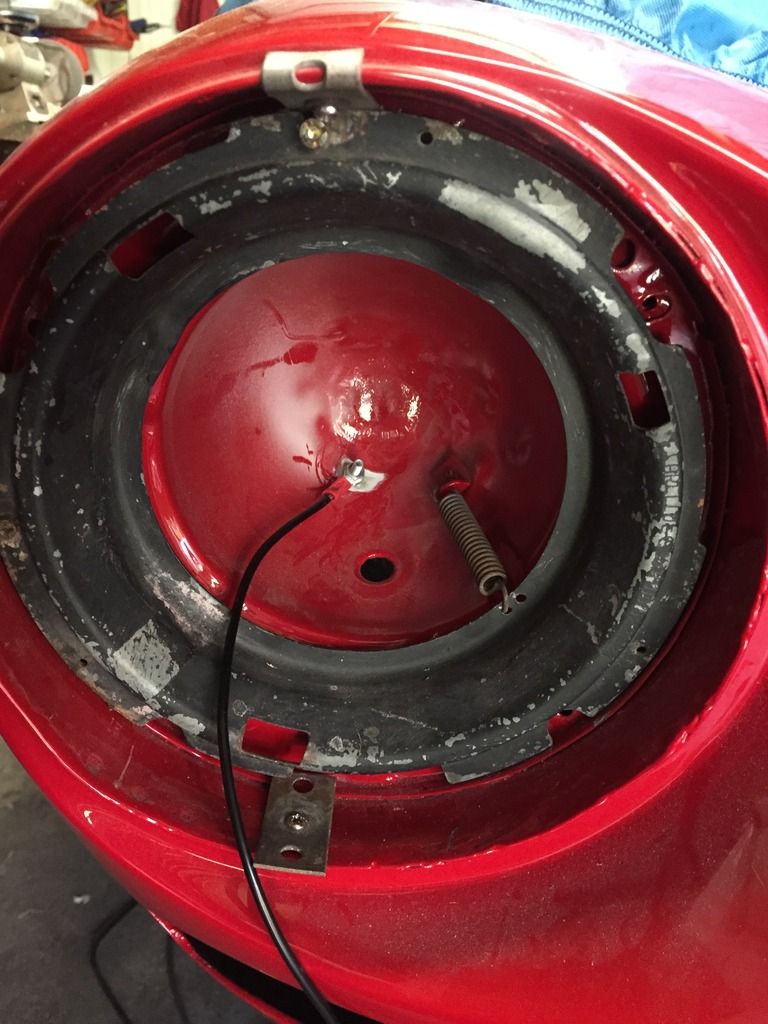
I've painted the top of the fuel filler silver - not sure that I like it though, it's almost too shiny. Maybe I should have stuck to black - does anyone have a photo of the top of their fuel filler tube taken from through the flap they could show me? I've also been working out the wiring of the trunk light and trying work out where it is supposed to run. I don't think it was working in the car before I disassembled it for painting so am making up the connection to the jam switch near the trunk hinges (which I've replaced) but now I'm not sure where the wiring should go - I can see how the yellow/black wires are held by the clips on the rear of the back seat wall at the top, but not sure how they make their way around the hinge itself after leaving the main loom. At the moment they're travelling in front of the hinge because I can't see a hole behind. I'm contemplating drilling a hole in the plate that holds the hinge - does anyone have a photo of that area to see how other cars loo?

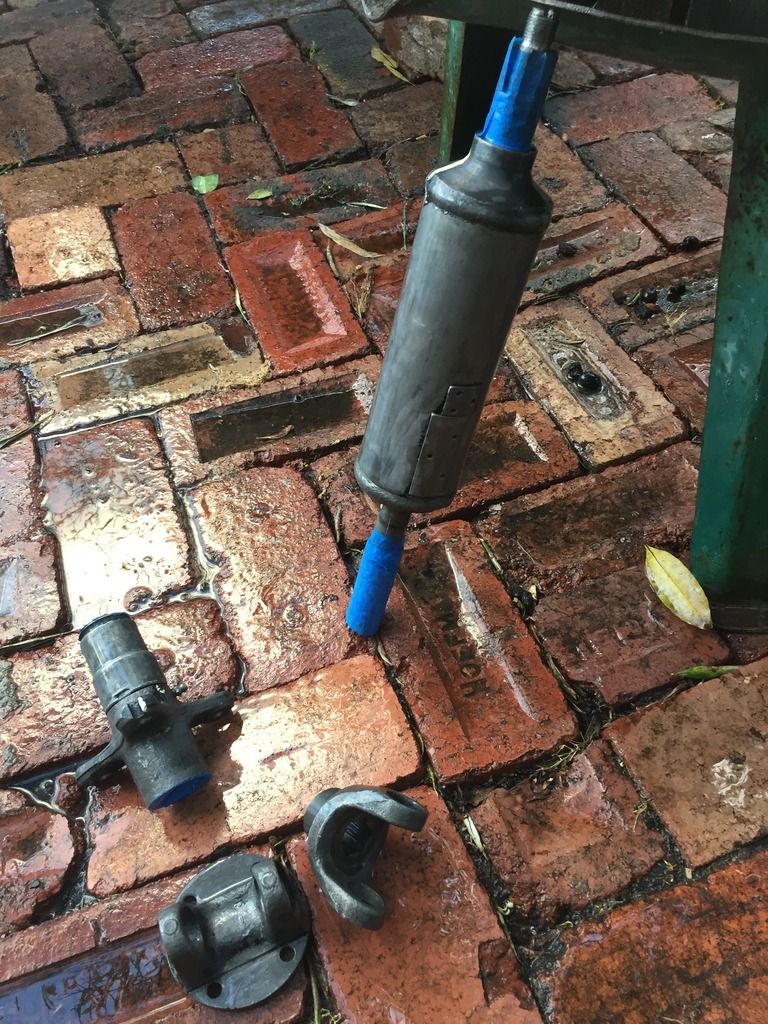
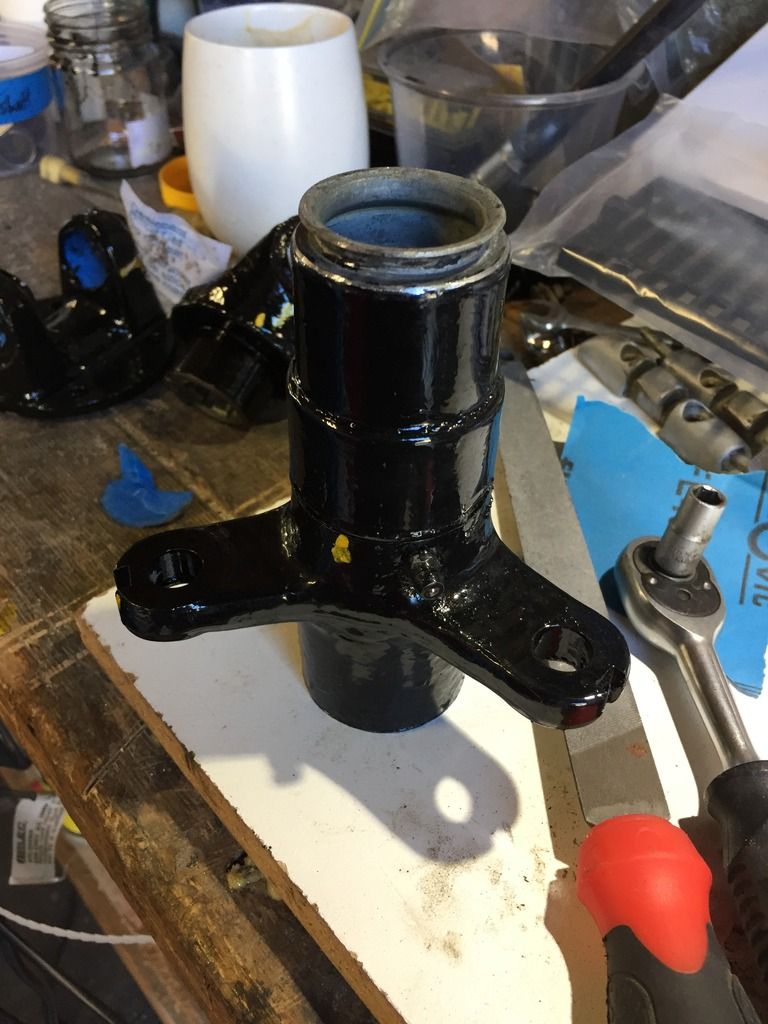
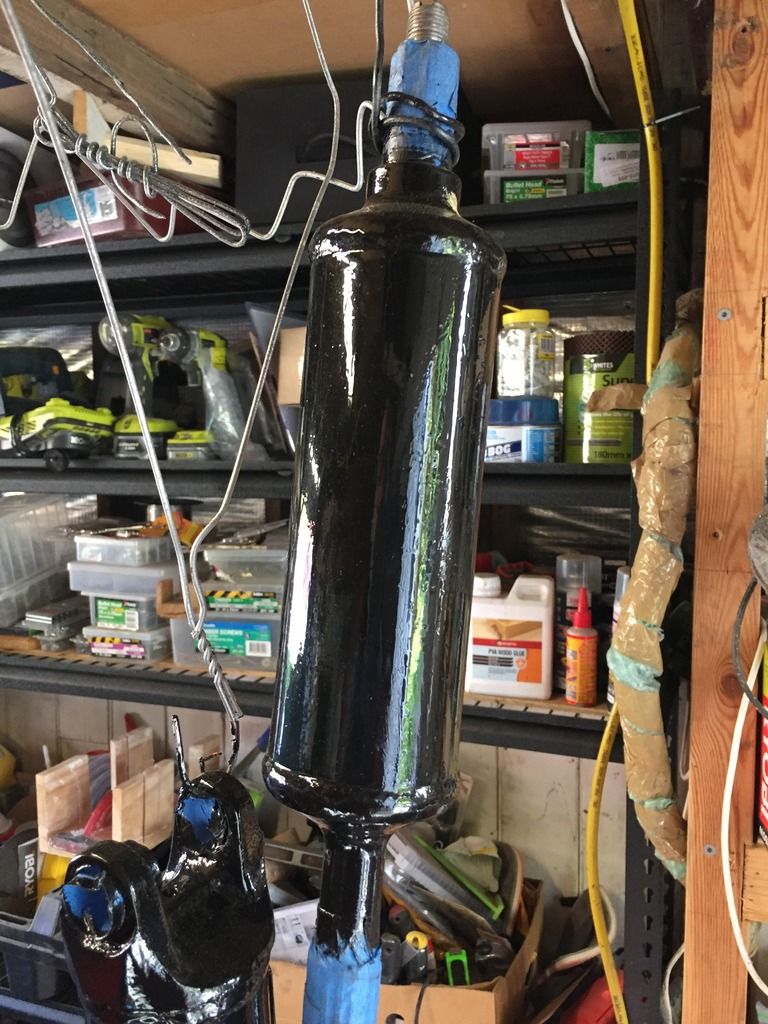
Have finished disassembling, cleaning and painting the propshaft with POR-15 and chassis black on top. Now to reassemble with new universal joints and bearings...

Image

Image

Image

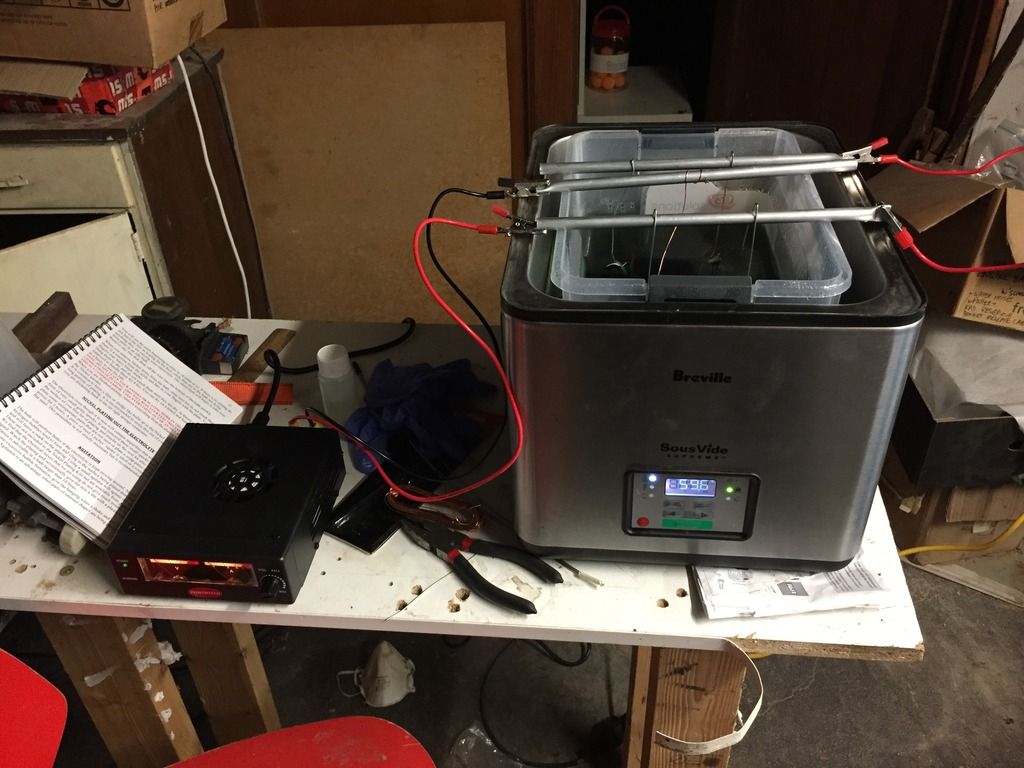
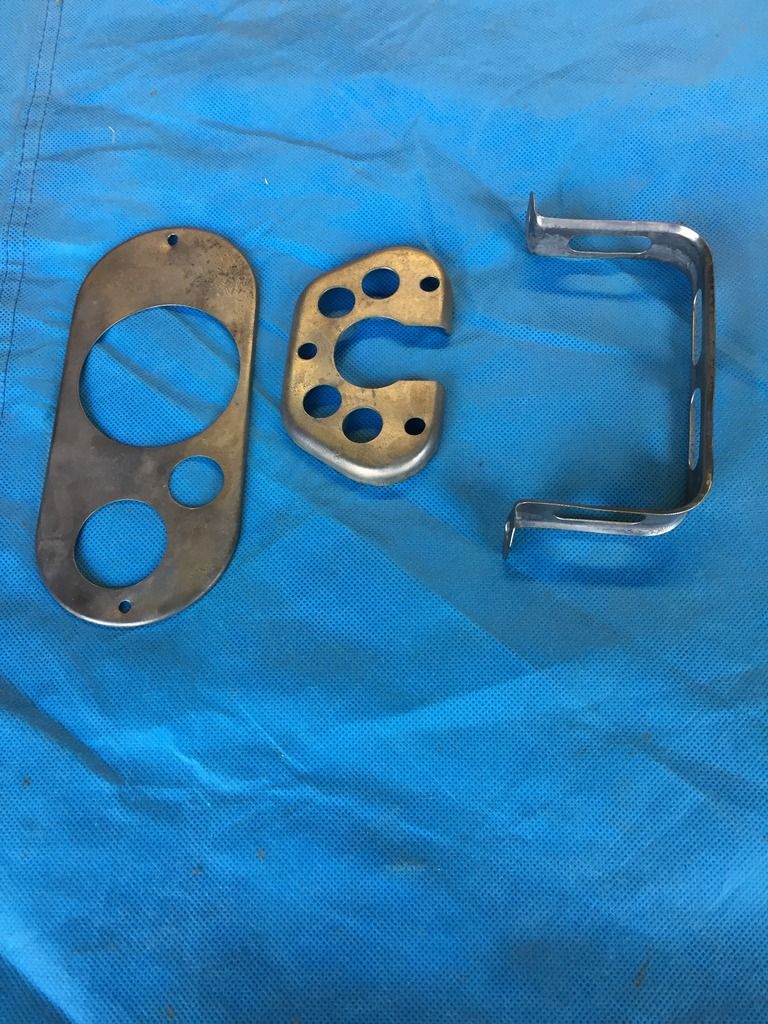
And lastly, I bought myself a nickel plating kit - I'm trying plating for a few small pieces. Will let you know how that goes....

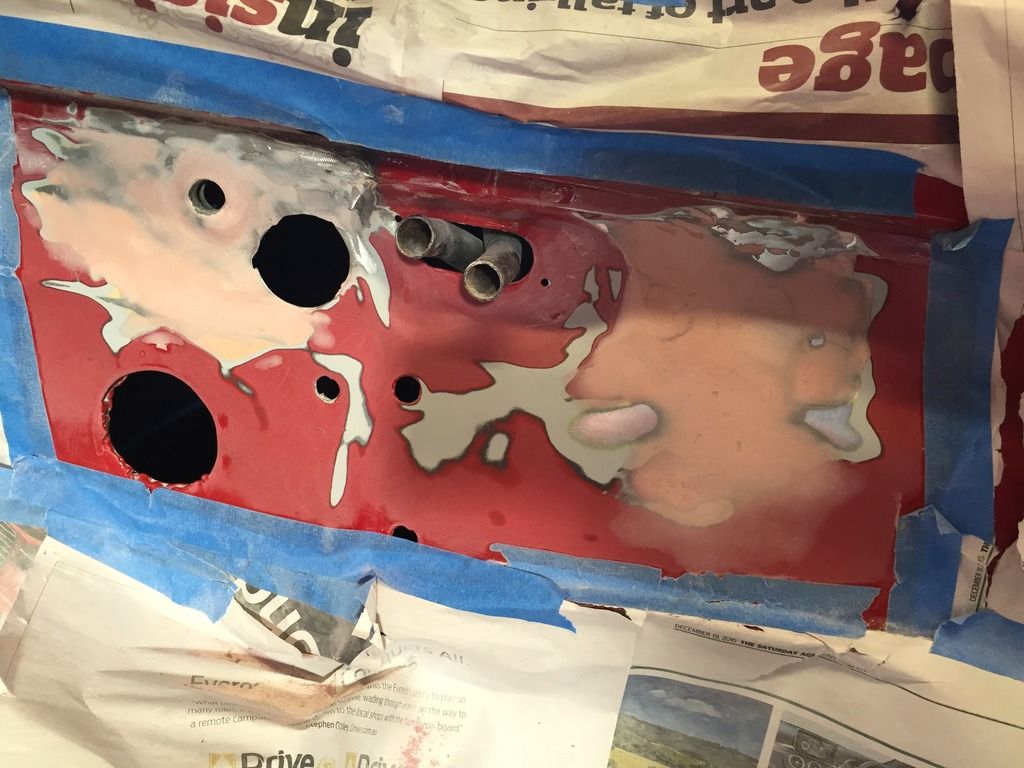
(cleaned and ready to plate)
Image

(the setup - I knew the sous vide would come in useful for something!)
Image
Sambo42
Posts: 155
Joined: Fri Apr 09, 2010 12:00 am
Your car is a: 1971 Fiat Spider

Re: Rebuilding Sofia - 1971 Spider in Oz

Post by Sambo42 »

I nearly forgot. Look what I just bought.....

Image

Image
User avatar
Broadsword
Posts: 111
Joined: Fri Apr 18, 2014 8:17 am
Your car is a: 1970 124 Spider
Location: Melbourne, Australia

Re: Rebuilding Sofia - 1971 Spider in Oz

Post by Broadsword »

Very nice; is that Tony M’s car.
Post Reply