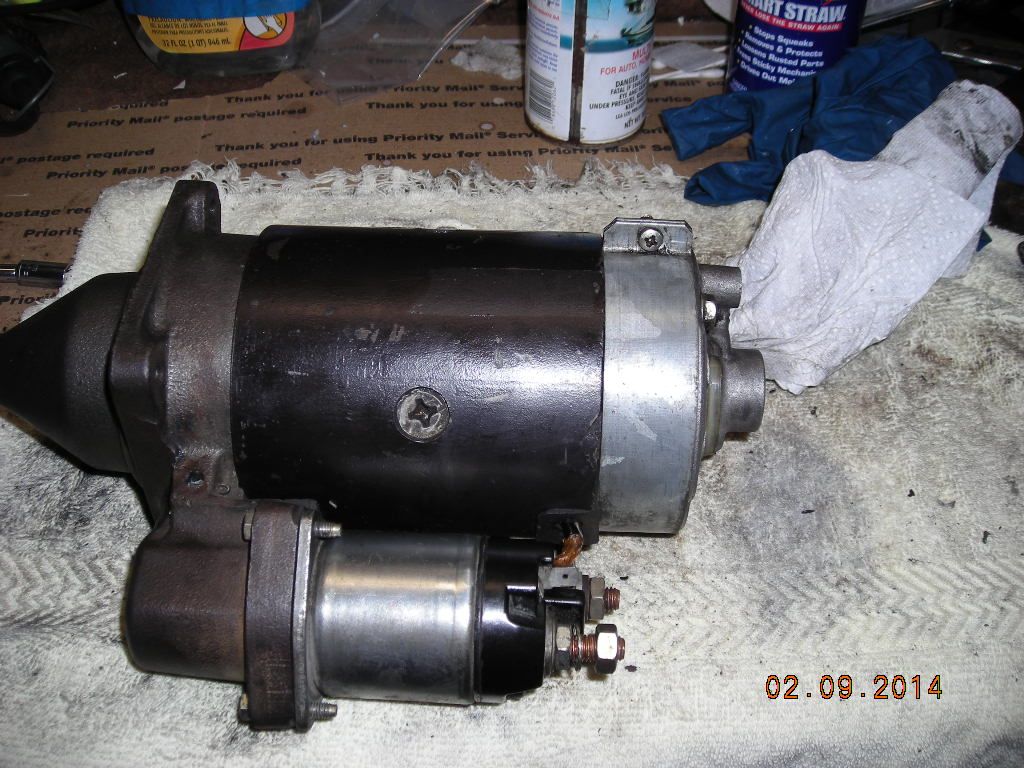
Loosen 1 bolt and the metal band at the back of the starter slips off to expose the brushes. Each is easily removed by removing its contact screw. A pick is handy to hold back its spring. Then pull the brush out for inspection or replacement.
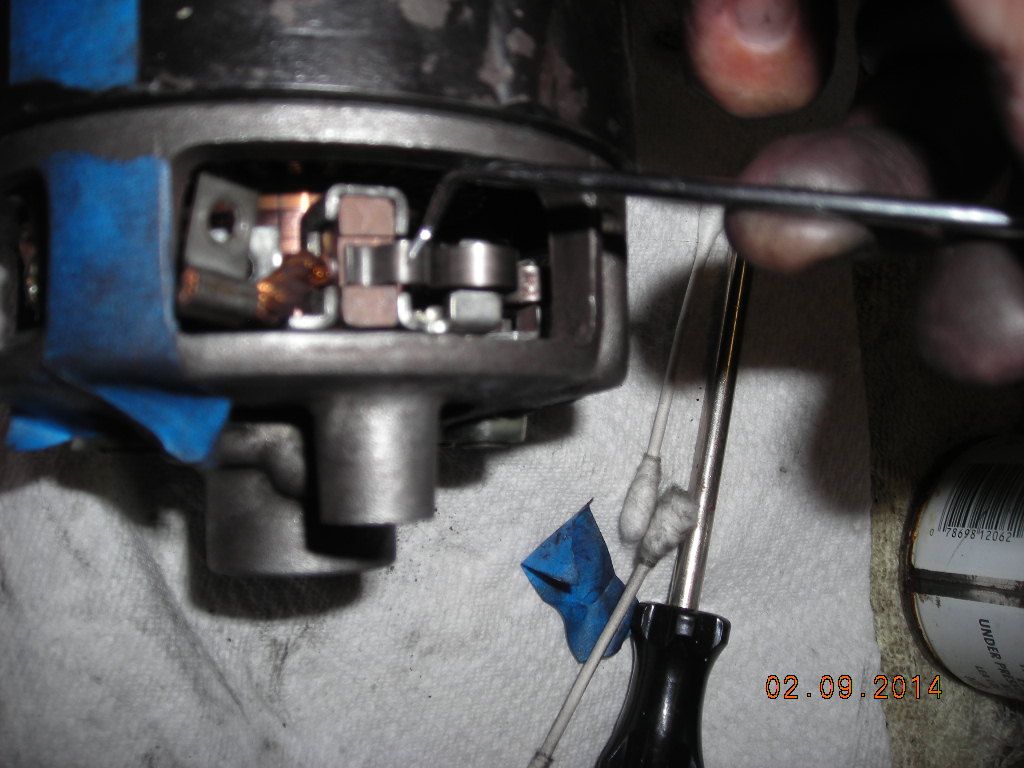
Remove 3 small bolts and the electrical connection to remove the solenoid. Take notes to remember the correct terminal for re-assembly later.
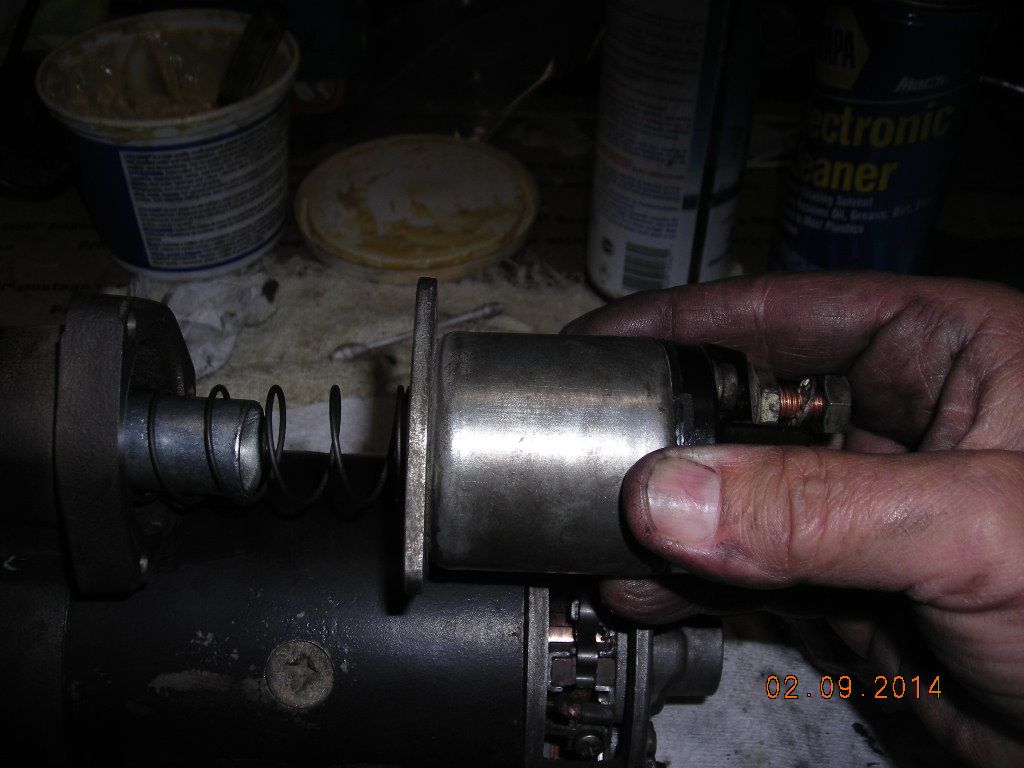
Remove the cotter pin and press out pivot pin.
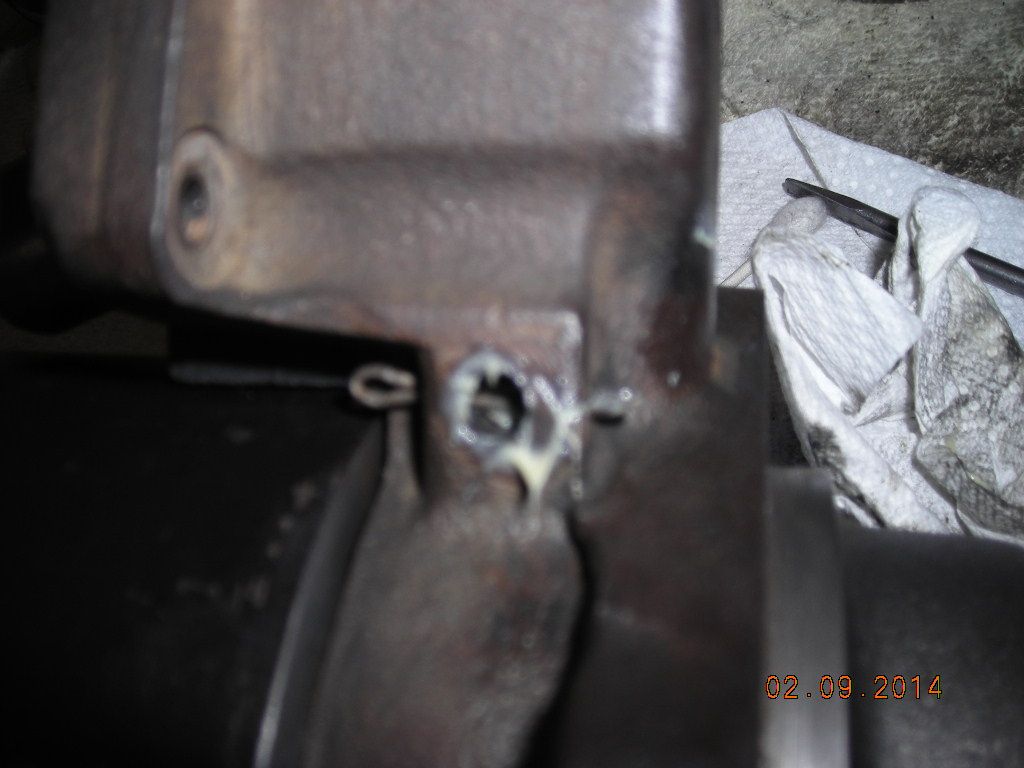
Remove 2 nuts at the back of the starter. Mark the alignment as the starter will come apart in 4 pieces. There are 3 connections that go to 3 of the 4 brushes; be careful to re-assemble exactly the same as it came apart.
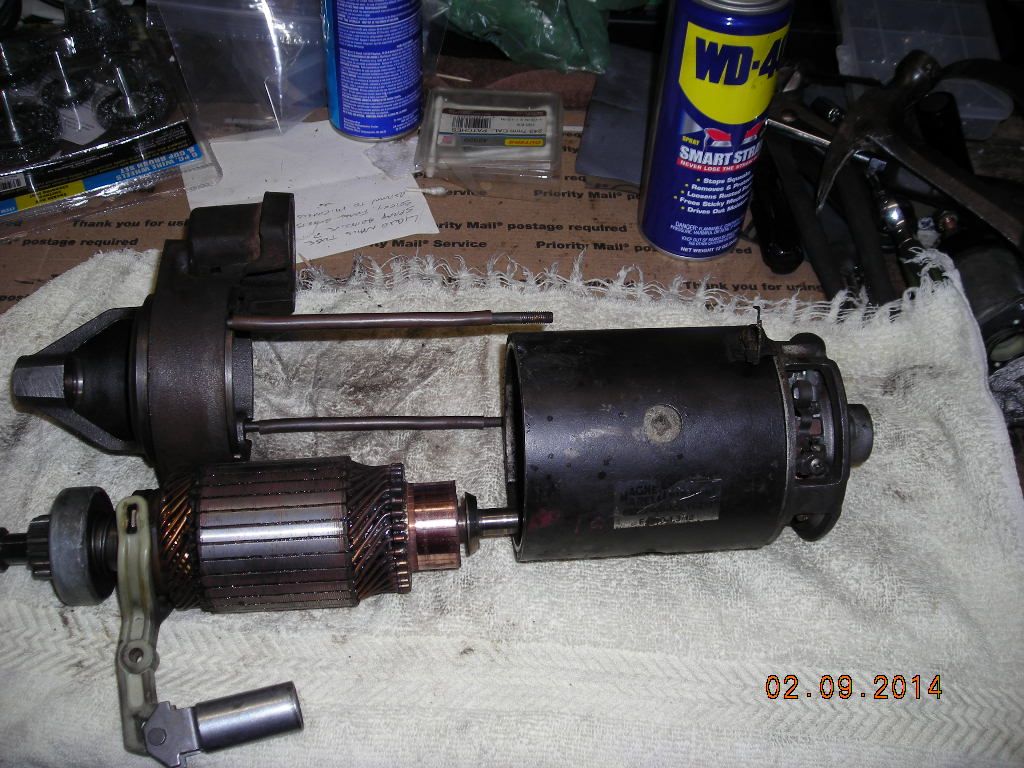
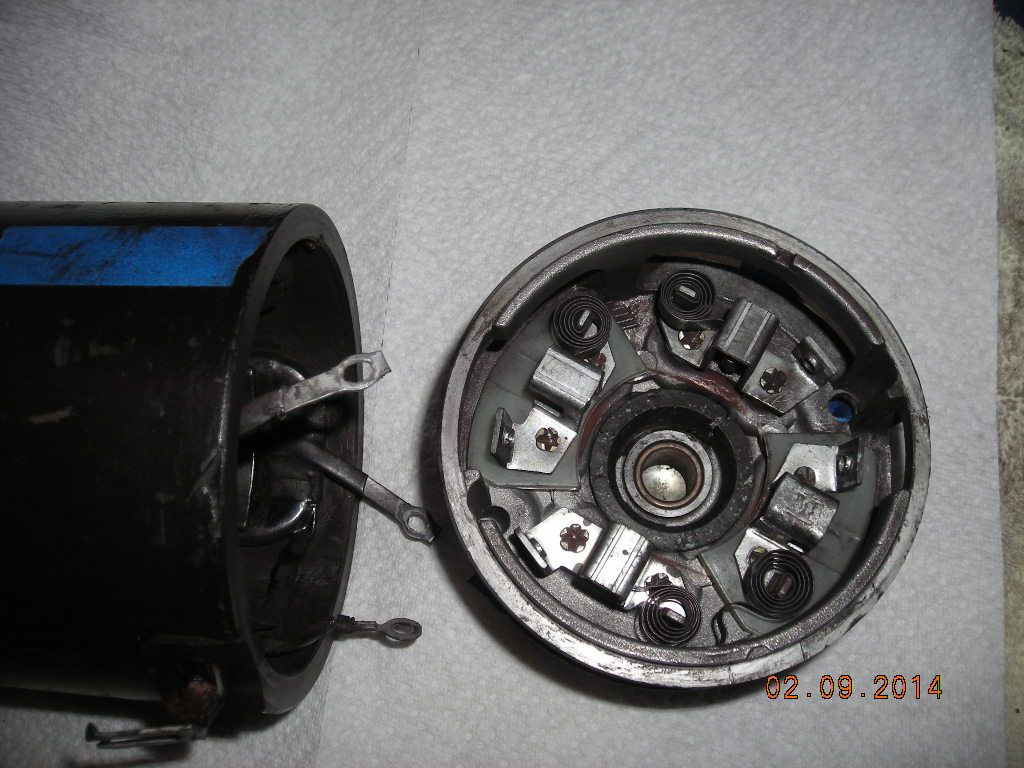
Go to work with a toothbrush, scraper, and spray electronics cleaner. Lots of crud
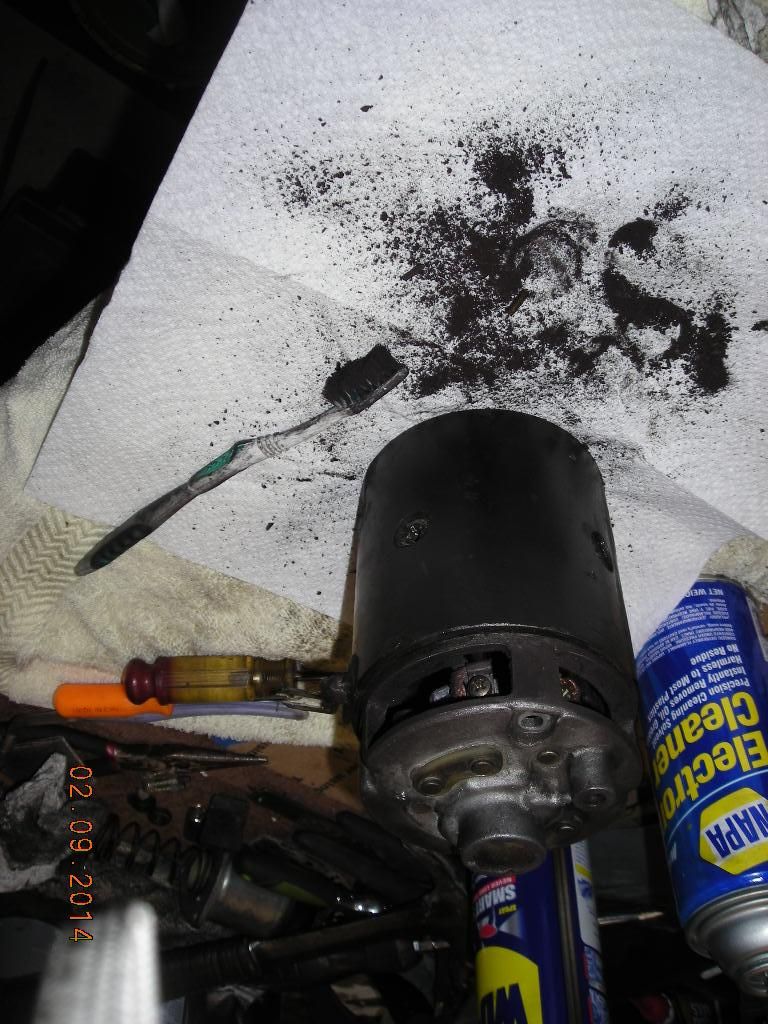
At the gear end, there is a split ring holding on the fatter washer/thingy (3rd in from the end). I didn't have the means to remove it so I could not pull off the gears and sliding actuator to fully clean things. I sprayed electronics cleaner into the splines, gear, and shaft and wiped away old lubricant the best I could. I used spray lithium grease to re-lubricate those areas. The ends of the shaft go into bushings, I used tub lithium grease in those places.
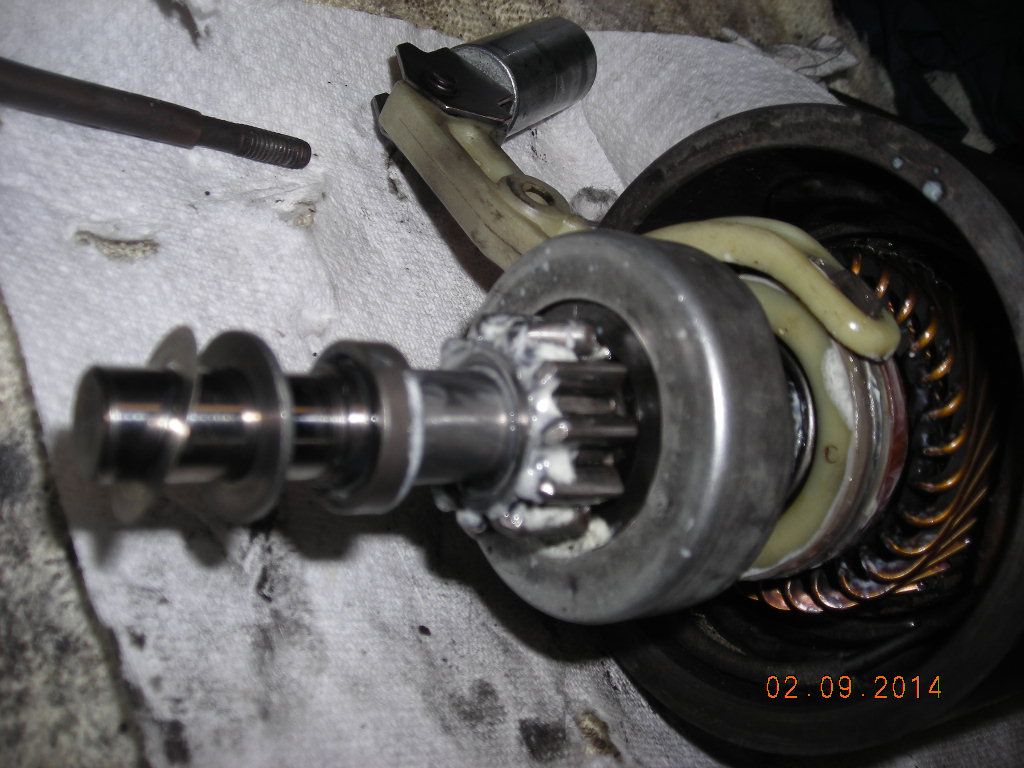
I also applied abit of lithium grease into the solenoid. The cover of the starter-to-solenoid wire was deteriorated, I applied some Liquid Tape. I have found Napa Electronics Cleaner to be the best and easiest product to clean old, dry grease; great at blasting those small, hard-to-reach-places. I took it down to Napa where they successfully bench tested my re-assembled starter.
BTW, this took some trial and error. The pictures actually show the cleaned and going back together story rather than the filthy, gunky, I am not really sure what I am doing dis-assembly story.