I decided to dig into my non-functioning windshield wipers. Since I bought the car with the wipers in their current state, I decided to first check at the motor connections. I have a Fiat electrical diagnostics manual. I found the system descriptions and wiring diagrams useful but it lacked clear procedures. This is what I did:
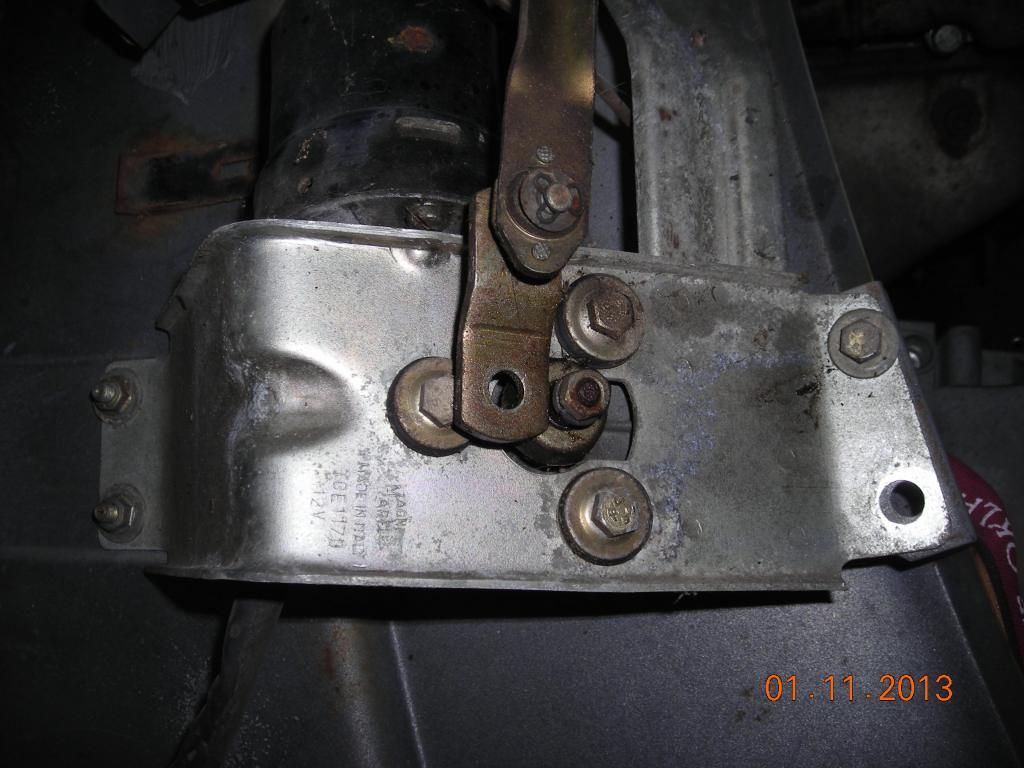
First was to remove the cowl. Pretty easy and well documented in this forum. Remove the wipers and set aside; there is a small locking lever under the arm and well hidden. Remove 6 screws, pull forward on the cowl, and lay it upside down to access the wiring and motor. The wiper linkage is connected to the motor spindle with a single nut, this separated easily.

Then remove the 2 pairs of bolts/nuts on either side of the motor bracket and the 3 bolts holding the motor itself. This allows the motor to be pulled free:
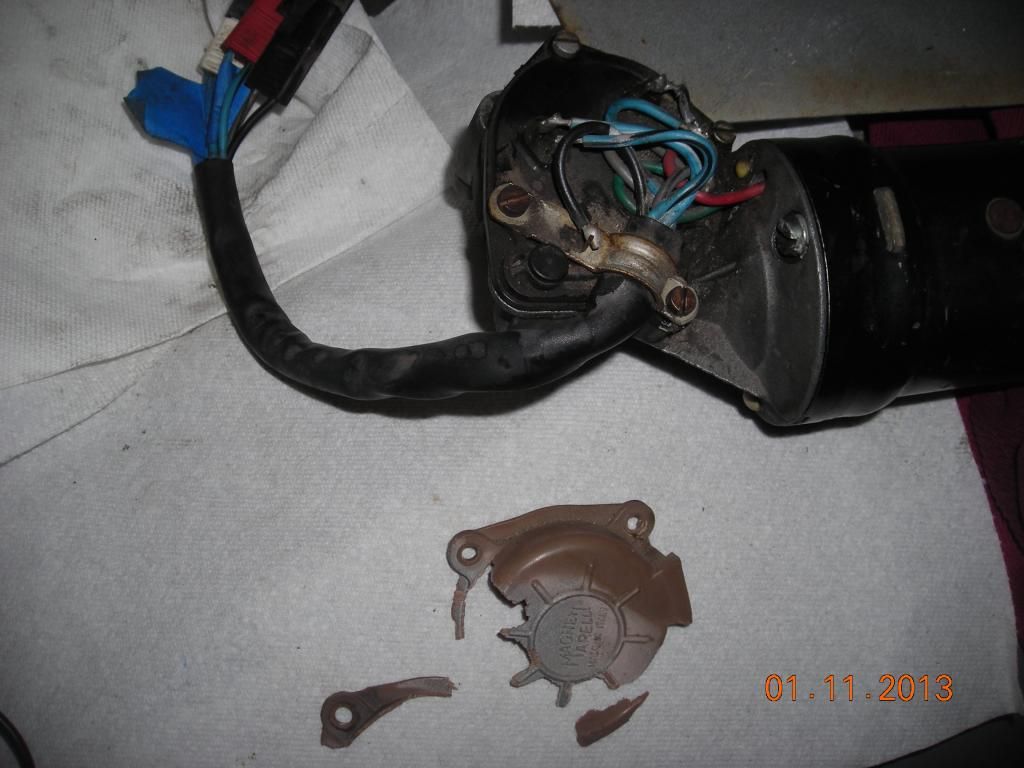
With the motor pulled free. I inspected the linkage and found it operational but in need of a cleaning and new grease. My motor's plastic cover was weathered and disintegrated...looking like the motor is shot.

This is how I tested the 6 wire circuit (my car is an 80). Pull apart the connectors:
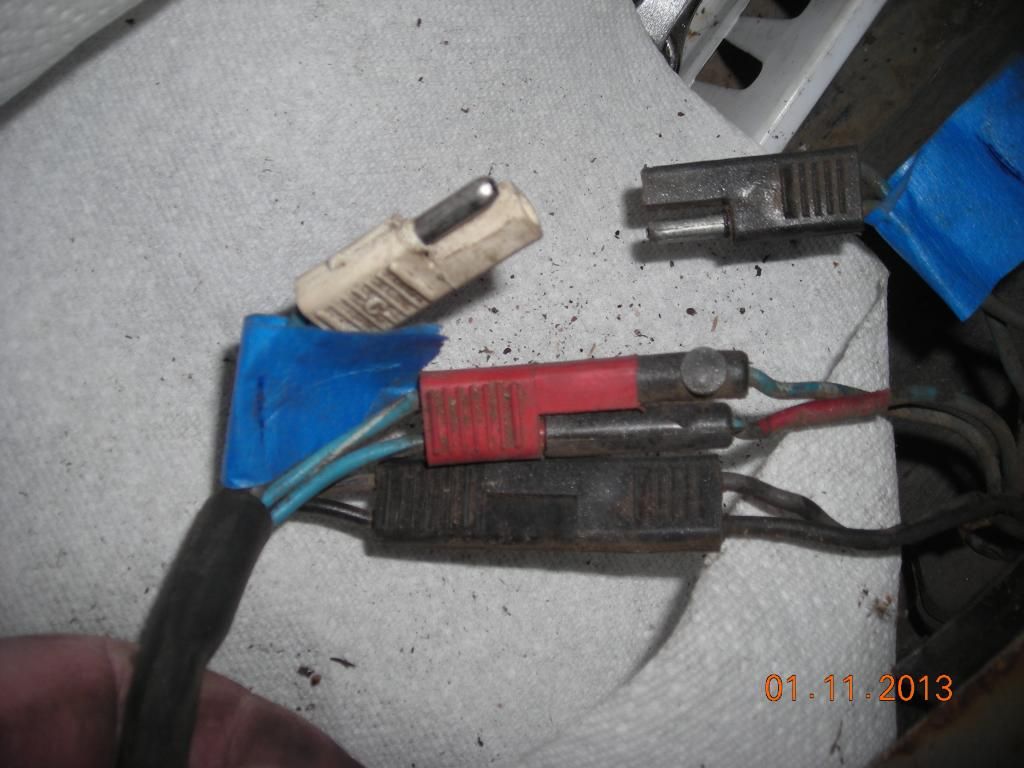
1)The solid black wire is ground. Take your light bulb tester and clip its ground end here.
2) Blue/black is the park lead. Turn your key to "Run". Touch the tester to the wire/connector, it should light the bulb.
3) Lt gray is the fast lead. Turn your dash knob CCW and your wiper control lever to the continuous (full down) position. Touch the wire/connector with the tester, it should light up.
4) Lt blue is the slow lead. Turn the dash knob CW. Repeat the test.
5) Move the wiper control lever to delay (middle position). CCW should power the lt gray wire. CW should power the lt blue wire. I was able to hear the delay relay clicking under my dash. Mine all tested OK.

I tore apart the motor. The gears looked good.
I removed the 2 bolts to remove the housing and expose the inner windings. There was some rust on the magnets and also on the windings. This was the only thing I could find wrong with the motor. No burn smell, no bad brushes, no broken wires..

I was able to lightly sand and wipe this rust away. I pulled and turned CCW the windings and separated the windings from the gear housing. After getting the various pieces apart, I cleaned them with electronics spray cleaner, I applied lithium grease to the gear housing and bushings and re-assembled. There were 2 tricks I want to share: One was to use wire ties, hooked around the 3 brush wires, to hold them back when inserting the motor shaft. The other was the need to keep the spindle or round gear from turning when replacing the housing (or the housing's attached magnets will suck the winding and shaft out.... resulting in having to do trick 1 all over again

) Sorry I don't have pictures to share..

I re-connected it and the motor works!
My next step will be to clean its exterior a bit more, then apply silicone sealant over the exposed soldered wire connections.