Page 6 of 6
Re: My 1978 Spider progressive restoration
Posted: Tue Mar 08, 2016 2:57 am
by 124JOE
well in wisconsin theres not alot of spiders left,we use salt on the roads.
and well most of then rusted so bad that it was known that if you open
both doors and sat down the spider could fold and doors couldnt close
causing most of them to be junked.to make things worse the junkyards
scraped them leaving me NO parts. except one that was a racer, striped
of all weight.and one in a different yard smashed beyond wanting any parts
so be carefull.joe
Re: My 1978 Spider progressive restoration
Posted: Tue Mar 08, 2016 8:27 am
by klweimer
Frankd1,
Some thoughts on your recent posts.
* Yes, I believe the floor pan is about 18 gauge.
* As for your question about the floor pan meeting the side sill, I would try to leave some of the original floor pan welded to the side sill and use that as a fixture for any new steel you weld in. You might also consider bending the new floor pan steel up, instead of down, as welding inside the car is probably easier than welding upside down, under the car.
*Door sag - The Spiders do have that tendency, primarily due to cracking hinge mounts in 30+ year old cars. That said, I wouldn't worry about trying to support the door when you are kneeling in prayer over your rusted floor. If leaving the door open while you are working makes it sag more, you clearly have door hinge work in your future, so why worry about right now?
Kirk
Re: My 1978 Spider progressive restoration
Posted: Tue Mar 08, 2016 3:00 pm
by Frankd1
Thanks guys.
Kirk, I'll have a closer look at the few inches of floor along the sill where those two spots are.
Everywhere else is perfect solid metal along the perimeter. The sections that I need to fix have lots of good metal around them.
So far no sagging on the doors, they feel solid and the hinge points look and feel solid from what I can see.
Thanks
Re: My 1978 Spider progressive restoration
Posted: Wed May 11, 2016 5:48 pm
by Frankd1
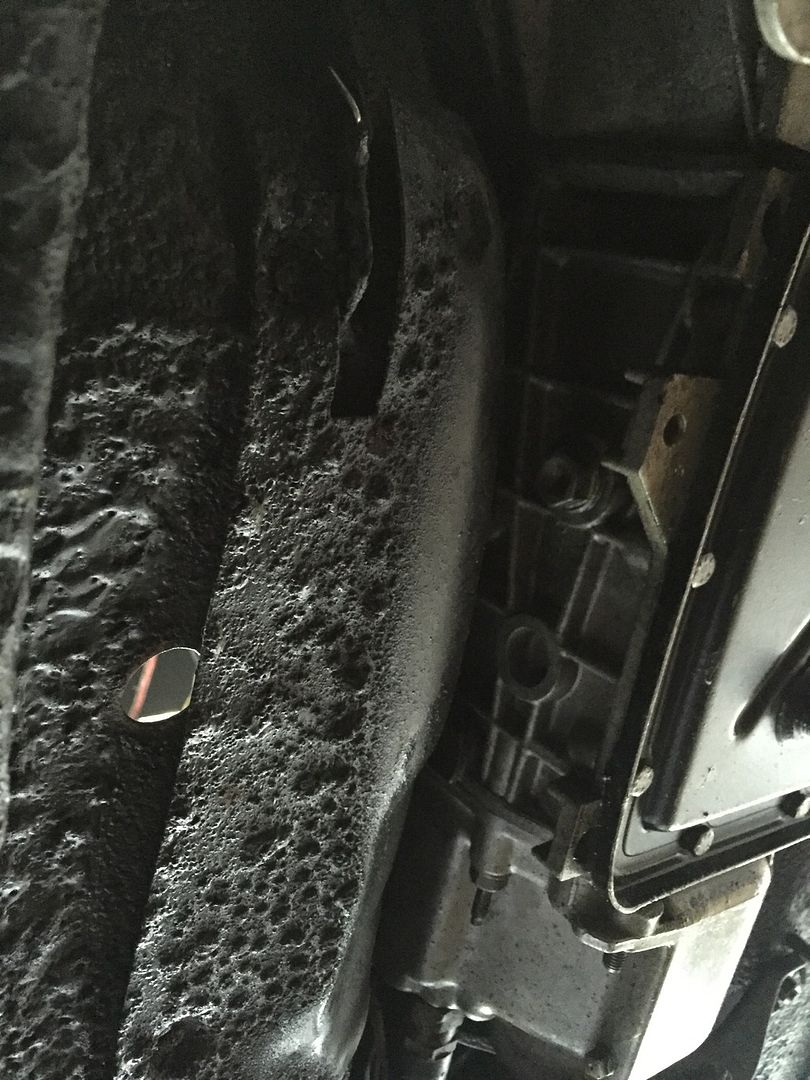
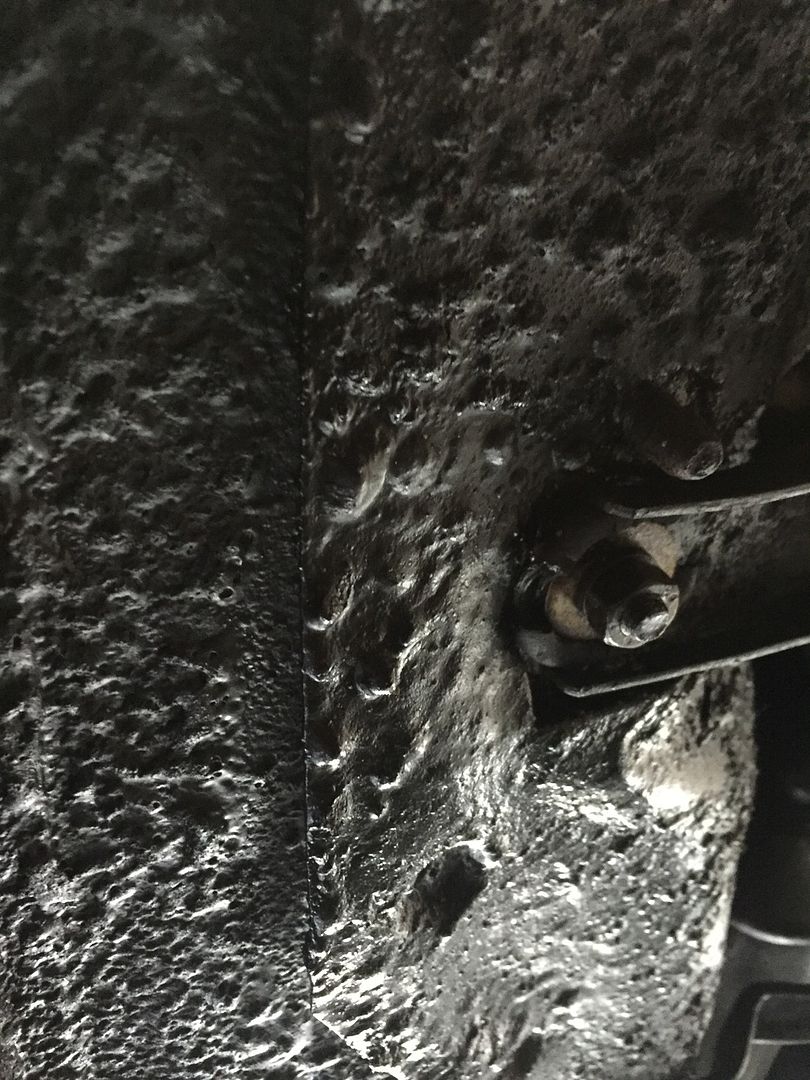
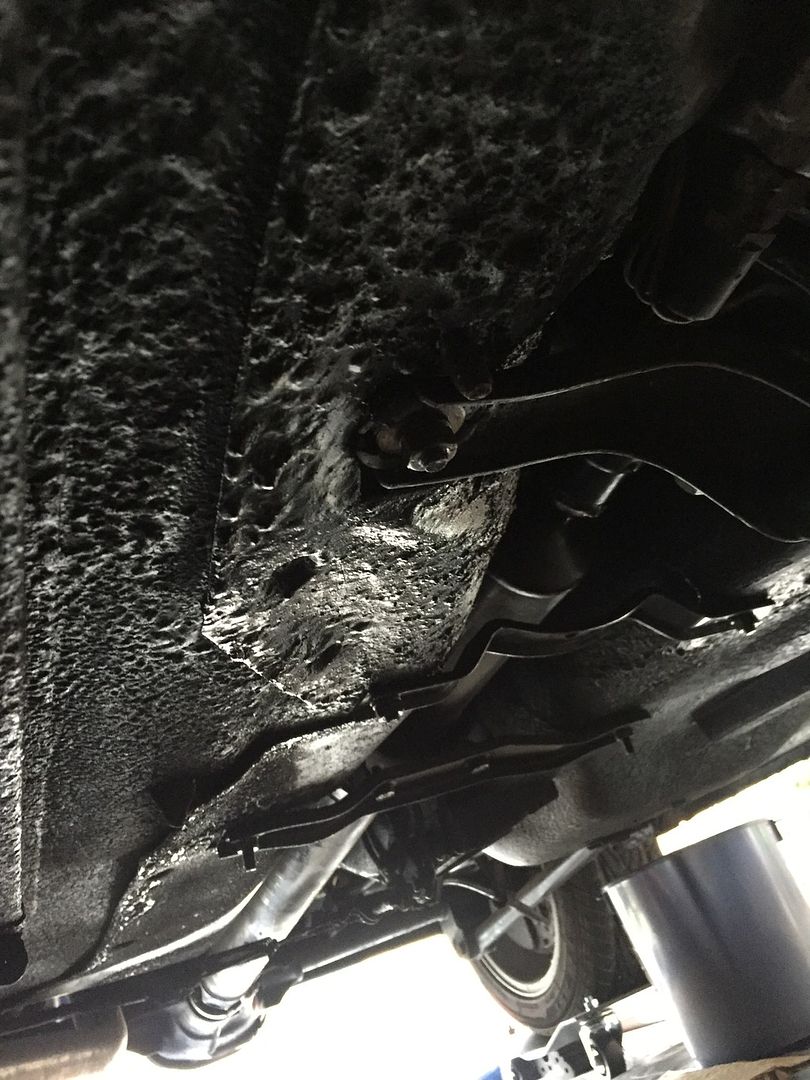
been a while since my last update, progress has been slow but sure. I was underneath the car and notice what looks like a second piece of sheet metal riveted to the passenger underside - it follows the contour of the transmission tunnel and runs the length of it:


you can see the rivets from inside the car where they pass through the floor panel on the passenger side. They don't stick up very high and I noticed them after chipping away all of the factory sound deadening material.
Its not a patch as there is no rust. lots of undercoating caked on though which will be getting cleaned off and reapplied to look a little neater.
Was this put on at the factory? Is it a heat shield of sorts? I haven't noticed it on other spiders...
Re: My 1978 Spider progressive restoration
Posted: Fri May 13, 2016 12:34 am
by vandor
Exhaust heat shield for non-catalyst cars, where the exhaust ran close to the tunnel.
Re: My 1978 Spider progressive restoration
Posted: Thu May 19, 2016 10:08 pm
by Frankd1
Thanks Csaba. Thats what I figured it was but what threw me for a loop was that my exhaust runs on the outside of the long rail, where it would if there was a cat.
Re: My 1978 Spider progressive restoration
Posted: Thu May 19, 2016 10:15 pm
by Frankd1
I've decided to re-use my original steel fuel lines. I pulled them in order to have access to the edge of the floor panel and door sill.
I figured I would bend up new lines because I noticed a little bit of bubbling in the coating. However, today I had a closer look at the lines and went at them with a wire wheel to remove the plastic coating....the surface corrosion was thin and quickly came off revealing nice shiny steel.
I'm going to remove the rest of it to make sure that there is no other corrosion.
To refinish the lines, I figured I would prime them with master series silver. I want to apply a rubberized or plastic coating on top but I'm not sure what to use....any suggestions?
Re: My 1978 Spider progressive restoration
Posted: Tue Mar 21, 2017 3:47 pm
by bjbrown
FrankD1, how did your fuel line refurbishment go? Did you figure out something to coat the original steel lines with? Did you ever take photos of the installation of those lines and the various clips that hold them in place? I'm about to re-install mine and could use some advice.
Re: My 1978 Spider progressive restoration
Posted: Wed Mar 22, 2017 6:58 pm
by Frankd1
bjbrown,
It went well and I was pleased with the results.
I apologize for not keeping this thread up to date, rest assured though, I have been working on my spider lol!
Here are the steps I took for the fuel line refurb:
- removed all of the factory coating. I used a carbide wheel with light pressure so as not to thin the metal, but rather, just remove the coating
- once the coating was completely removed I gave the bare metal lines a light scuff with 120 grit sandpaper just to give a bit of mechanical tooth for better paint adhesion
- cleaned the lines with Eastwood metal cleaner
- wiped on ospho phosphoric acid. This gives an etch and a phosphate base for the primer
- once ospho was completely dry I primed with several coats of anti rust primer. You can use POR, masterseries silver, rustoleum rust primer etc etc
- top coat with gloss white Rust Check rust paint
- I then covered the lines with heat shrink tubing to give a physical protective barrier. I purchased a 10' roll in 1/2" for the bigger line and 3/8" for the smaller line.
I'll upload pictures as soon as I have a chance
Re: My 1978 Spider progressive restoration
Posted: Thu Mar 23, 2017 7:50 pm
by bjbrown
Thanks, Frankd1,
Question: did you ever consider just having new ones made? I had two of the fuel lines for my spider reproduced by a local shop. They cut new tubing of the right diameter, formed the bulge on the ends where needed and put the threaded fitting on the other end. However, I only did two of the tubes that seemed in worst shape and not the others. The ones that I had re-done are the ones that run through the passenger compartment and were rusted from moisture inside the car against the floors. The other fuel lines were under the car and mostly coated with sprayed-on undercoating which I believe saved them. Now, I'm thinking they're re-usable either as-is (with the residual undercoating still on), or with some preservation technique like you've outlined. Frankly, I'd go to the same local shop and have the others made brand-new, but they moved and no longer offer that service. They only charged me 20 bucks or so if I recall correctly.


