Page 5 of 16

Re: 1978 rolling restoration

Posted: Fri Aug 19, 2011 1:46 am
by DocGraphics
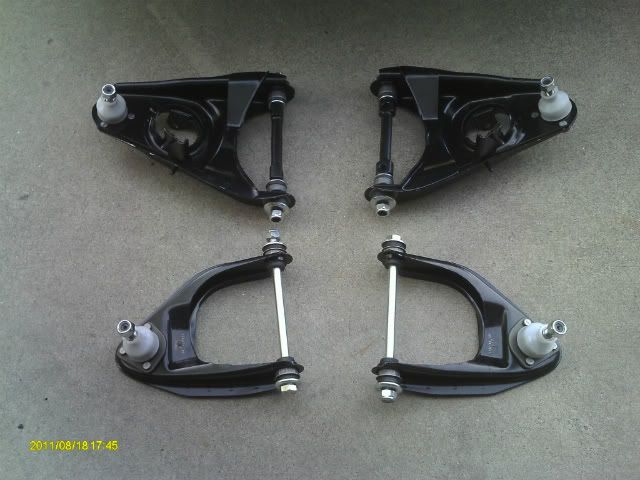
Got my arms today, look great, can't wait to get it all changed over.

Image

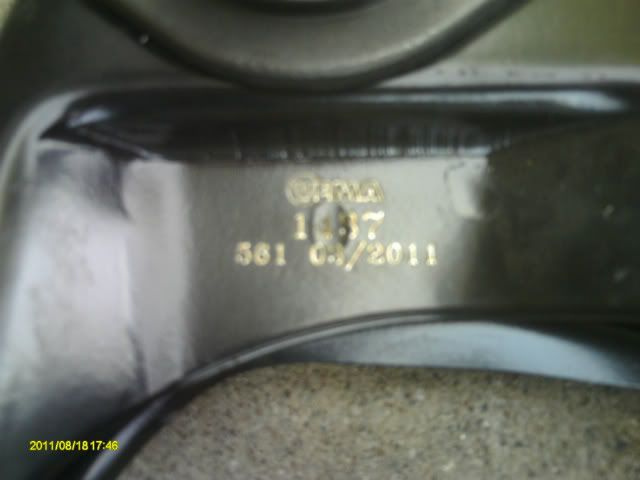
They have the part# & the build date stamped in them for future reference.

Image
Sorry for the fuzzy pic.

I'll be painting everythig else while it's apart too, cutting a coil off all the springs & will be ordering new shocks too next payday.

Re: 1978 rolling restoration

Posted: Fri Aug 19, 2011 2:42 am
by WYSpider
Where did you buy these?

Re: 1978 rolling restoration

Posted: Fri Aug 19, 2011 9:10 am
by jimmycakes401
Those do look awesome. Give everyone a direct link. I'm sure everyone will be asking you constantly about them.

Re: 1978 rolling restoration

Posted: Fri Aug 19, 2011 12:00 pm
by DocGraphics
I got these at Vick's, but most of our suppliers sell then fully loaded like this.
ONline catalog, suspension page 1

http://www.vickauto.com/newstore/index. ... ath=5_6_40

I'm impressed with them, even came with the white plastic covers on the ball joints to protect them while shipping.
I have seen mentioned that the replacement ones in general are stamped from thinner steel than the stock ones, I'll check this during my swap & post the results.

Re: 1978 rolling restoration

Posted: Fri Aug 19, 2011 2:49 pm
by jimmycakes401
MAN. Can't beat the price!

Re: 1978 rolling restoration

Posted: Mon Aug 22, 2011 4:59 am
by DocGraphics
I got my new arms installed this weekend.

First some info: measured thickness of old & new
factory arms .125" to .140" thickness depending where measured
Vick's replacement arms .125" thickness
So looks like they the same thickness all dirt aside.

Anyhow, the job went pretty easy, although time consuming doing the first side.
Key is to have all the right tools on hand, I bought a coil spring compresser last week & already had the pickle fork.

Yes I used a pickle fork to seperate the ball joints as I was replacing the complete arms & only needed the spindle stuff & not trying to reuse the ball joints.

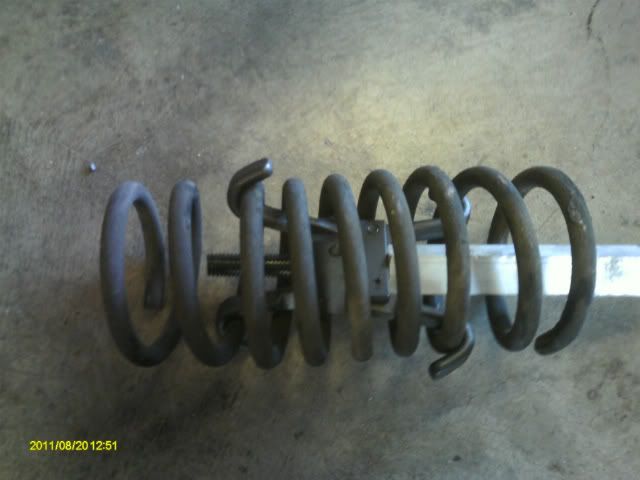
I had to put a pipe spacer on the spring compressor because the screw is way longer than needed in our springs.

Heres them compressed after removal, got just enough to get them out safely, the bolt head to tighten the compresser is out of frame at the end of the pipe spacer I added.
Image

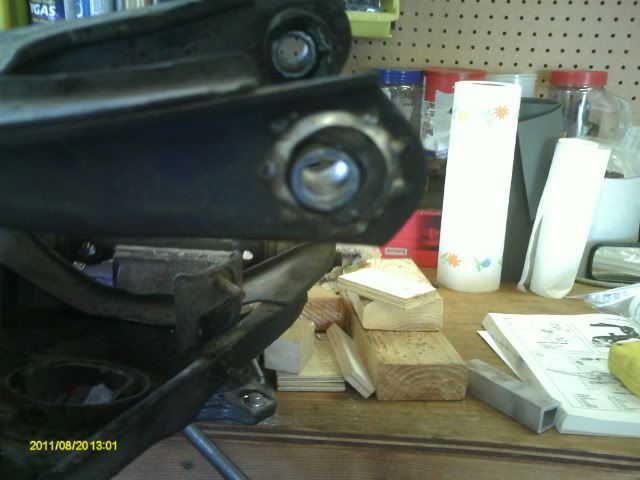
Once I got it all apart checked out old upper bushings, & I thought they looked bad in the car. Just a bit worn out. Lower bushings were quite bad too.
Image

Once I got everything apart I cleaned & painted all the old pieces that I reused.
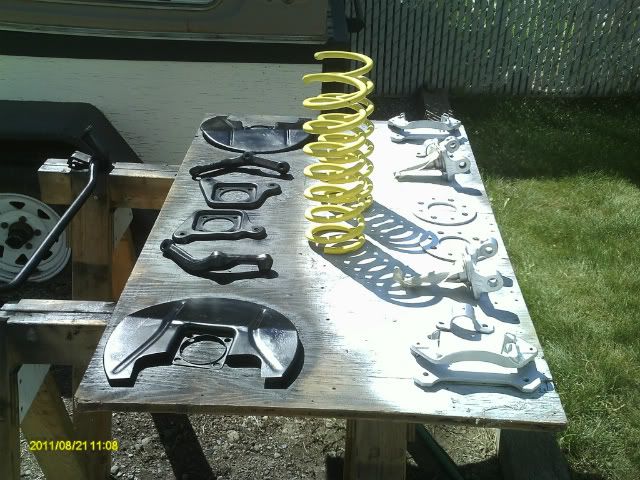
Image

I chose "sunshine yellow" for the coil springs as I have a burgundy car & thought red wouldn't look right.
I cut one coil off the bottom of the springs. springs upside down in pic
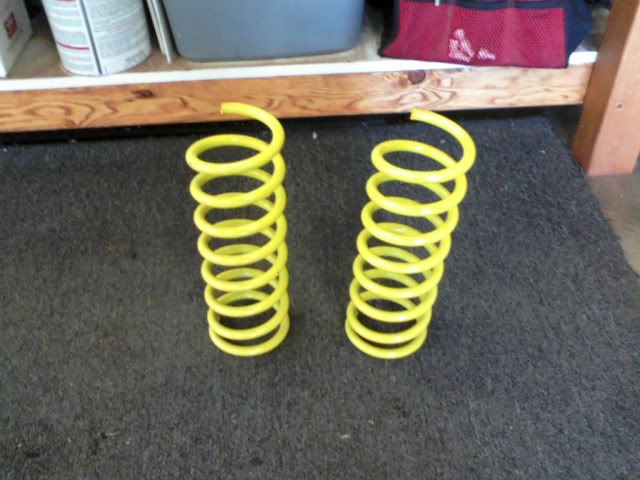
Image

Heres a pic of one arm all back together still in the vice.
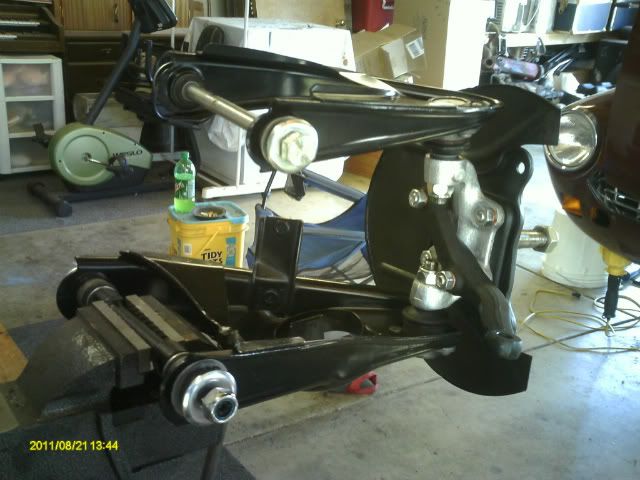
Image

& heres it is all together, clean clean clean, I love it.
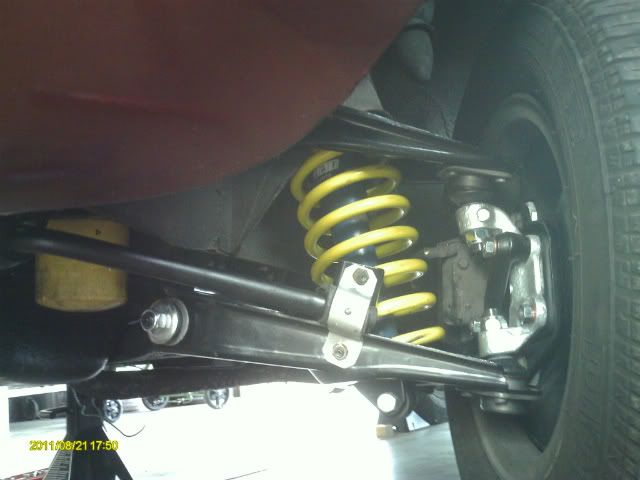
Image

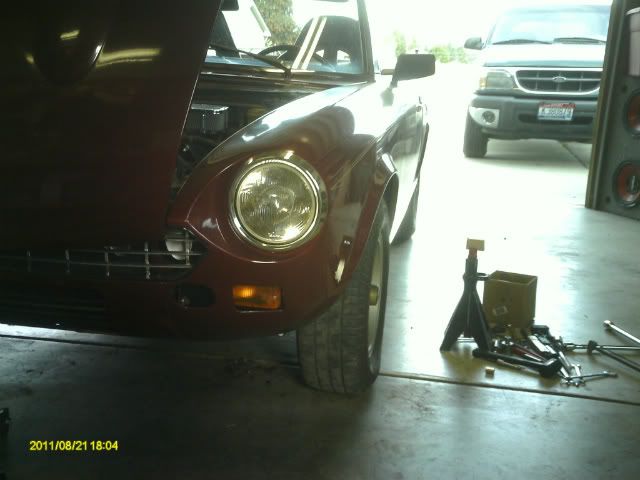
Here it is back on the ground again. The tires sit up & down again, actually slightly leaning out at top 1/8" each side.
The pass side had 1 shim on each bolt but the drivers had 2 washers on each so I'm fine that its leaning out & shims can be added rather than having to take it all apart again to remove washers to get the camber in.
I will run this set-up a week or 2 to get everything settled then get it in for an alignment.
I am quite surprised that bad bushings were causing better than 1/2" tire lean in, or more didn't measure (pic earlier in this thread)
Image

I only got 1/2" of lowering cutting 1 coil but I imagine that will settle a bit.
With cutting off the flattened end coil & only getting 1/2" I imagine cutting another (non flattened) would get me alot more than 1/2" more.
I'll see what I think after I get the rears cut a coil too then maybe take some more off the front.

Suspension actually feels a little softer, I imagine because it actually WORKS right & no more squeeking up front.

It all took 2 days, 1 to take it all apart & clean & paint everything, & 1 to put it all together.
I wasn't working too fast either as it was about 90* in the garage & not much of a breeze blowing thru, I know I lost weight!

Next is exhaust manifold leak & cracked center muffler then tranny gasket & new GL-1.

More to come...
Re: 1978 rolling restoration

Posted: Mon Aug 22, 2011 7:57 am
by jimmycakes401
Awesome. Looks great. Maybe one day I'll get around to doing that all myself.

Re: 1978 rolling restoration

Posted: Mon Aug 22, 2011 11:30 am
by majicwrench
Don,
Sure looking good. I don't think I am gonna let you have a close look at my 72

I trust you had weight on the tires when you tightened the bushing thru bolts?? Those should not be tightened when suspension is hanging.
keith

Re: 1978 rolling restoration

Posted: Mon Aug 22, 2011 12:17 pm
by DocGraphics
Yes I had weight on the tires when tightening pivot bolts.

Had my wife sit in appropriate side & jacked tire just off ground to remove it, jack under shock mount, then tightened all the pivot points.
I will jack under ball joint if I do it again, the jack under shock mount seemed to unload suspension just a little as I raised tire off ground.

Re: 1978 rolling restoration

Posted: Mon Aug 22, 2011 5:17 pm
by majicwrench
I like to do it on ramps, install new busings etc, let car down, roll back and forth, bounce, then drive it up on ramps.
Keith

Re: 1978 rolling restoration

Posted: Wed Aug 24, 2011 2:20 pm
by WBPDX
Another thing we did almost exactly the same.

I chose to rebuild and refurb, and I did the springs in gray however. :lol:

Looks great - Somehow I think yours is much better sorted out than mine.

Re: 1978 rolling restoration

Posted: Thu Aug 25, 2011 12:05 am
by SanRafaelFaz
Doc, on the rust repair job you did, what did you use to fasten the sheet metal to the floor? What did you use for sheet metal? Also, what is "POR15"?
I just found a nice sized hole on the driver's rear floor area where the seat belt mechanism fastens. I removed the seat belt belt and the mount fell through, leaving a crumbly hole in the floor with nowhere to re-attach the seat belt mech. I was thinking of cutting away the cancer and sandwiching two pieces of sheet metal over/under the hole to where good metal still exists. I don't have any way of welding. I'm thinking a seal of some sort and the seat belt bolt should holed it all together. Does this sound feasible?

Thanks.

Re: 1978 rolling restoration

Posted: Thu Aug 25, 2011 2:28 am
by DocGraphics
I made my patches out of 22 ga sheet metal, after coating everything w/ POR 15 I put a bead of sealer around the rust holes & under the perimeter of the patches w/ automotive seam sealer (got at NAPA) & then riveted them in.
Actually & used sheet metal screws to pull it all together good, then switched out to rivets once it all hardened.
This worked good for sealing the holes but none of mine was structural like where you need to mount the seat belts.
I would get a patch welded in there.

The POR 15 (& Master Series rust encapsulator) is like a thick paint but it cures with the moisture in the air & totaly encapsulates the rust so it cannot get air or moisture anymore & stops it.
POR 15 is available lots of places on line or I got mine off the shelf at the local NAPA.
Cost is about $45 for a quart,I used about half of that & put 2 coats on my floor boards

Note: when applying POR 15 USE GLOVES, it does not wash off, has to WEAR off!

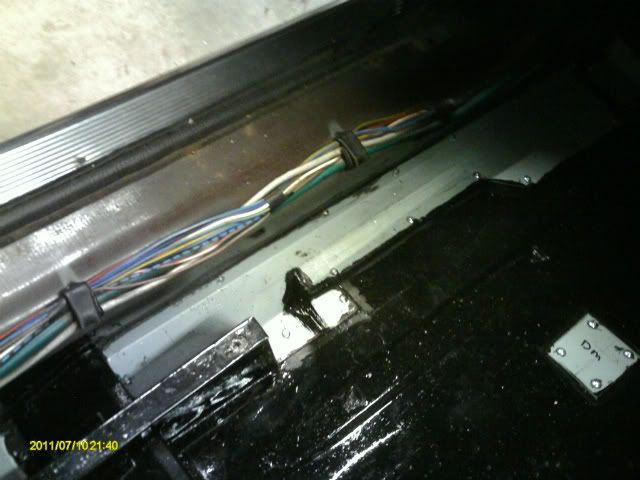
Heres a pic of some of the patches screwed in prior to changing out the screws & putting another coat of POR 15 over top everything.

Image

Re: 1978 rolling restoration

Posted: Thu Aug 25, 2011 10:34 am
by SanRafaelFaz
[quote="DocGraphics"]I made my patches out of 22 ga sheet metal, after coating everything w/ POR 15 I put a bead of sealer around the rust holes & under the perimeter of the patches w/ automotive seam sealer (got at NAPA) & then riveted them in.
Actually & used sheet metal screws to pull it all together good, then switched out to rivets once it all hardened.
This worked good for sealing the holes but none of mine was structural like where you need to mount the seat belts.
I would get a patch welded in there.

The POR 15 (& Master Series rust encapsulator) is like a thick paint but it cures with the moisture in the air & totaly encapsulates the rust so it cannot get air or moisture anymore & stops it.
POR 15 is available lots of places on line or I got mine off the shelf at the local NAPA.
Cost is about $45 for a quart,I used about half of that & put 2 coats on my floor boards

Note: when applying POR 15 USE GLOVES, it does not wash off, has to WEAR off!

Heres a pic of some of the patches screwed in prior to changing out the screws & putting another coat of POR 15 over top everything.

Thanks, Doc. I'll have a go at it this weekend.

Re: 1978 rolling restoration

Posted: Thu Aug 25, 2011 11:05 am
by jimmycakes401
You only used half a quart! Oooooooo. Now I may have to pick some up. I was worried I'd have to use more.