Great job !
1980 spider Restoration phase 2
-
TwinFast
- Patron 2020

- Posts: 102
- Joined: Thu Oct 13, 2016 2:06 am
- Your car is a: 1978 Fiat 124 Spider
Re: 1980 spider Restoration phase 2
I am always impressed by the body restauration, as it's the more difficult part of the restauration. Especially when a bad restauration was previously done (e.g some plaster pudding  )
)
Great job !
Great job !
Fiat 124 Spider 1.8L 1978
Jaguar XKR 4.2L 2009
Harley Davidson Fat Bob 96Ci 2011
Jaguar XKR 4.2L 2009
Harley Davidson Fat Bob 96Ci 2011
-
DRUMMOND
- Patron 2018
- Posts: 443
- Joined: Thu Oct 20, 2011 11:11 pm
- Your car is a: Fiat Spyder 2000 1980 Pininfarina
Re: 1980 spider Restoration phase 2
Thanks twinfast! Its also the longest and most tedious. 
-
DRUMMOND
- Patron 2018
- Posts: 443
- Joined: Thu Oct 20, 2011 11:11 pm
- Your car is a: Fiat Spyder 2000 1980 Pininfarina
Re: 1980 spider Restoration phase 2
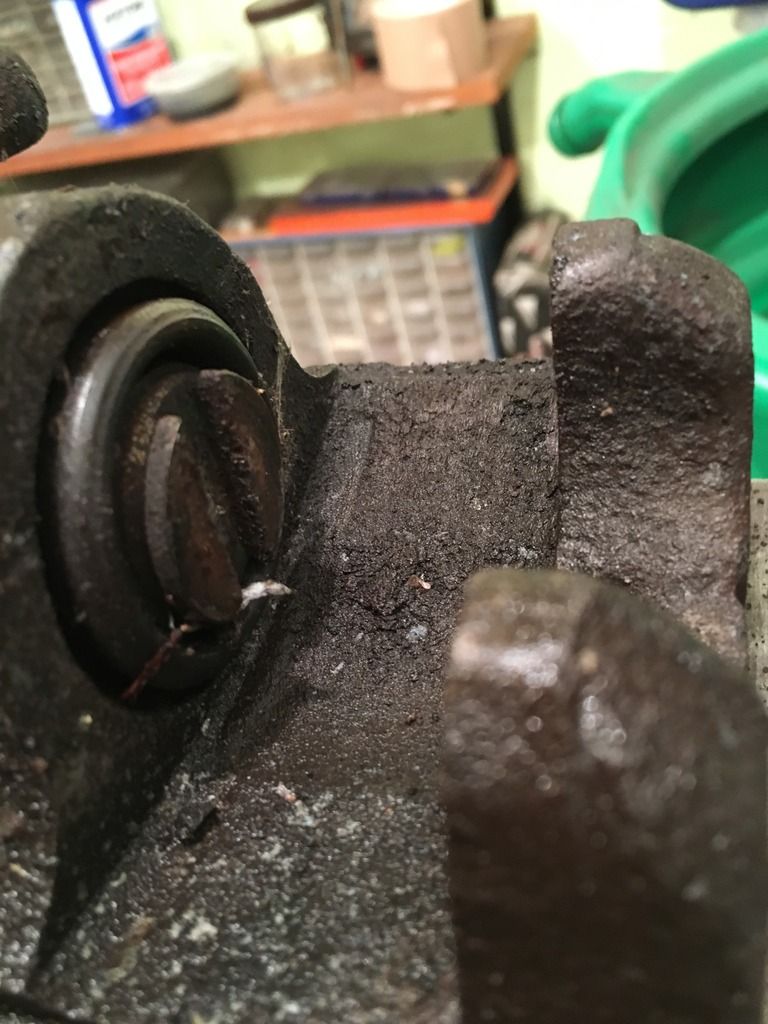
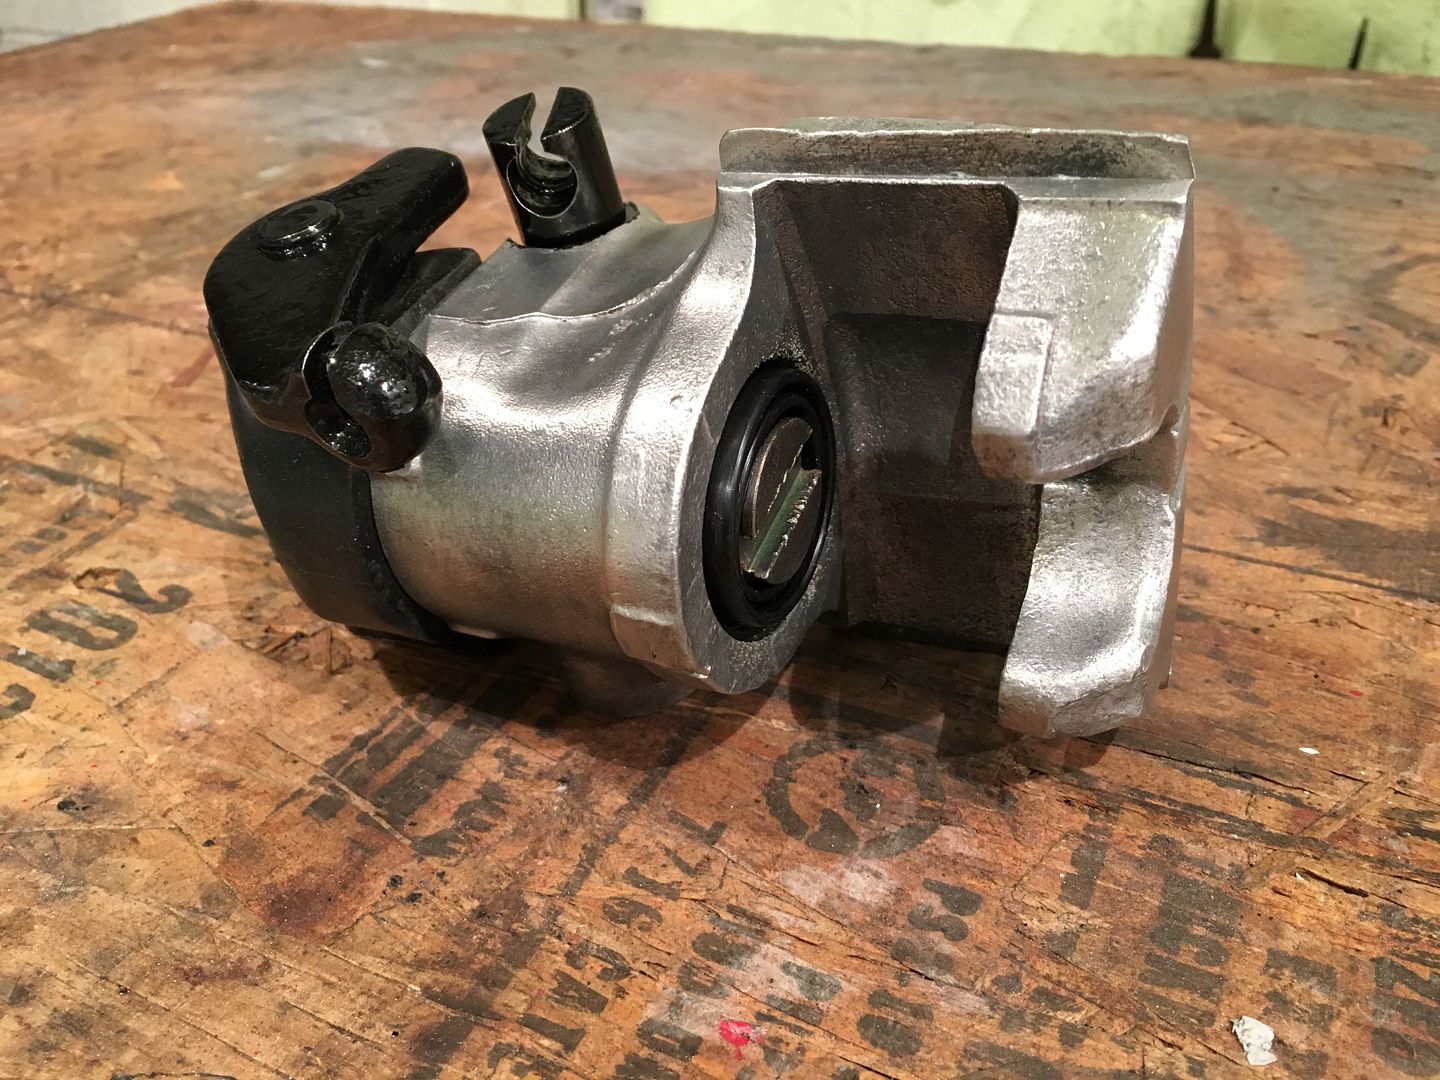
Rear brake caliper rehab
Started with this
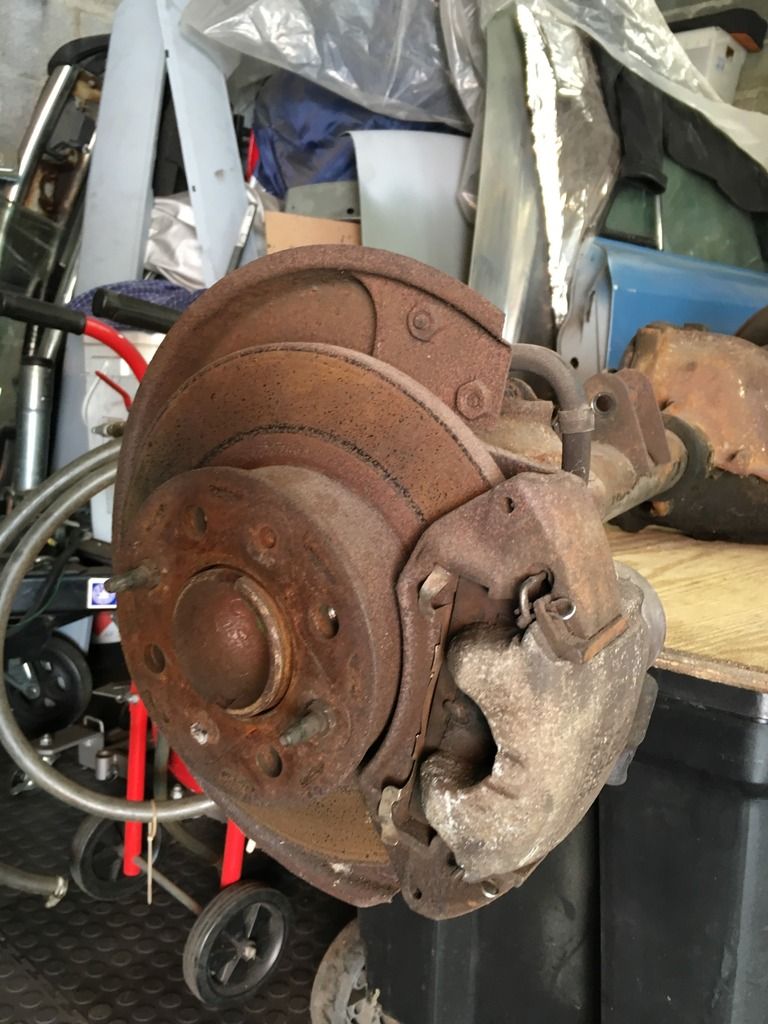
Hmmm things to come?
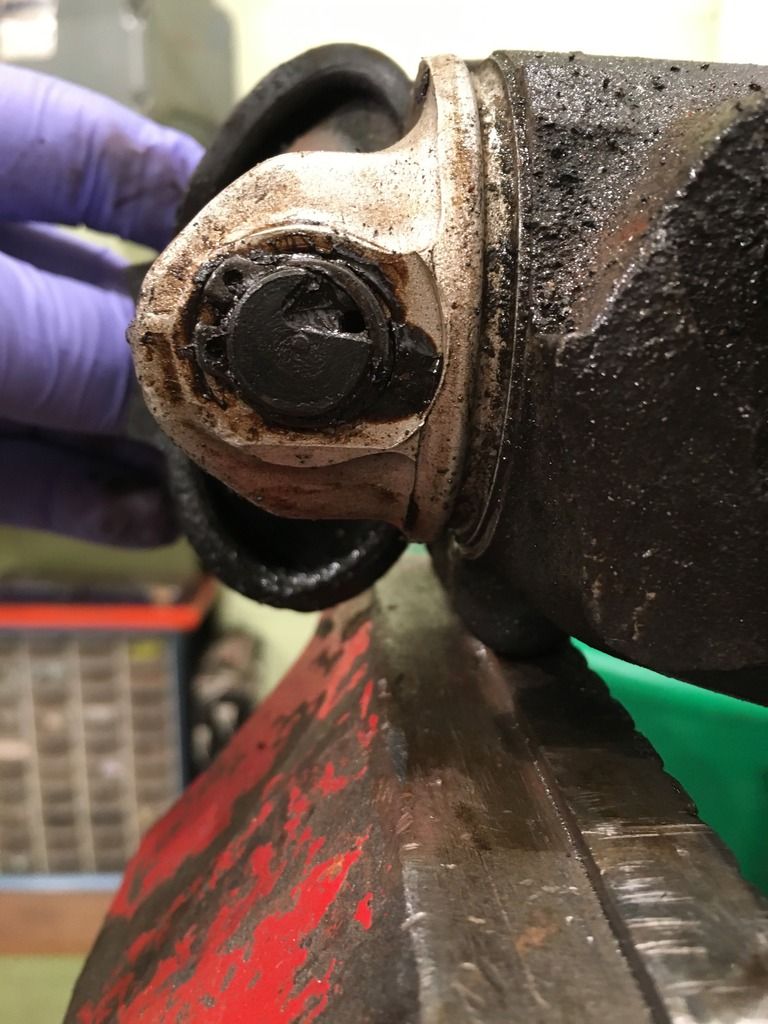
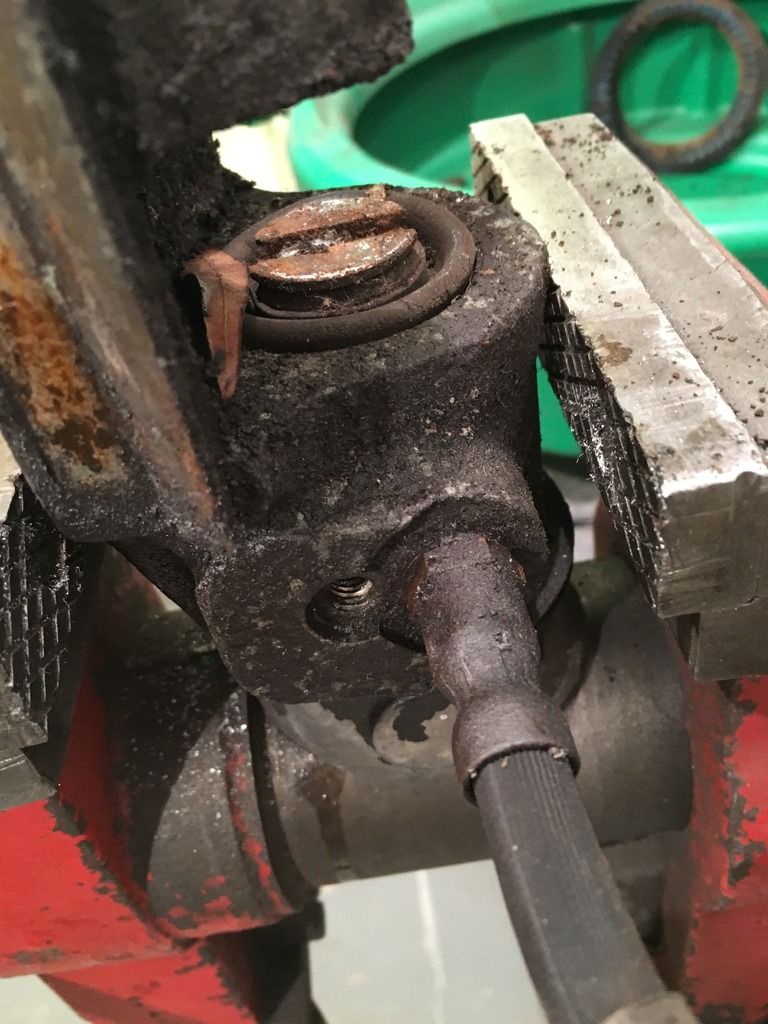
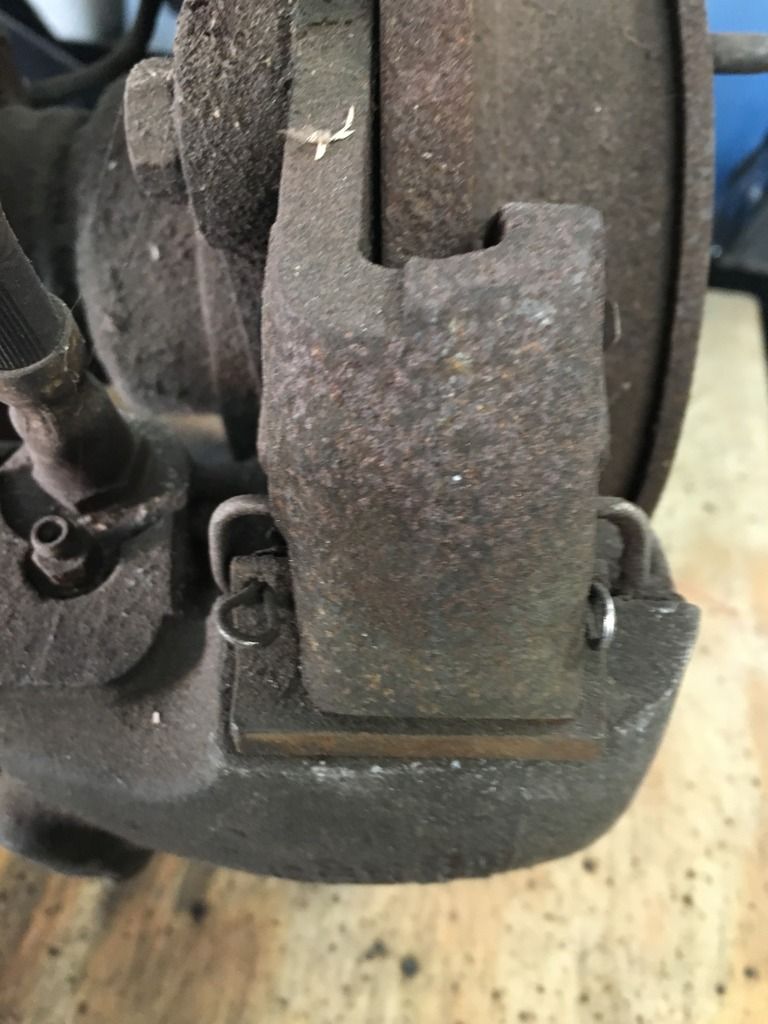
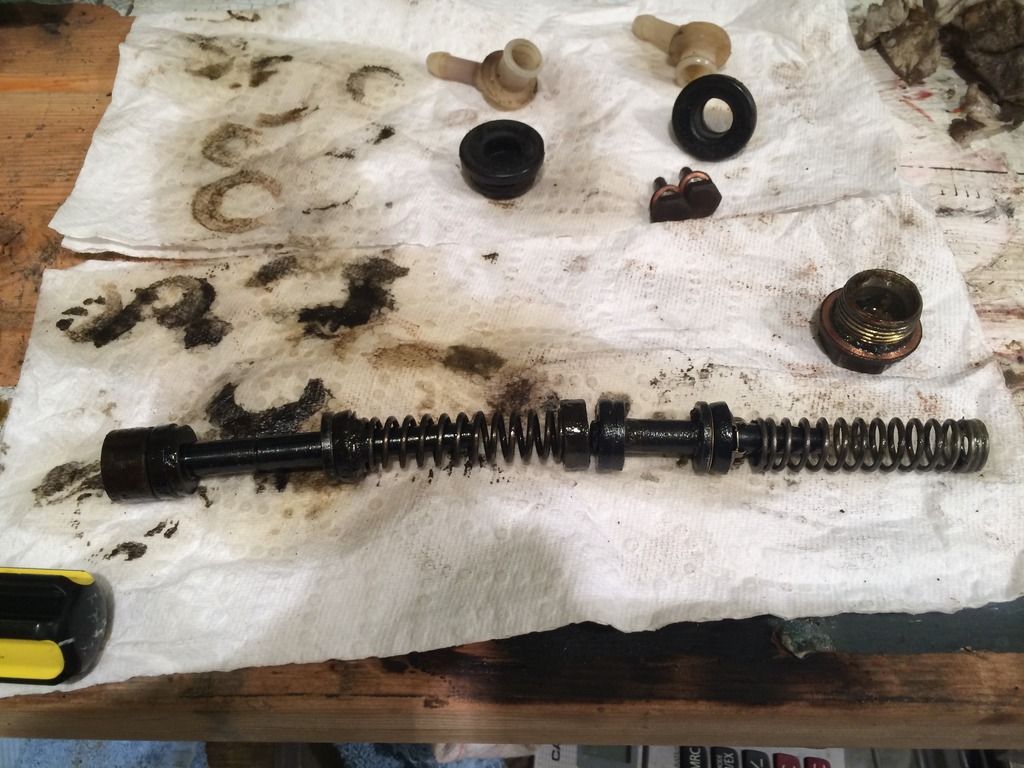
dissembling hand brake cam lever
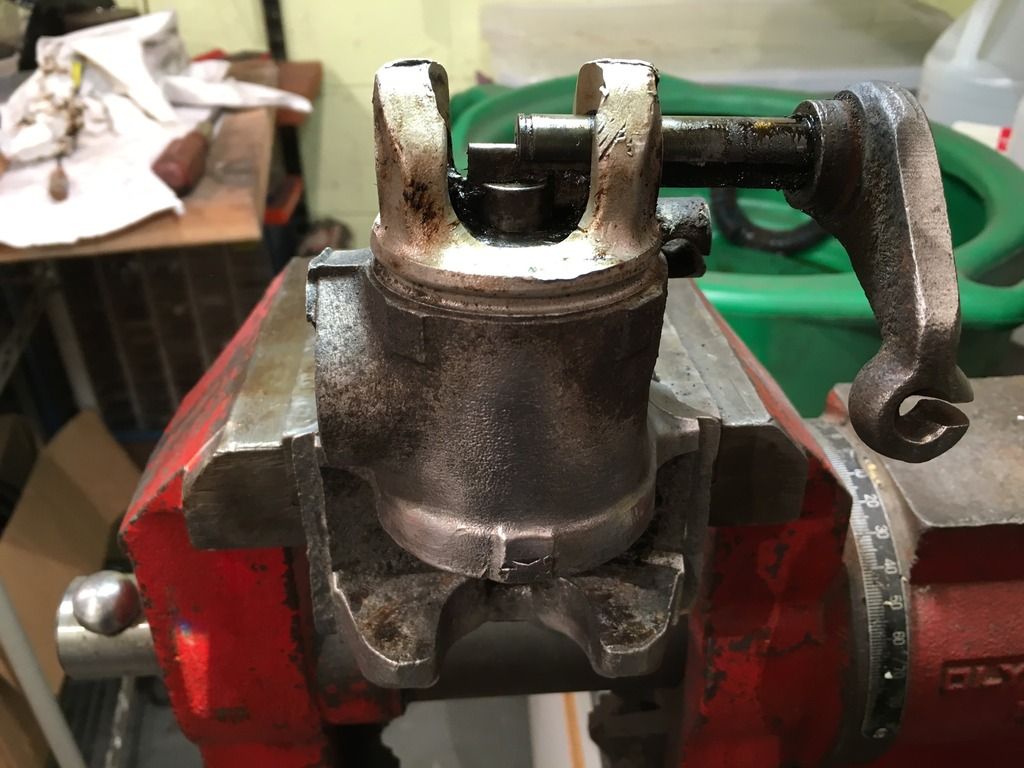


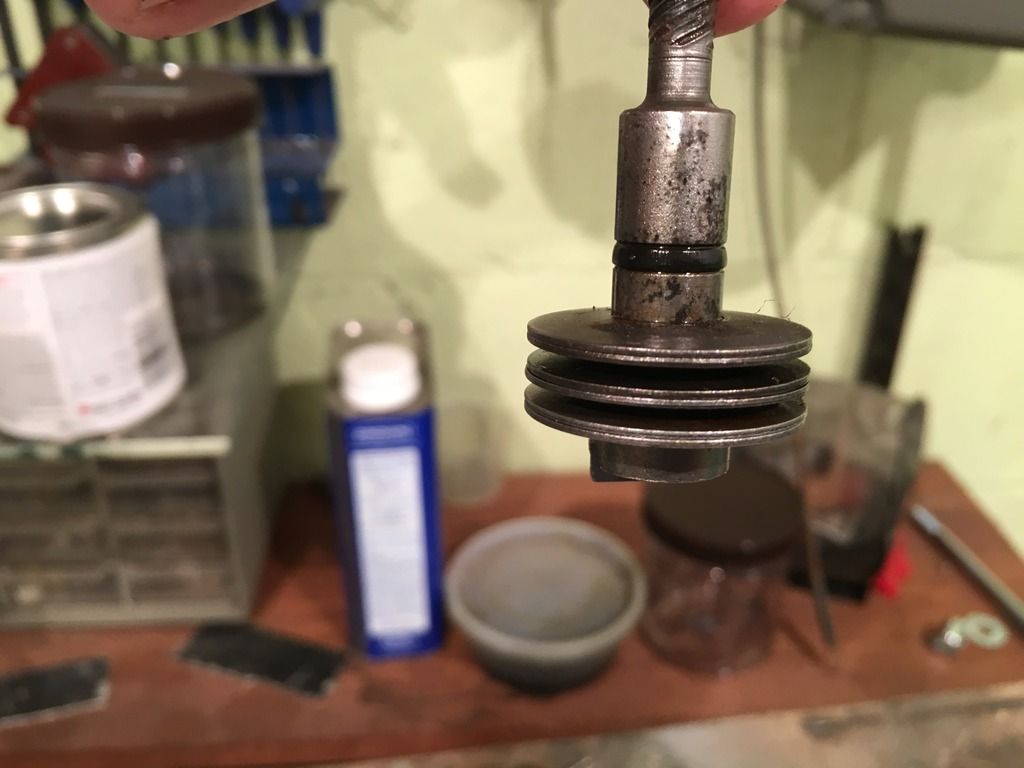
cam lever spring plate assembly
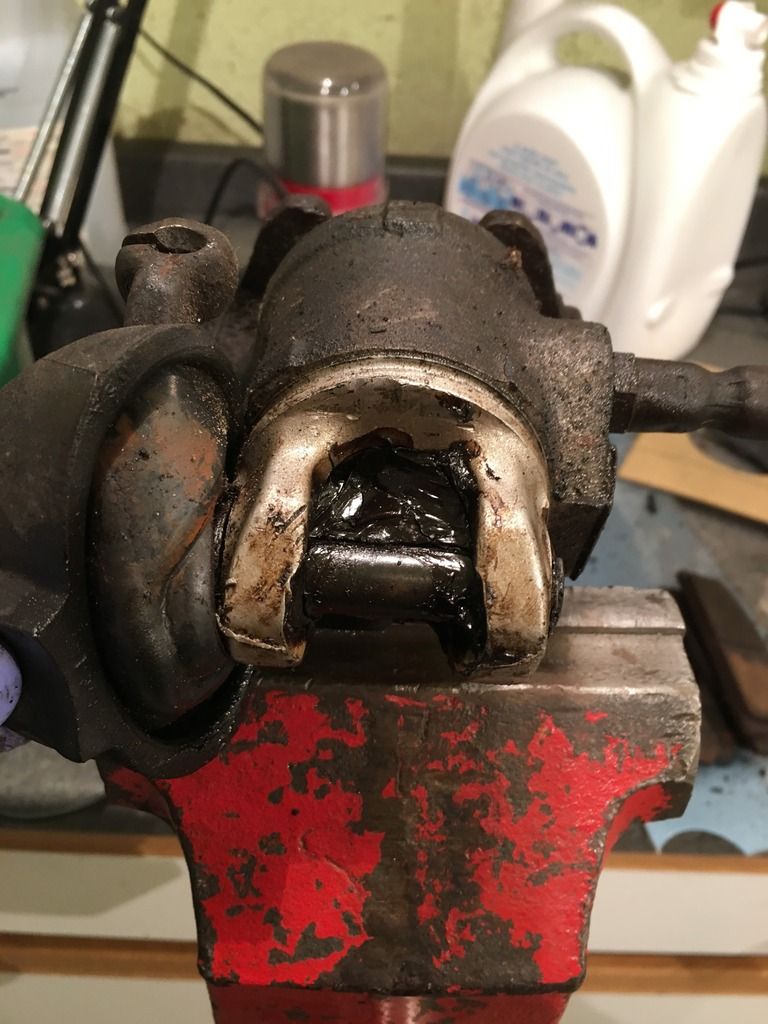
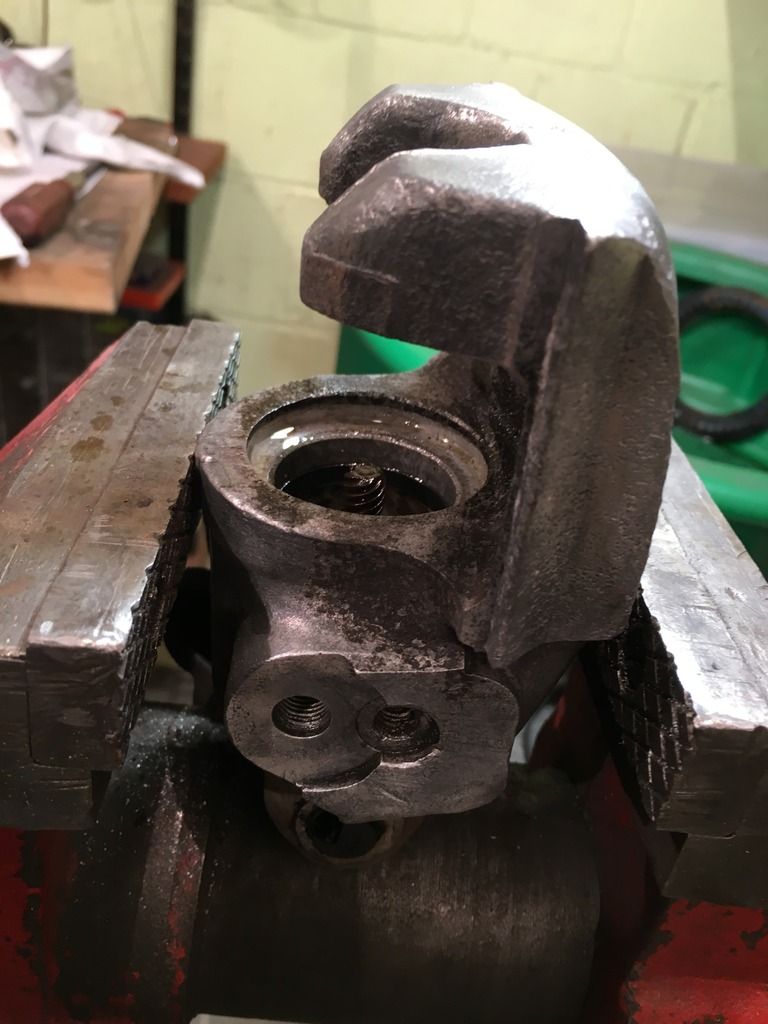
full collection of criminals
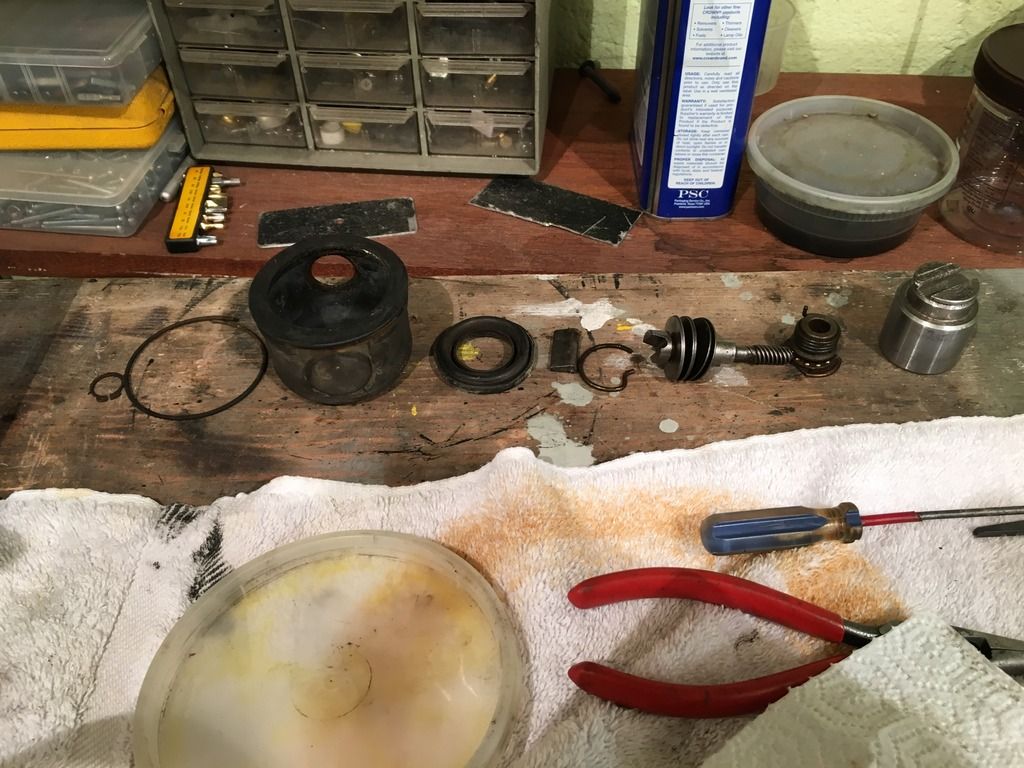
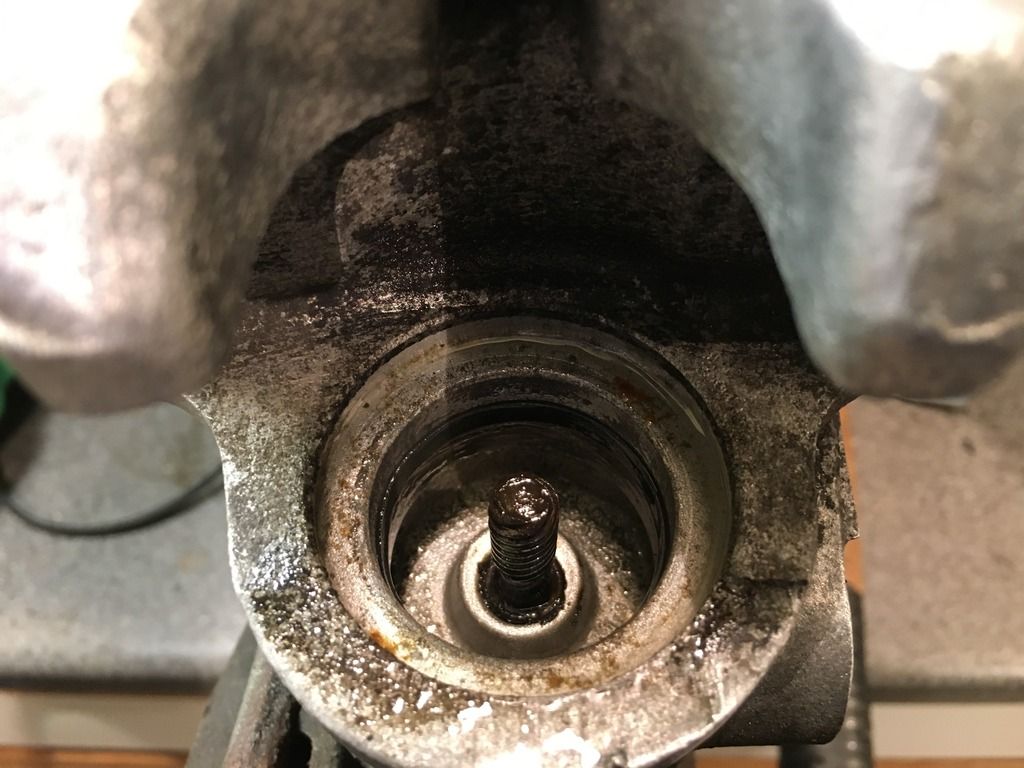
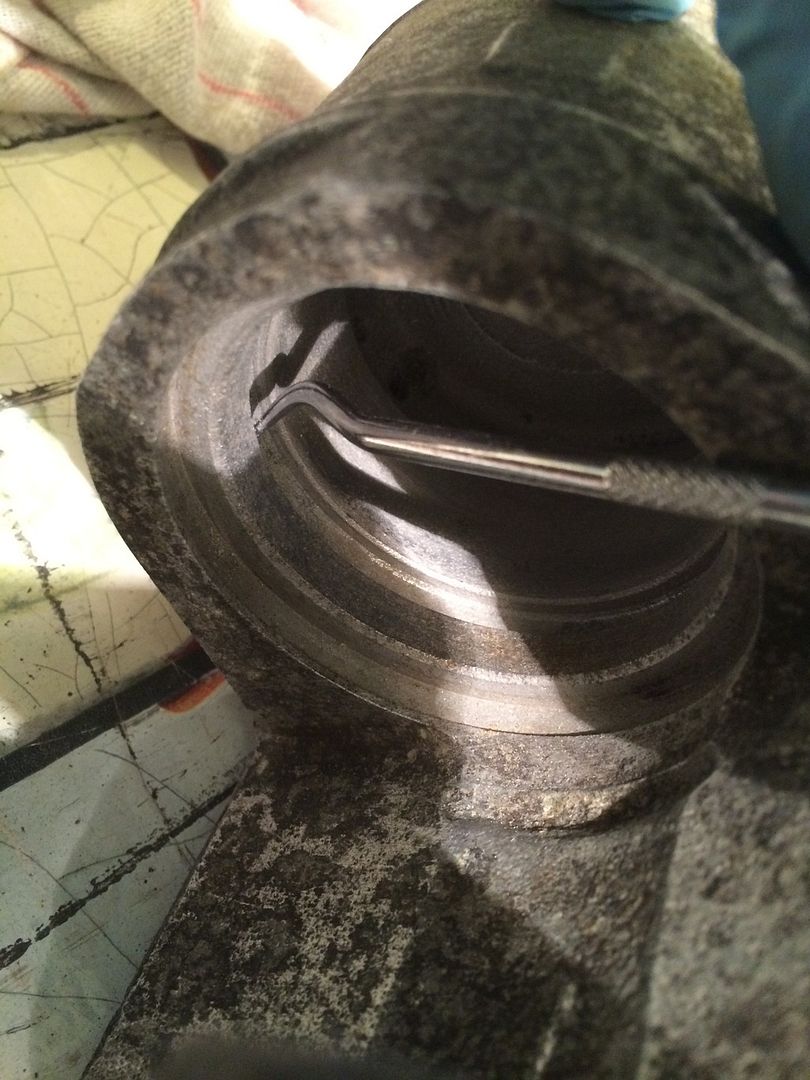
cleaning ans scraping gunk out of seal groove
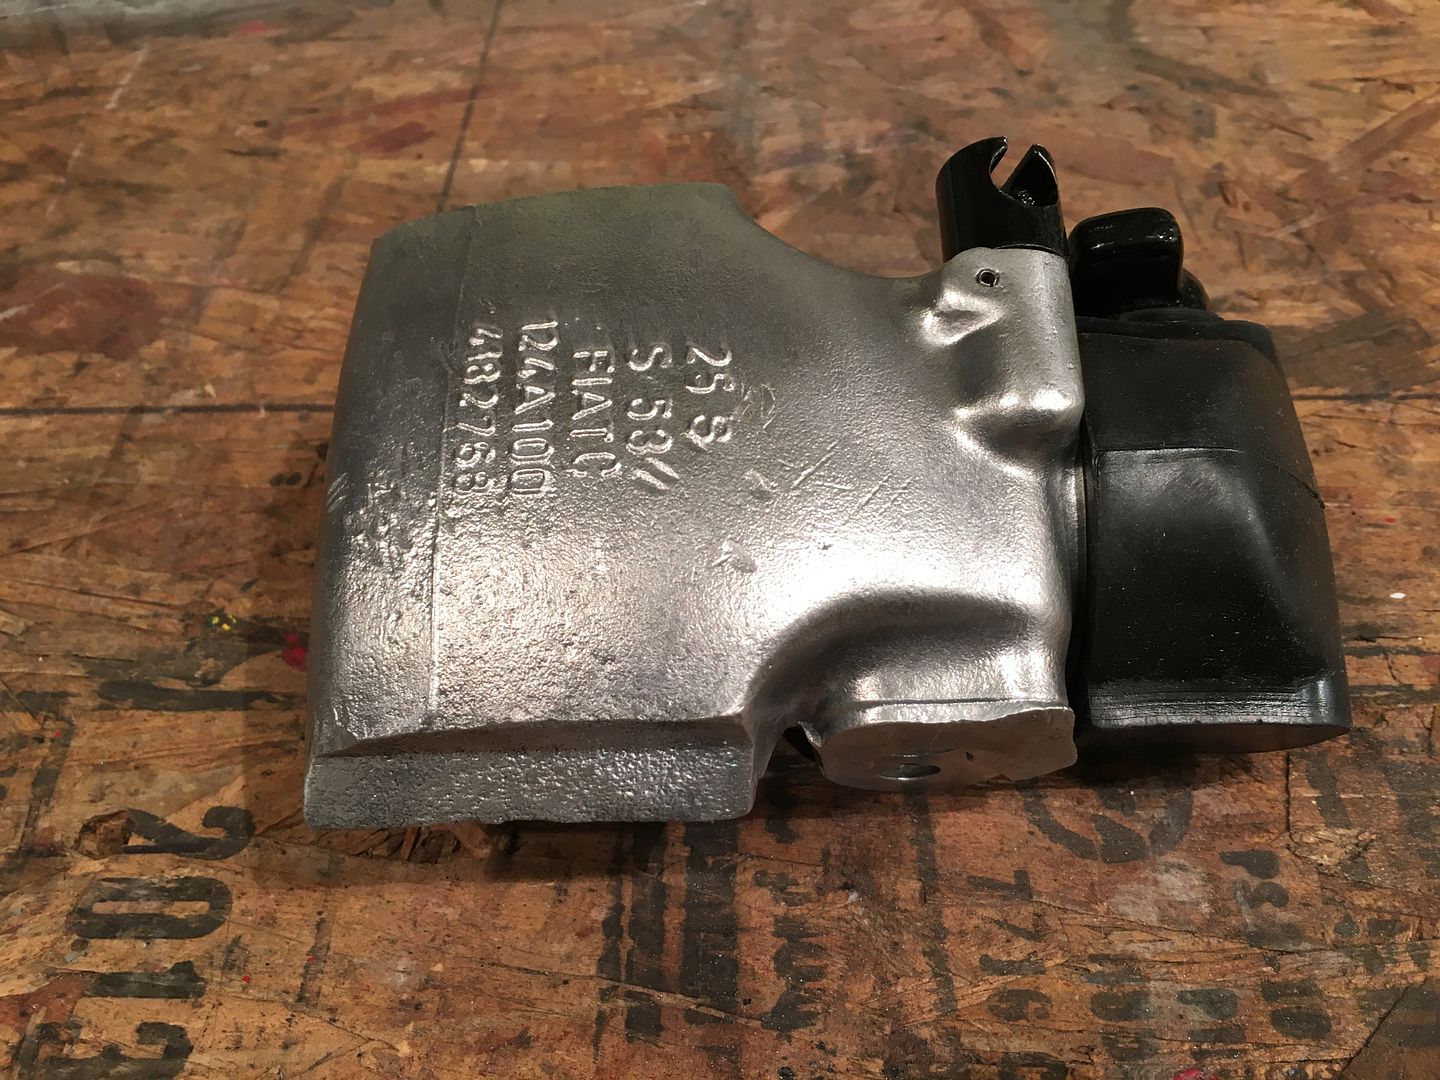
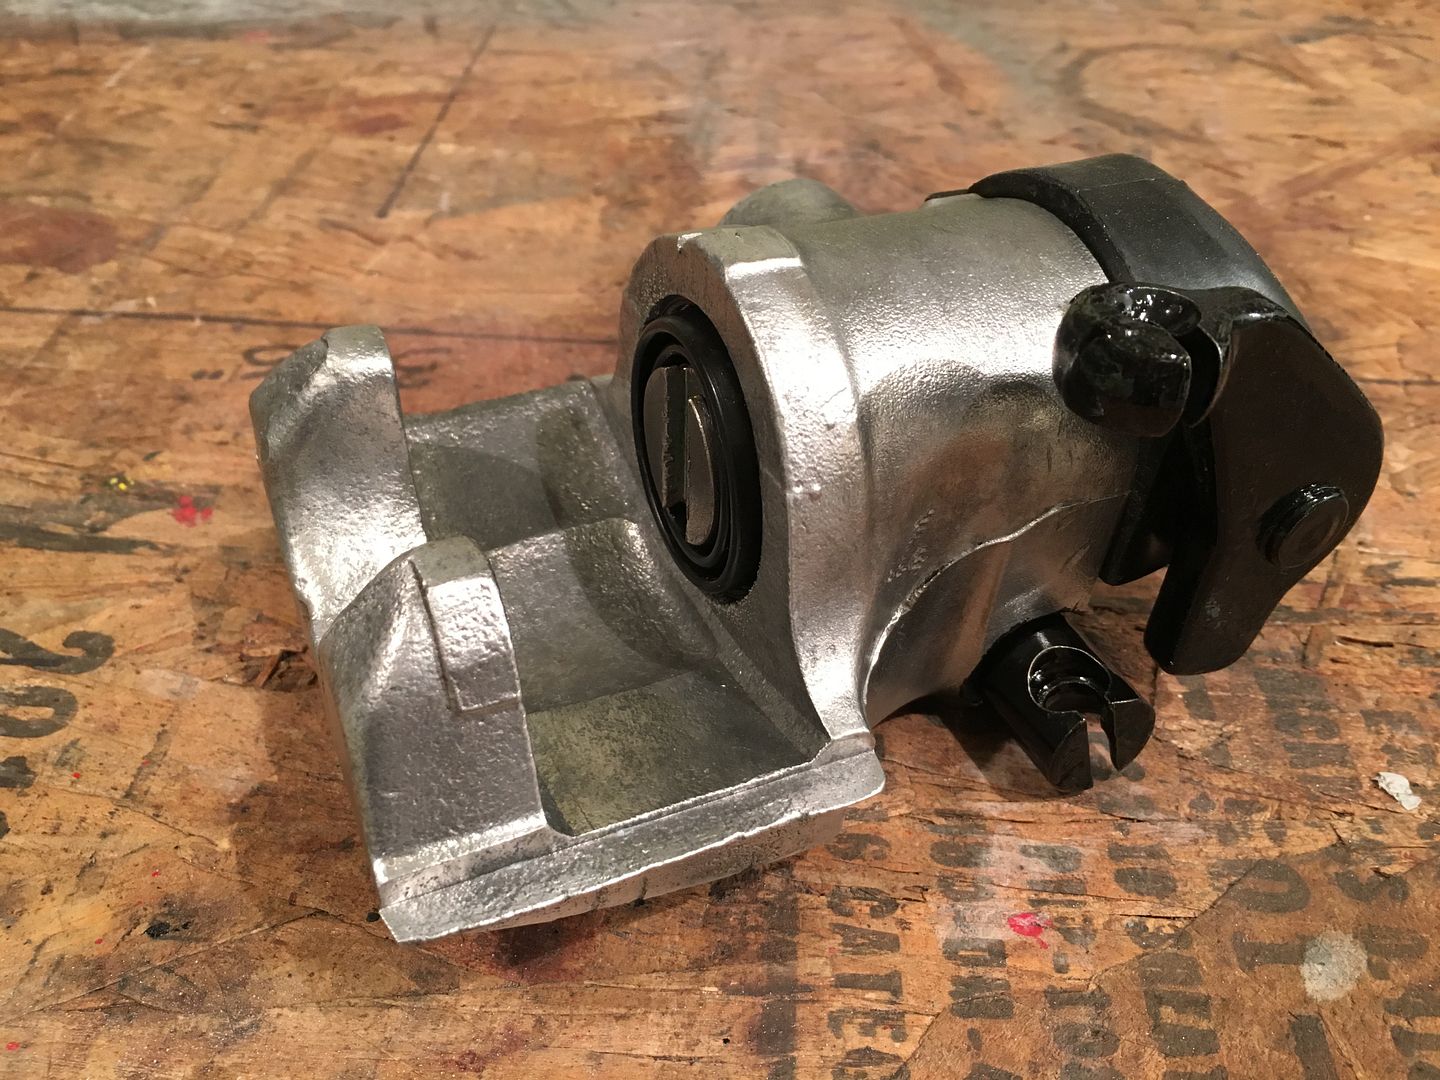
all rubber and seals replaced, all internal & external metal parts polished.
Started with this


Hmmm things to come?


dissembling hand brake cam lever


cam lever spring plate assembly

full collection of criminals

cleaning ans scraping gunk out of seal groove

all rubber and seals replaced, all internal & external metal parts polished.


-
klweimer
- Posts: 550
- Joined: Tue Mar 27, 2012 7:45 am
- Your car is a: 1982 Spider 2000
- Location: Arvada, Colorado
Re: 1980 spider Restoration phase 2
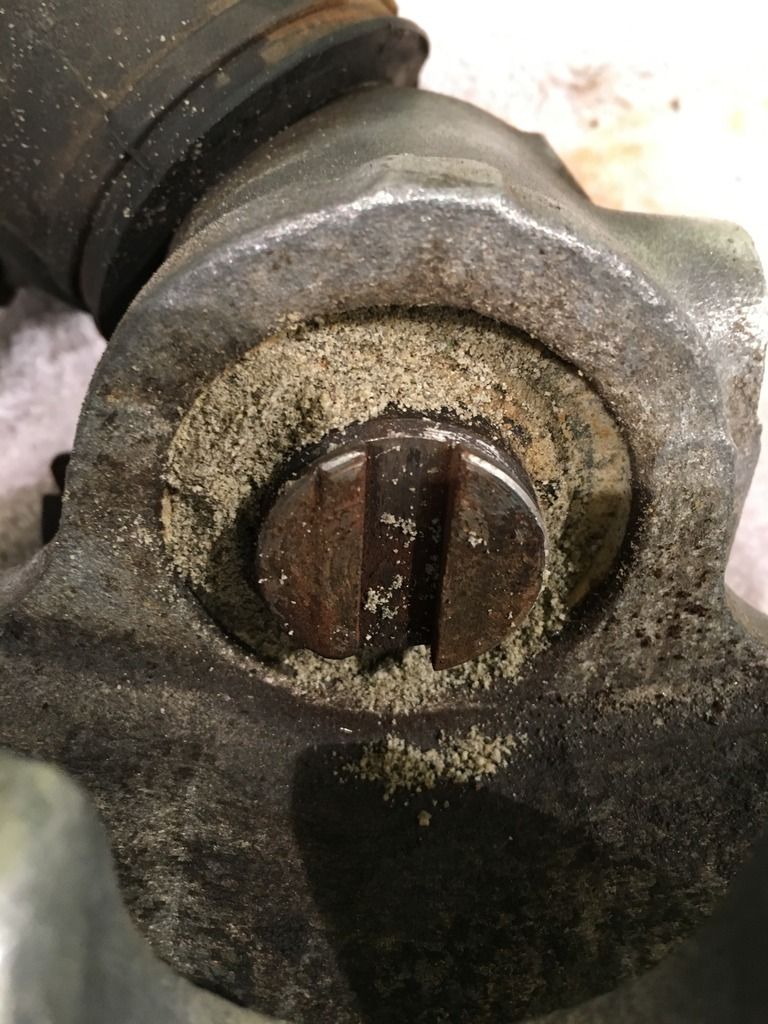
More good work! How did the adjustment mechanism inside the pistons look?
Kirk
Kirk
-
Nanonevol

- Patron 2018
- Posts: 828
- Joined: Thu Nov 13, 2014 9:17 am
- Your car is a: 1977 Fiat 124 Spider
- Location: Medway, Massachusetts
Re: 1980 spider Restoration phase 2
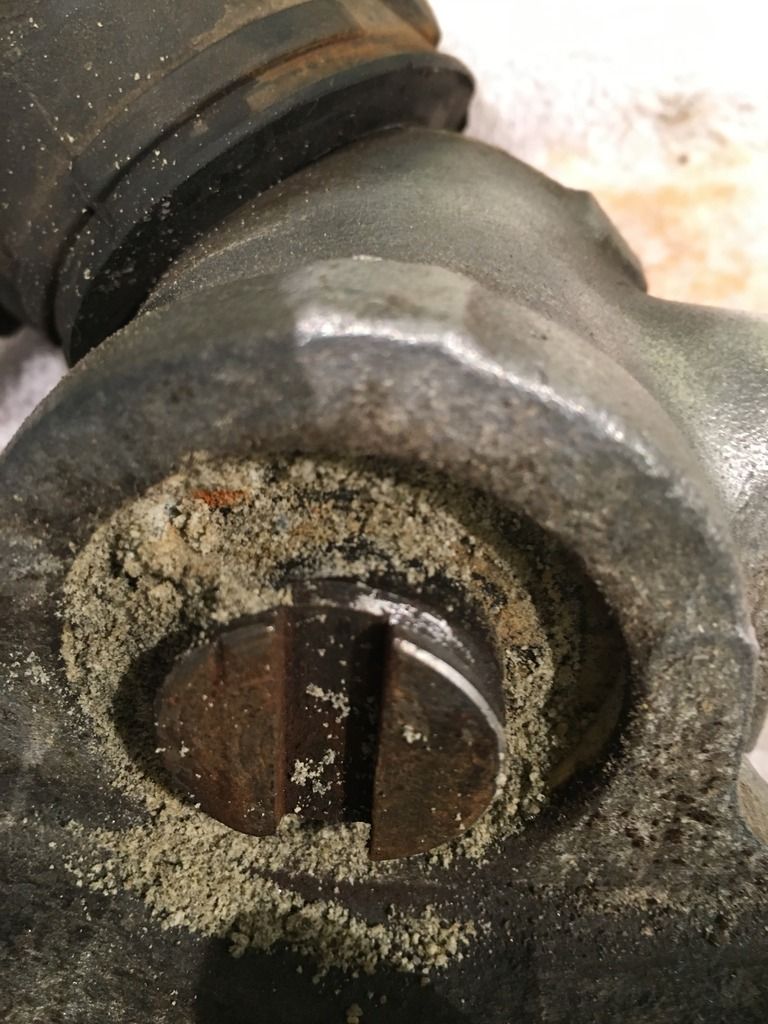
Is that area under the rubber cap supposed to be packed with grease like it looks like in your "before" photo? I did mine recently and just used a moderate amount of grease on the shaft and where parts make contact.
1977 Fiat Spider
1985 Jaguar XJ6
1967 Triumph Bonneville (hard-tail chopper)
1966 BSA Lightning
1985 Jaguar XJ6
1967 Triumph Bonneville (hard-tail chopper)
1966 BSA Lightning
-
DRUMMOND
- Patron 2018
- Posts: 443
- Joined: Thu Oct 20, 2011 11:11 pm
- Your car is a: Fiat Spyder 2000 1980 Pininfarina
Re: 1980 spider Restoration phase 2
Hi Klwiemer
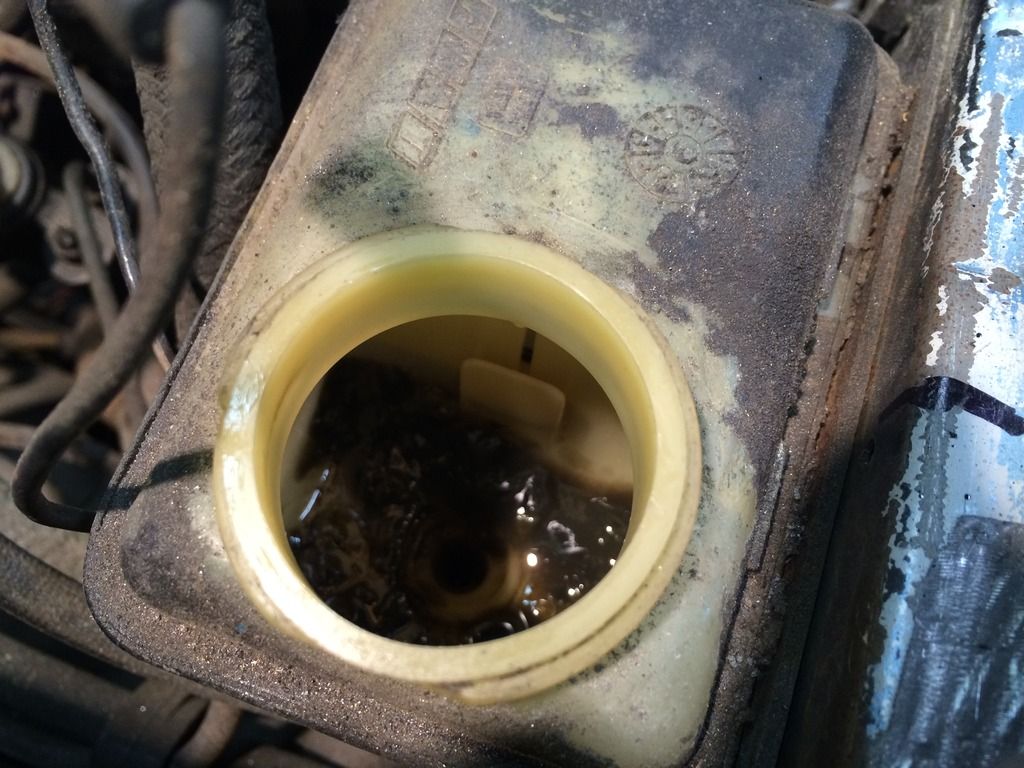
I did not take a photo of the black slime, before i cleaned it out but it looked the same as this from the master cylinder and fluid bottle
Hi Nanonevol
It was actually packed to the gills with grease, I just removed enough to see the mechanism underneath it all. kinda happy there was so much in there as there was no rust evident. i put in about a tablespoon of grease for insurance from water penetration if the boot gets damaged
I did not take a photo of the black slime, before i cleaned it out but it looked the same as this from the master cylinder and fluid bottle


Hi Nanonevol
It was actually packed to the gills with grease, I just removed enough to see the mechanism underneath it all. kinda happy there was so much in there as there was no rust evident. i put in about a tablespoon of grease for insurance from water penetration if the boot gets damaged
-
DRUMMOND
- Patron 2018
- Posts: 443
- Joined: Thu Oct 20, 2011 11:11 pm
- Your car is a: Fiat Spyder 2000 1980 Pininfarina
Re: 1980 spider Restoration phase 2
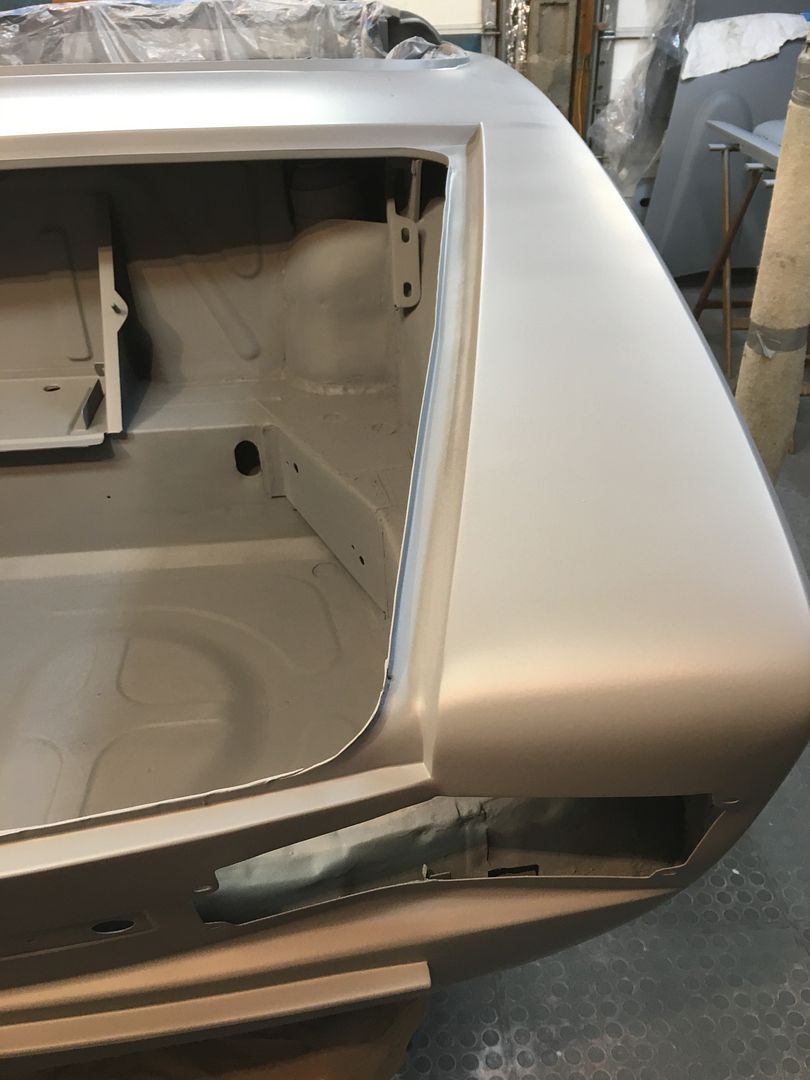
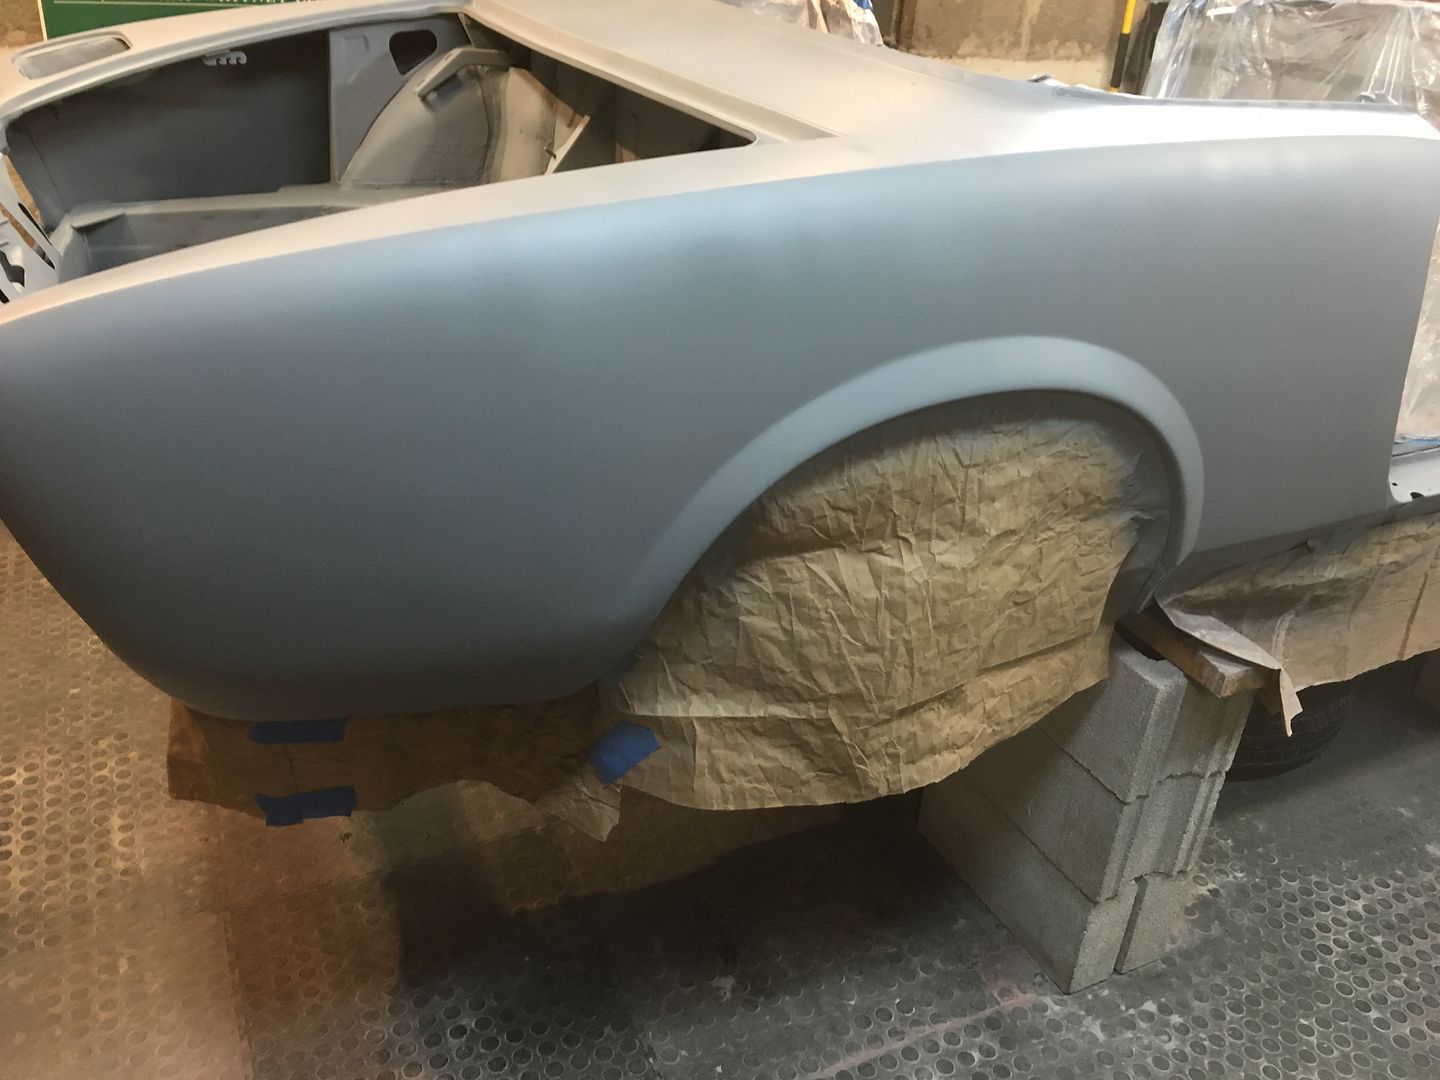
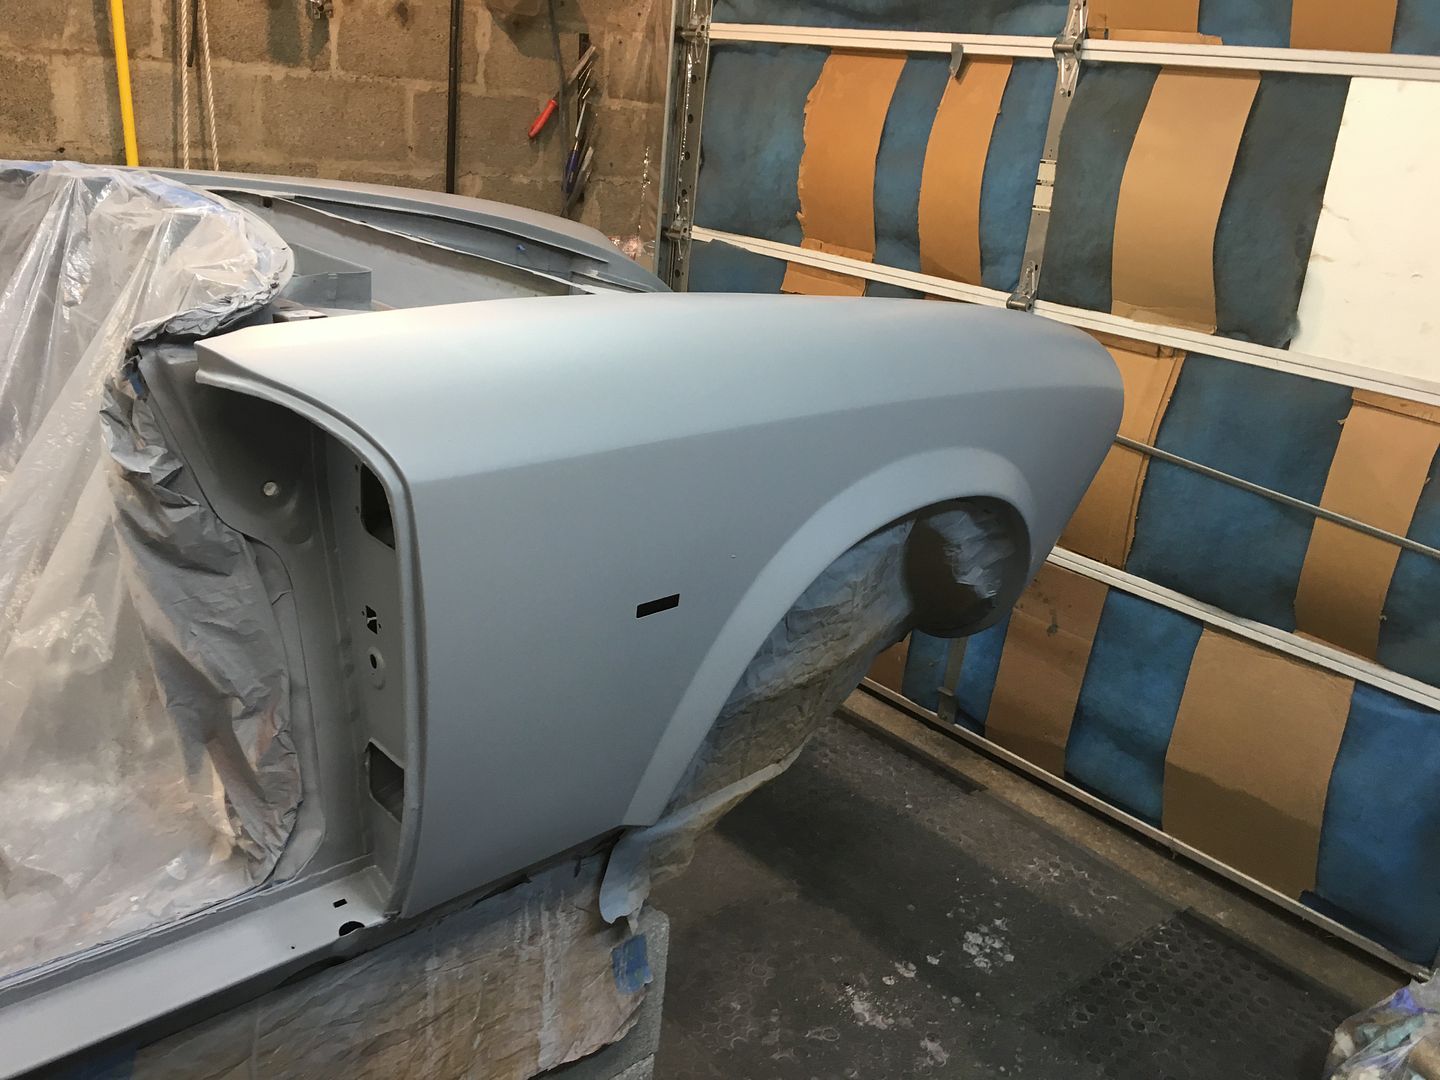
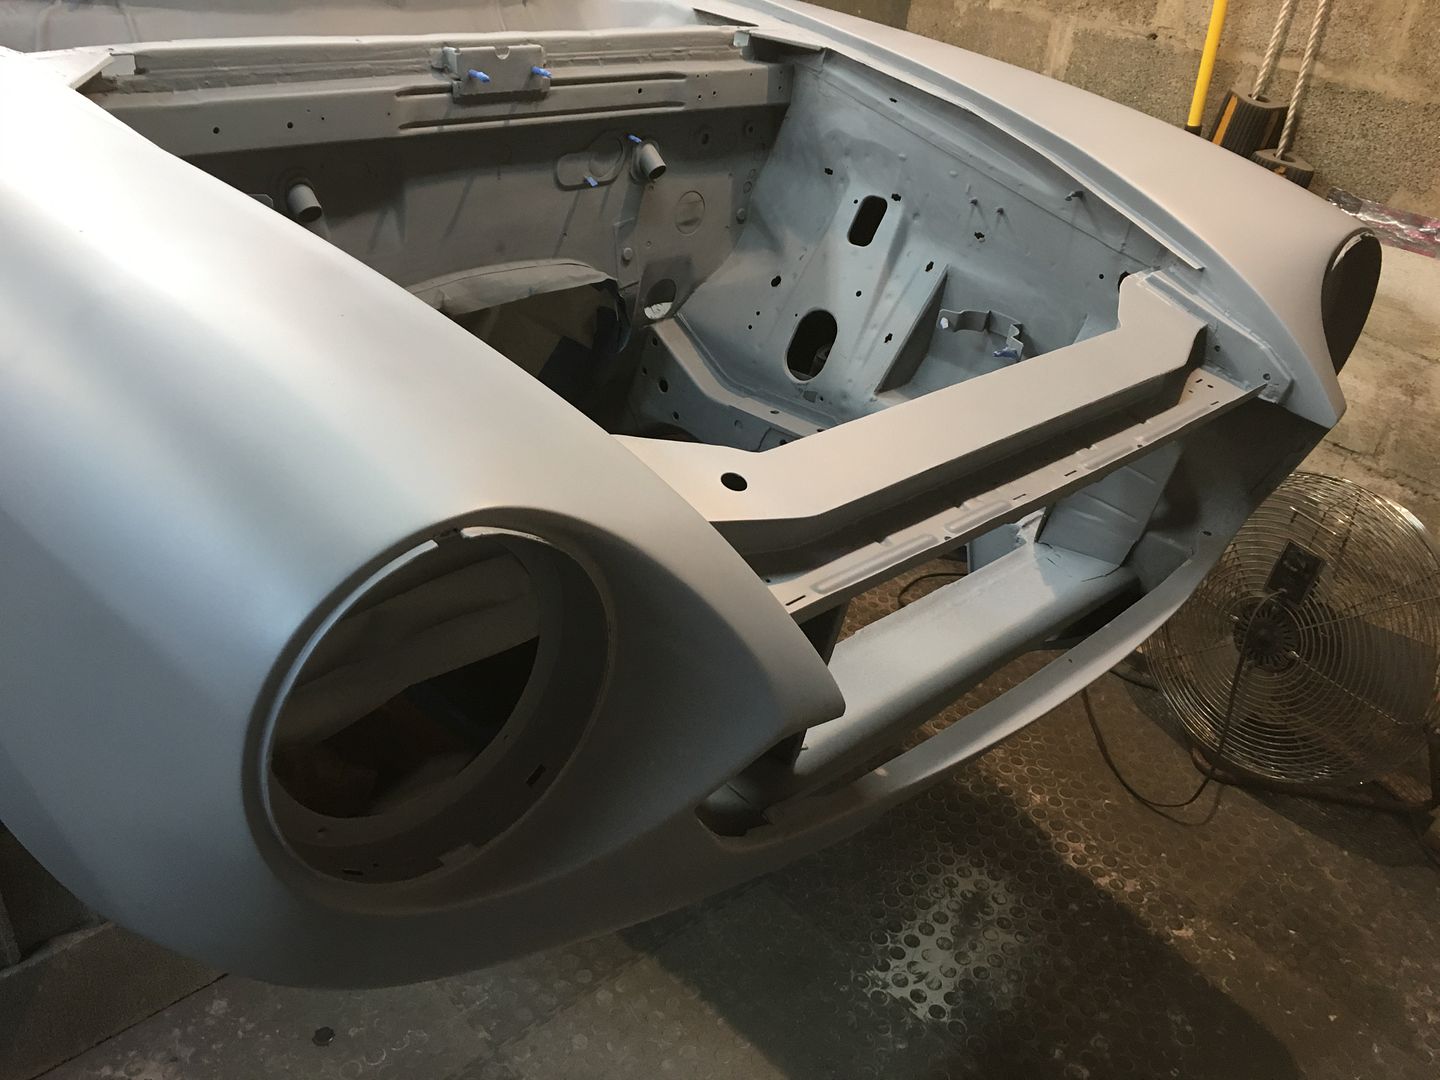
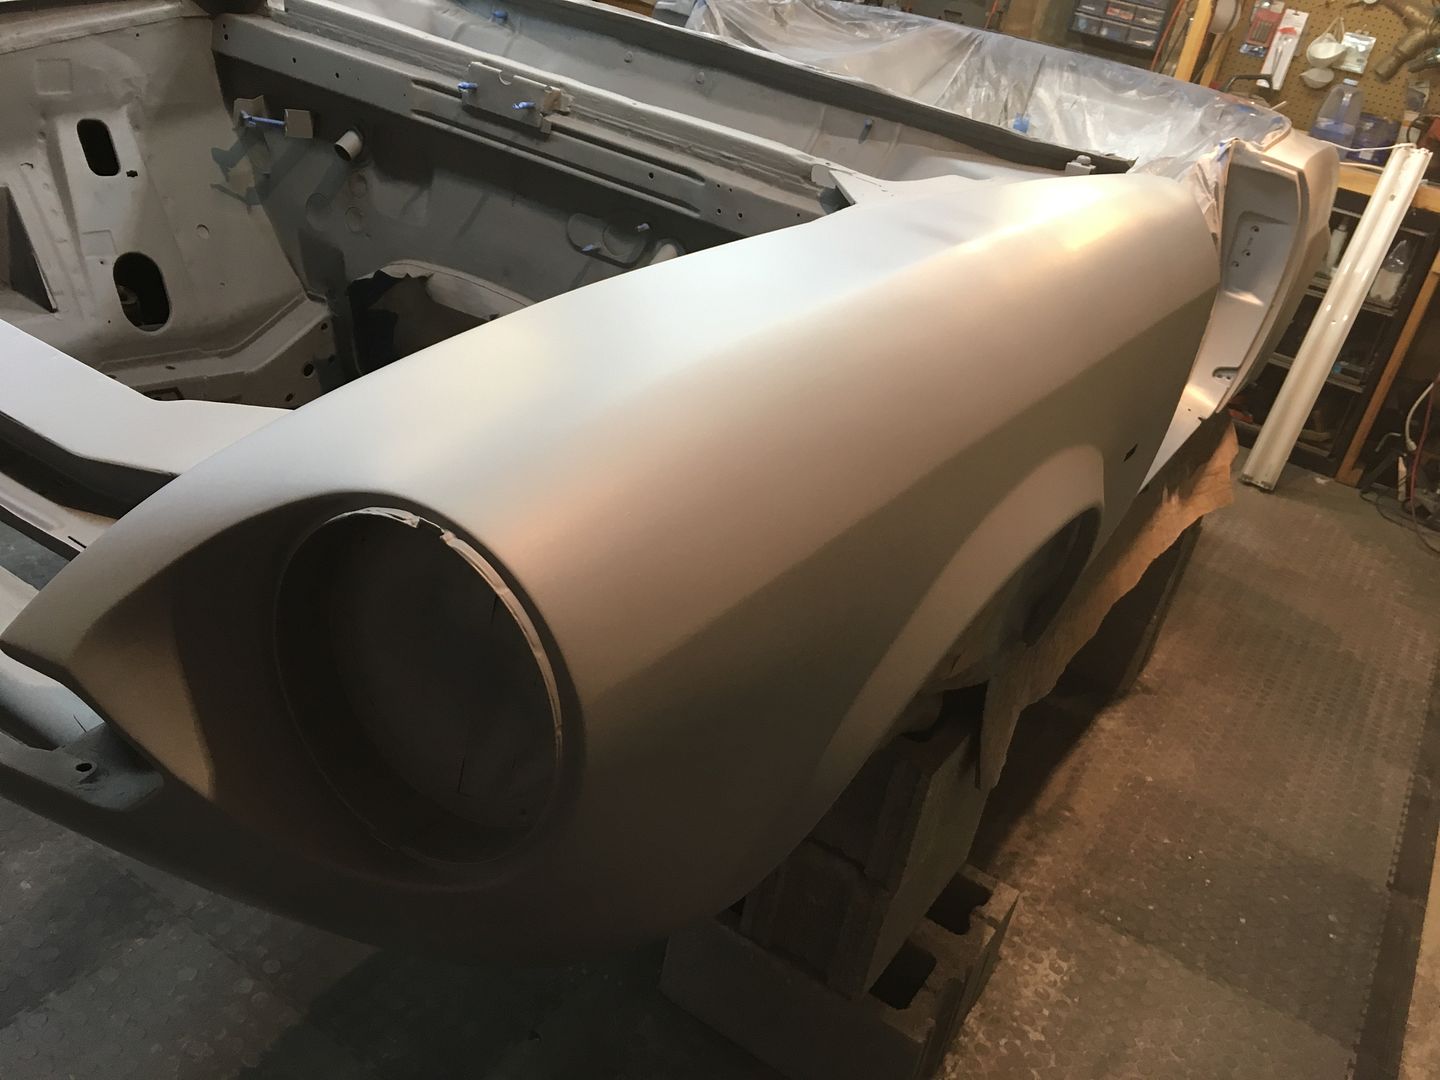
High build primer all sanded down. looking good. That was a lot of work!
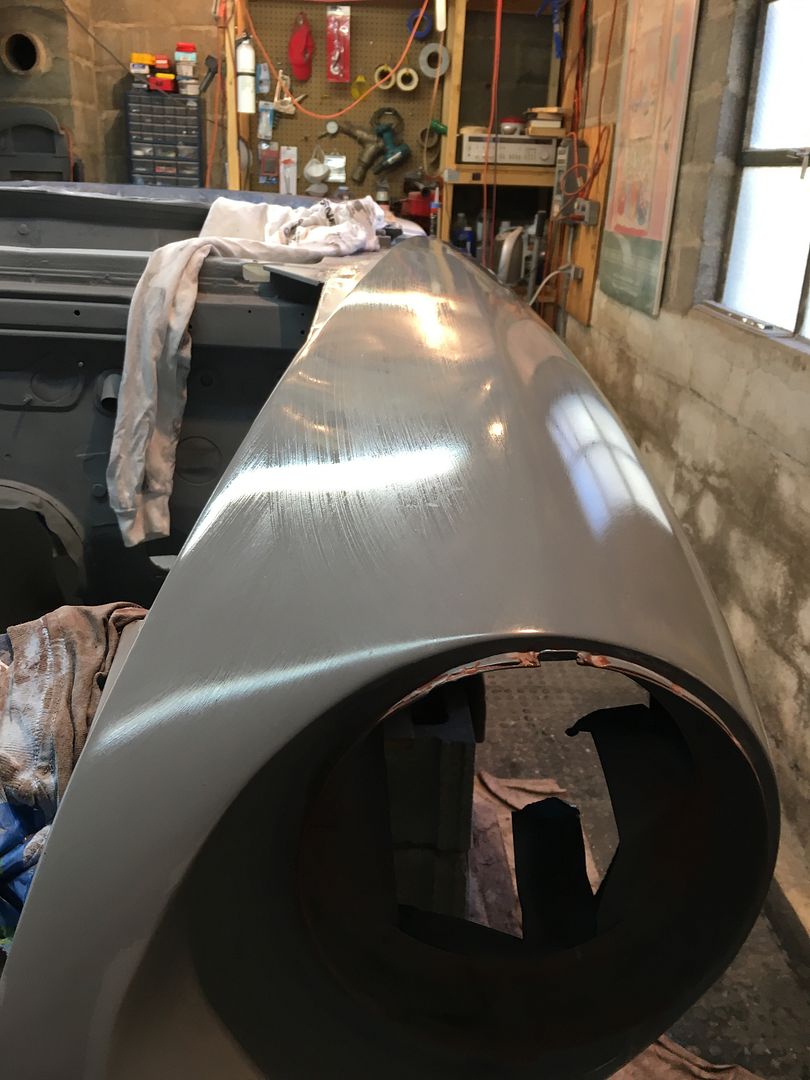
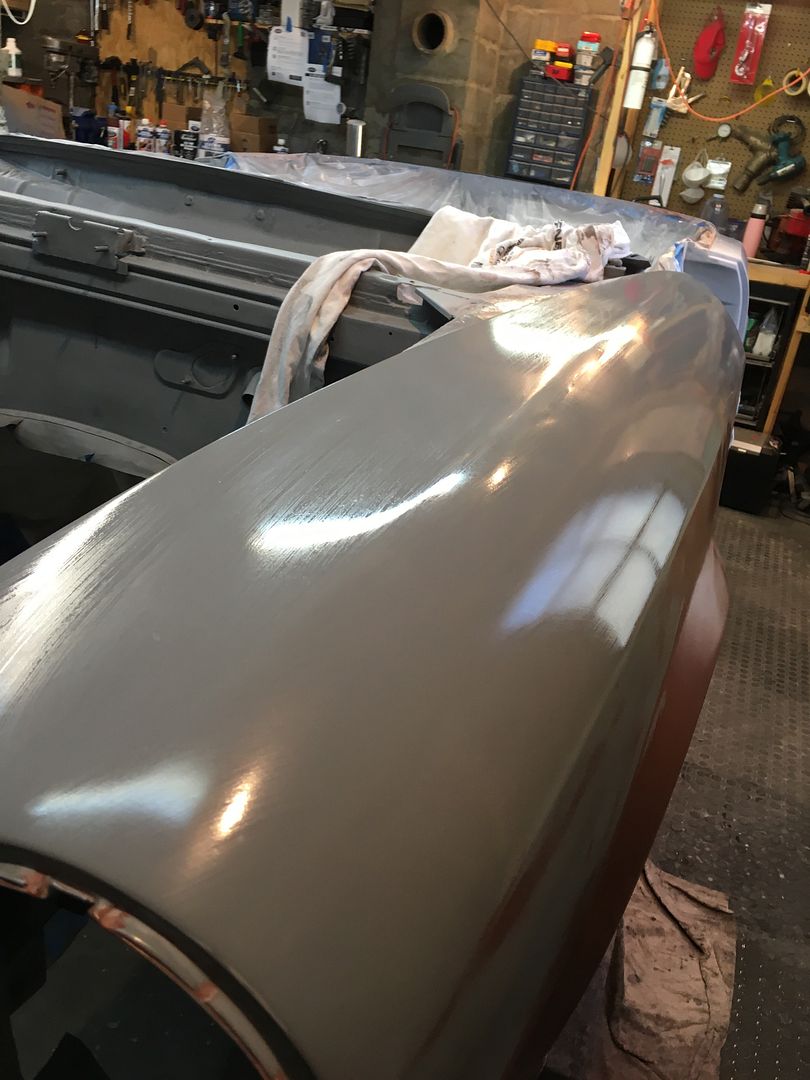
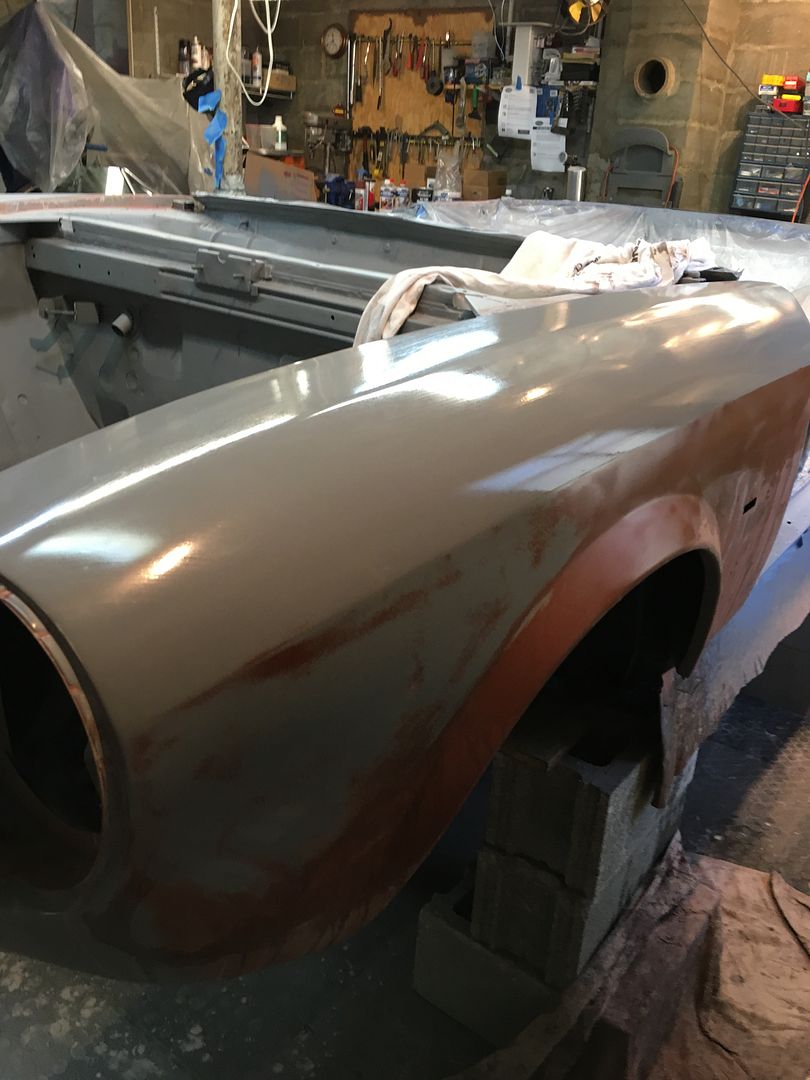
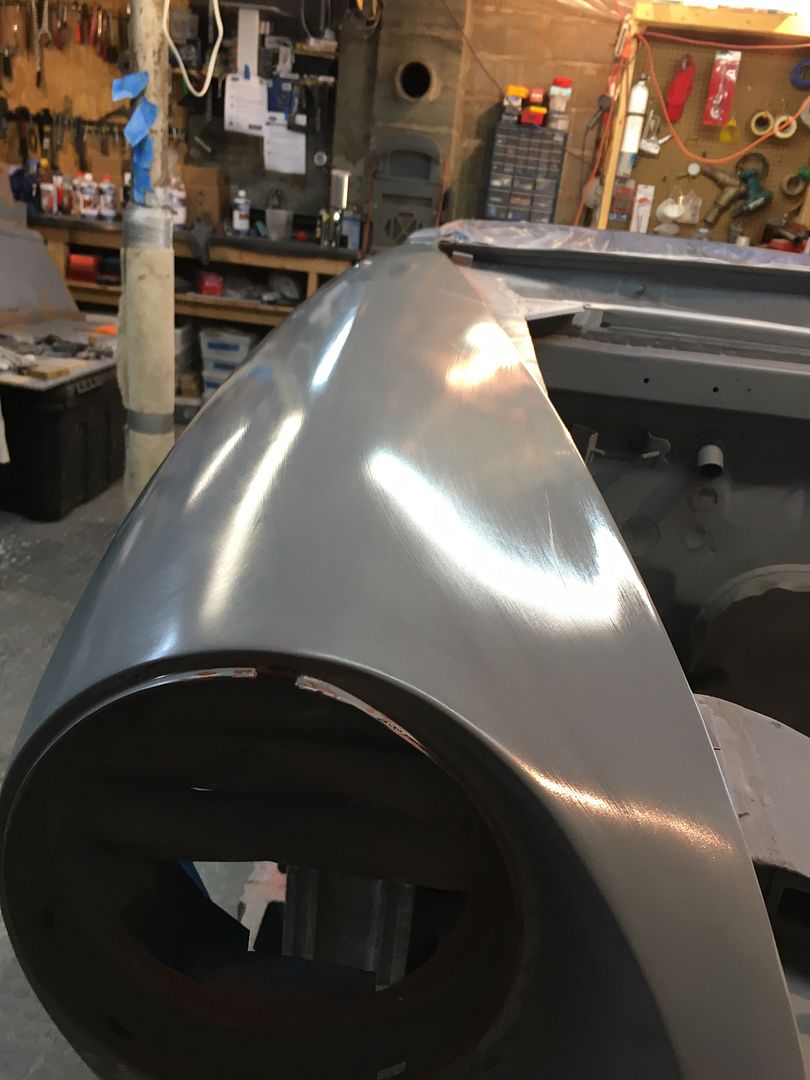
A few high spots, but no low spots
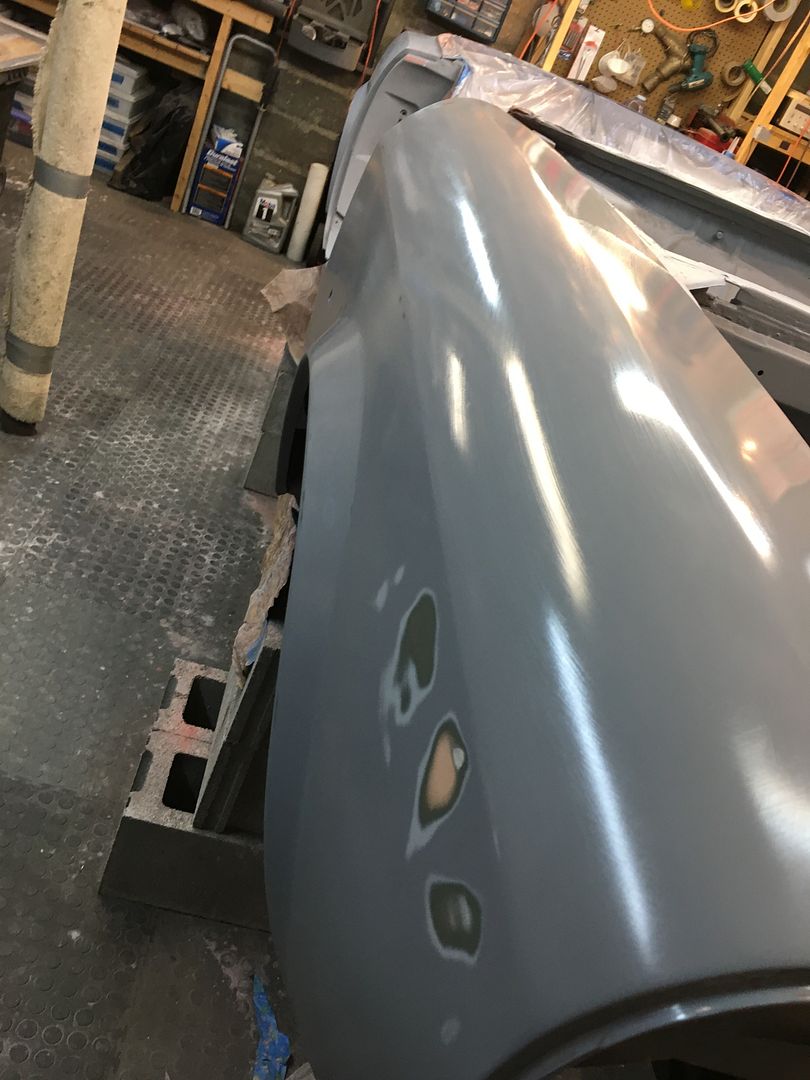
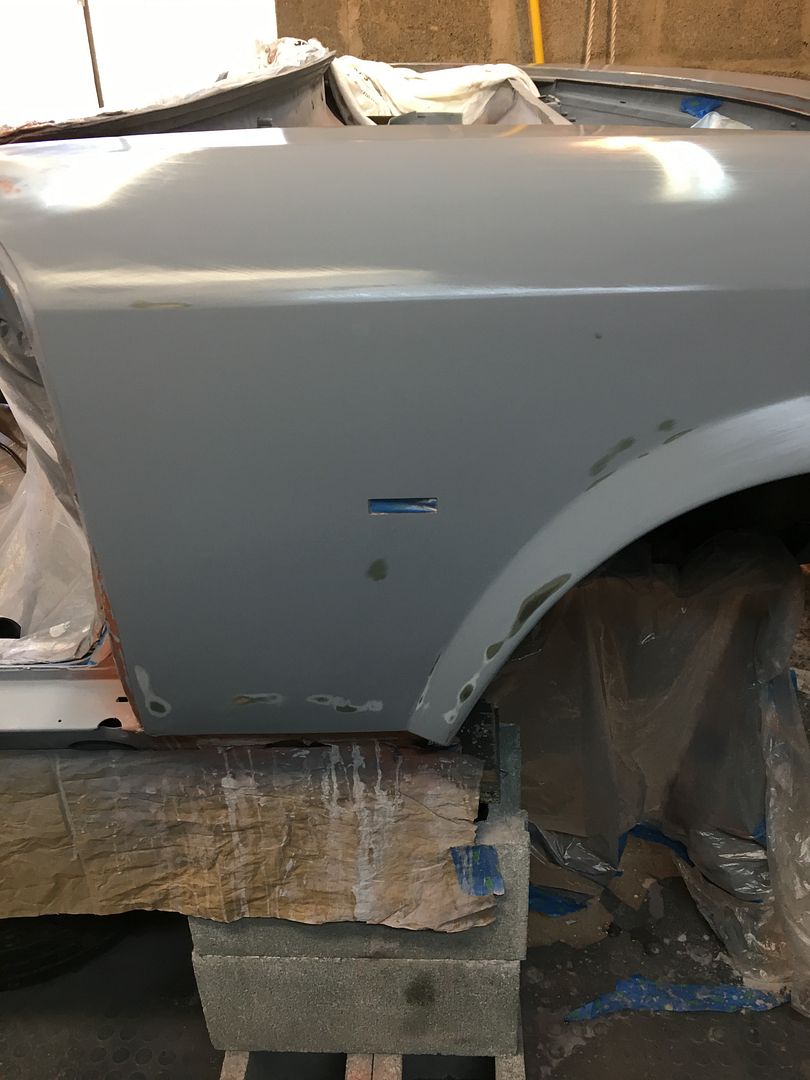
Application of the final (hopefully) Primer surfacer. and then do the sanding all over again! Getting excited that color is not to far off!


A few high spots, but no low spots


Application of the final (hopefully) Primer surfacer. and then do the sanding all over again! Getting excited that color is not to far off!


-
Frankd1
- Posts: 135
- Joined: Tue Sep 15, 2015 4:13 pm
- Your car is a: 1978 Spider
- Location: Southwestern Ontario, Canada
Re: 1980 spider Restoration phase 2
Looking good, the calipers look great!
How did you get them to come out so clean? Did you blast them or wire wheel them?
How did you get them to come out so clean? Did you blast them or wire wheel them?
-
DRUMMOND
- Patron 2018
- Posts: 443
- Joined: Thu Oct 20, 2011 11:11 pm
- Your car is a: Fiat Spyder 2000 1980 Pininfarina
Re: 1980 spider Restoration phase 2
Believe it or not wire wheel. Only took about 10 minutes, a lot faster than setting up the blaster
-
DRUMMOND
- Patron 2018
- Posts: 443
- Joined: Thu Oct 20, 2011 11:11 pm
- Your car is a: Fiat Spyder 2000 1980 Pininfarina
Re: 1980 spider Restoration phase 2
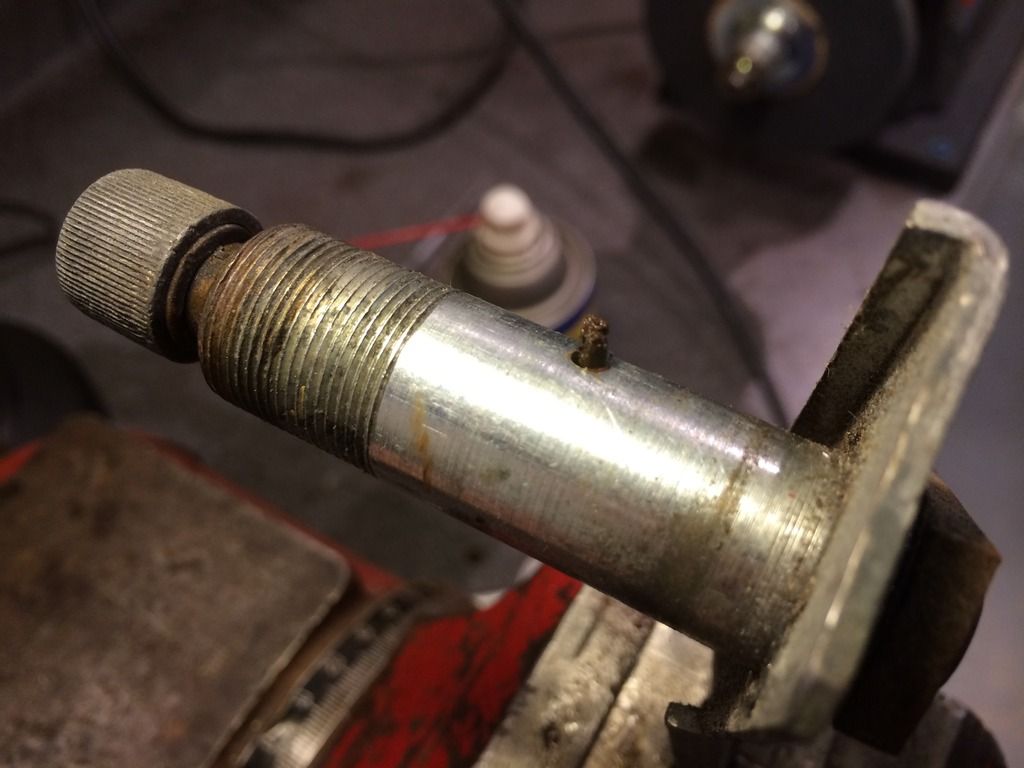
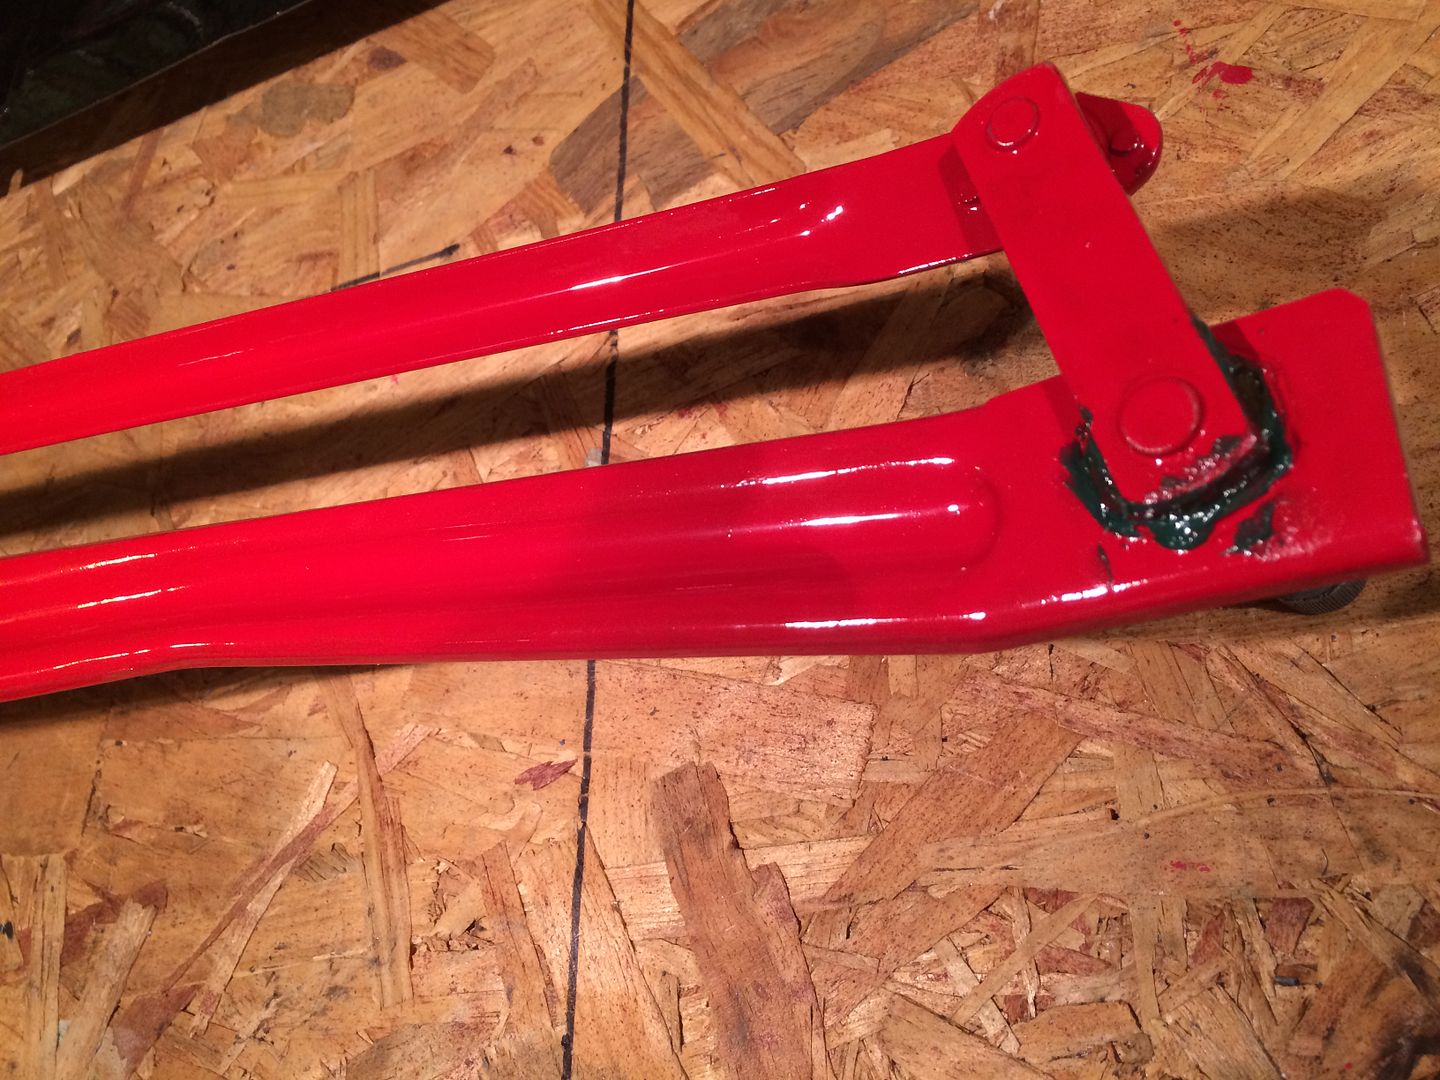
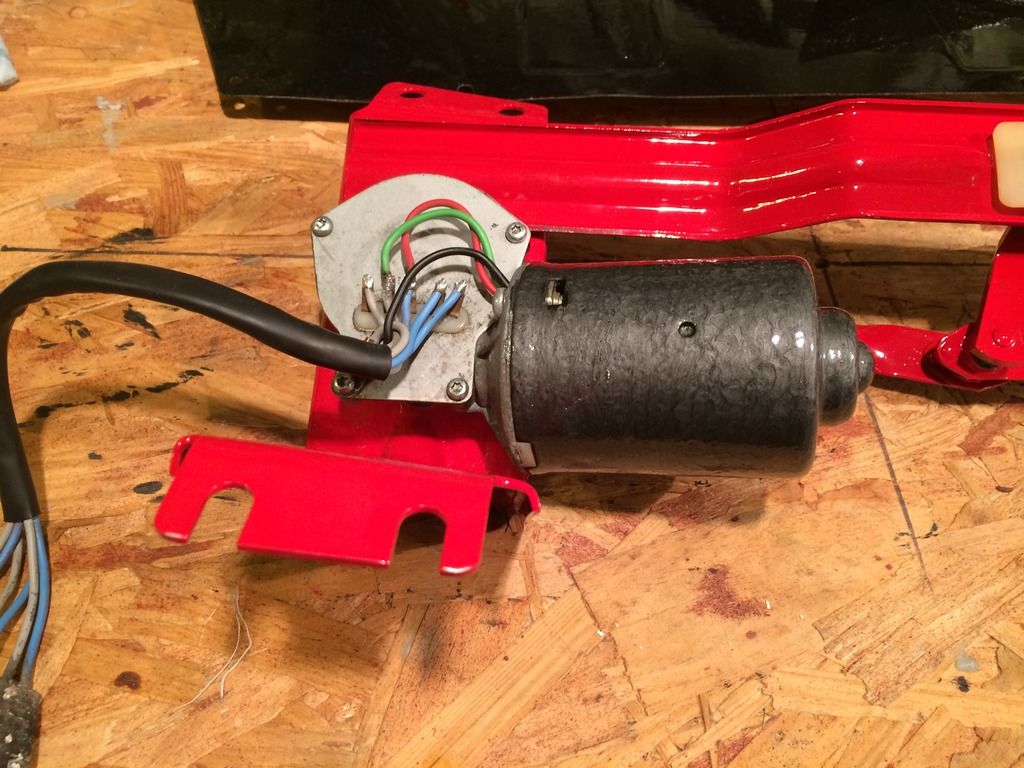
Wiper linkage rehab.
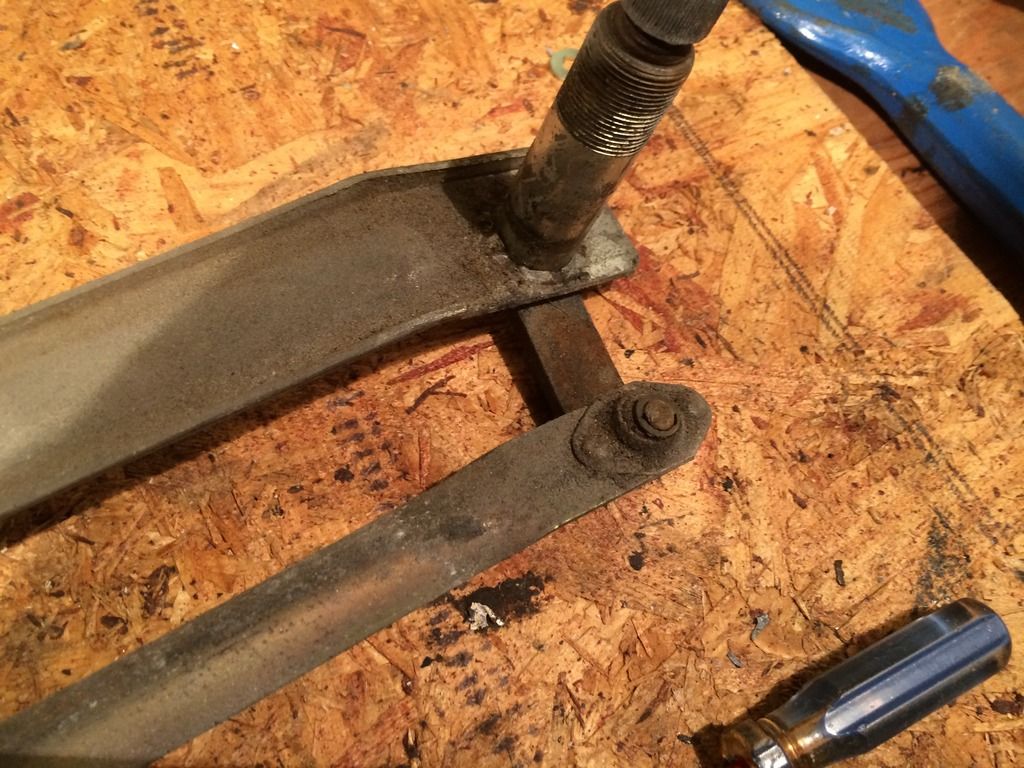
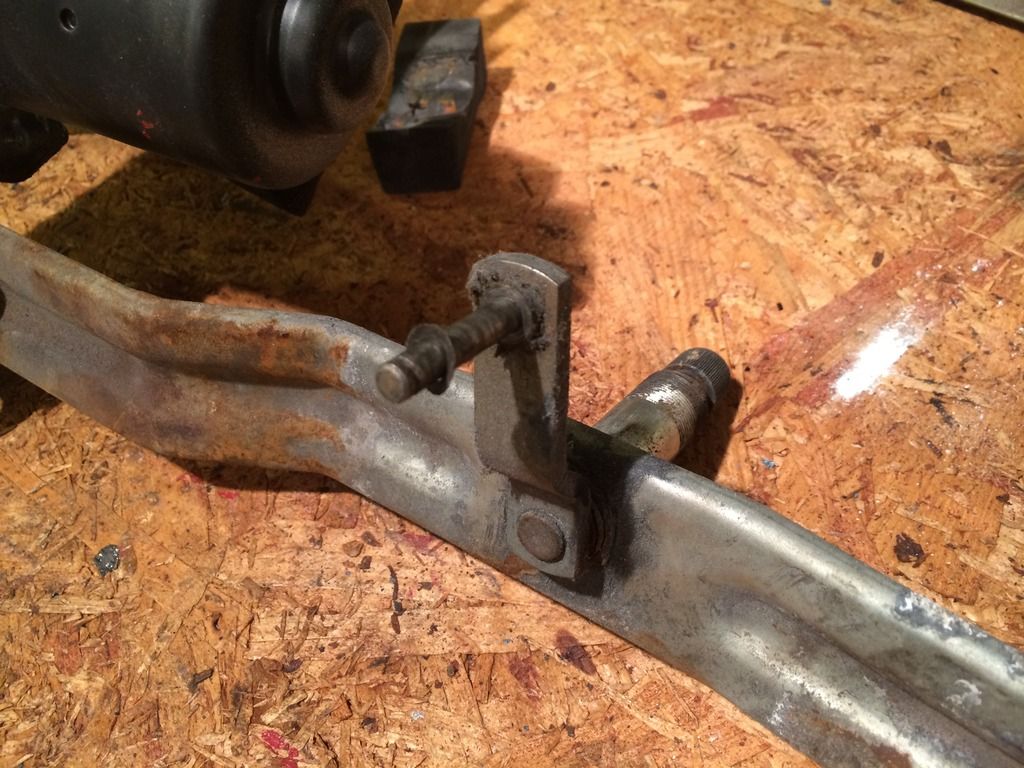
Very slow wipers and windows. this is what I found out about the wiper problem. windows come later but very similar in nature
This is how it looked before the rehab. all but one of the linkages had seized up. grease had disappeared long time ago
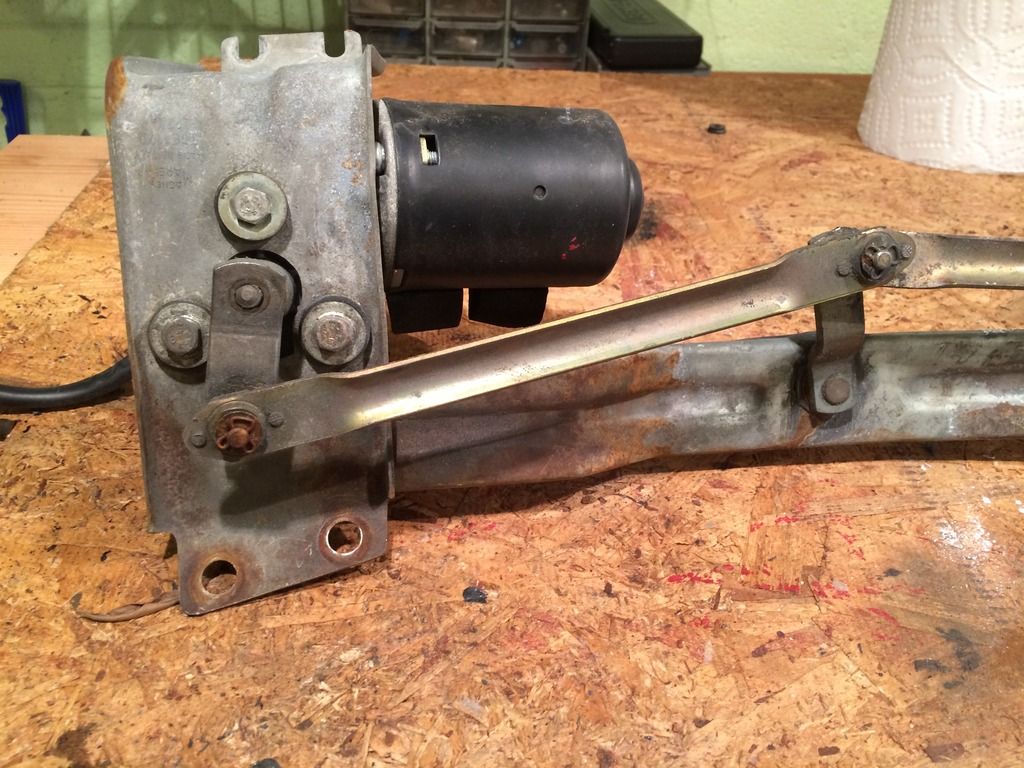
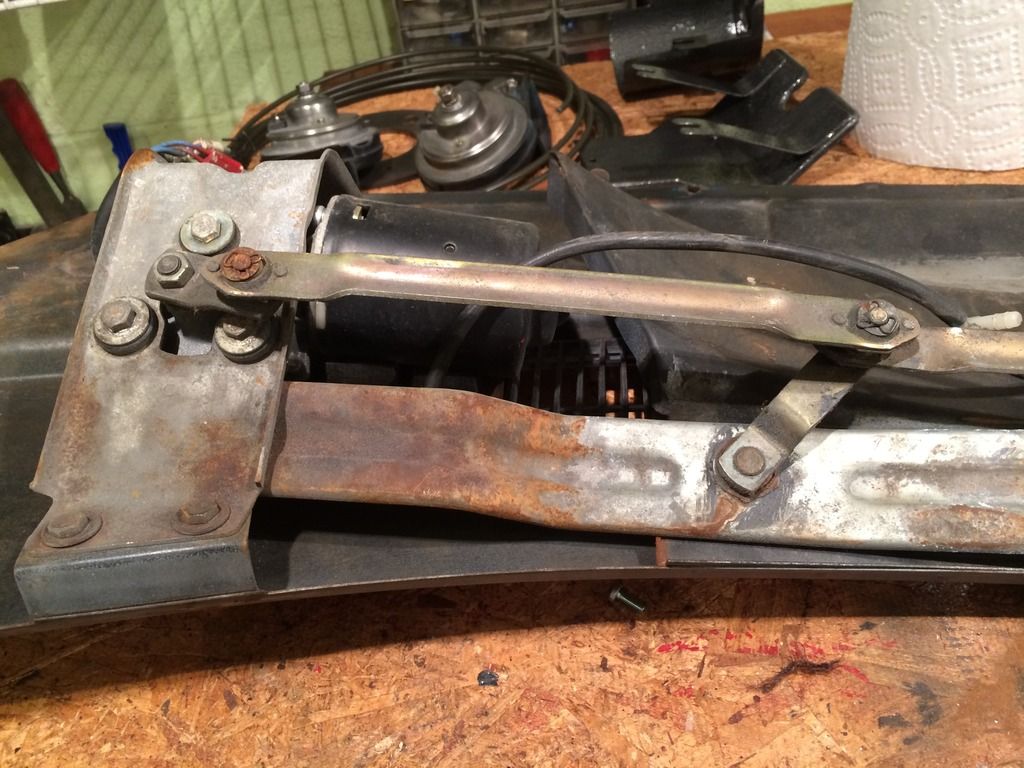
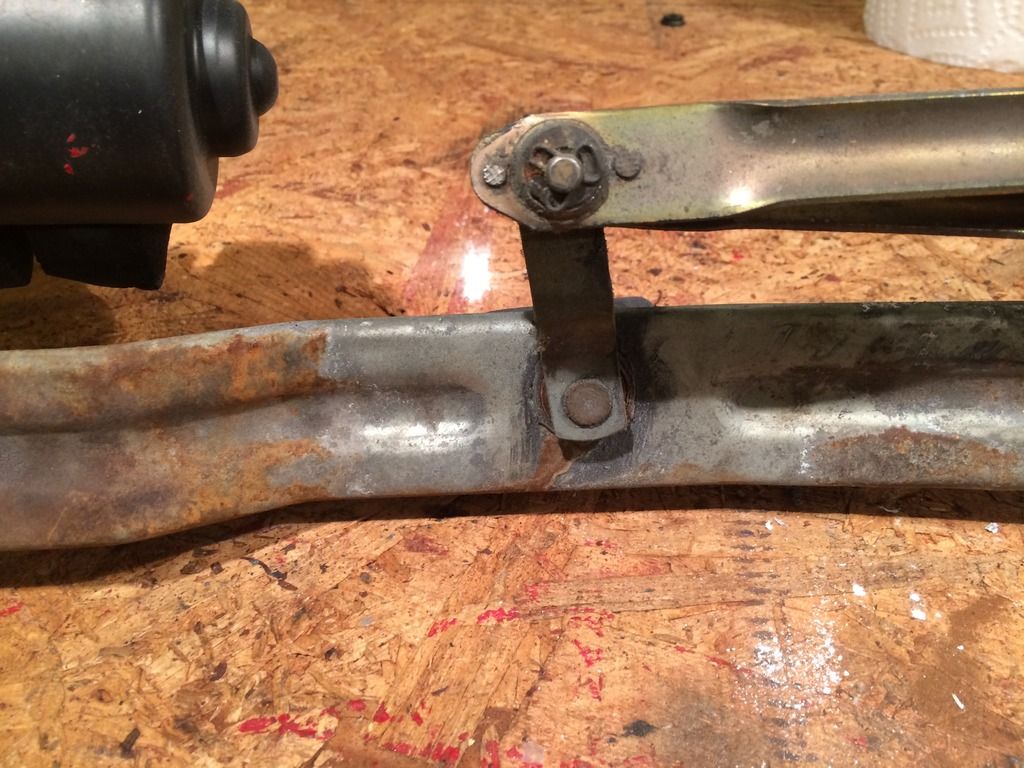

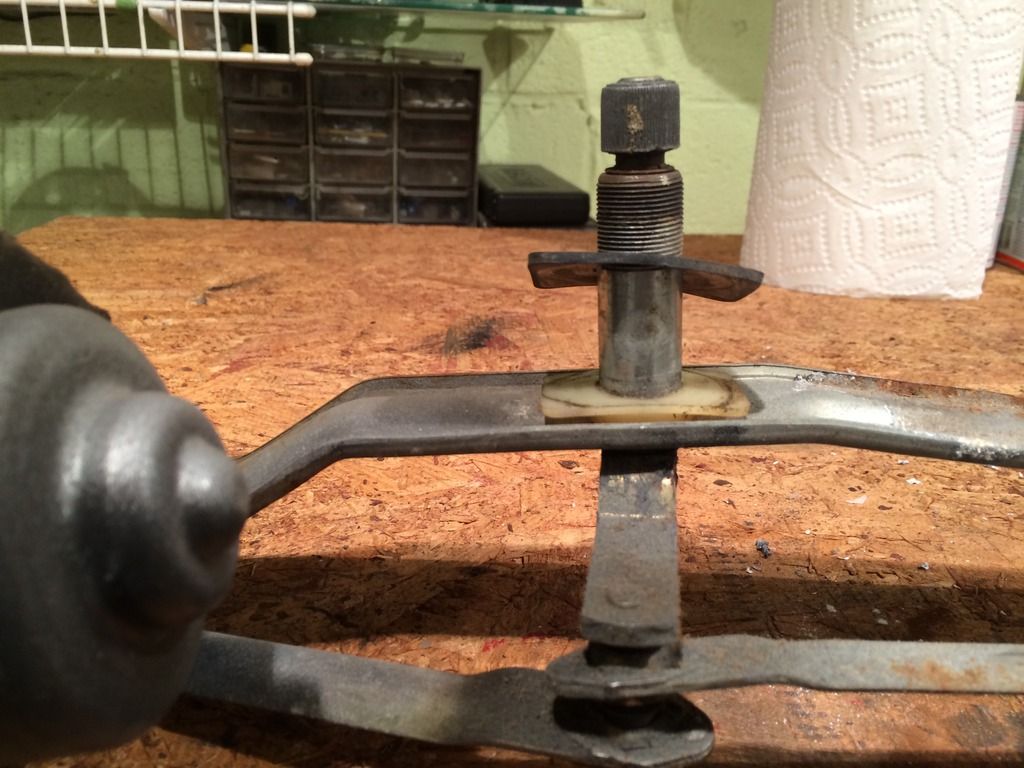
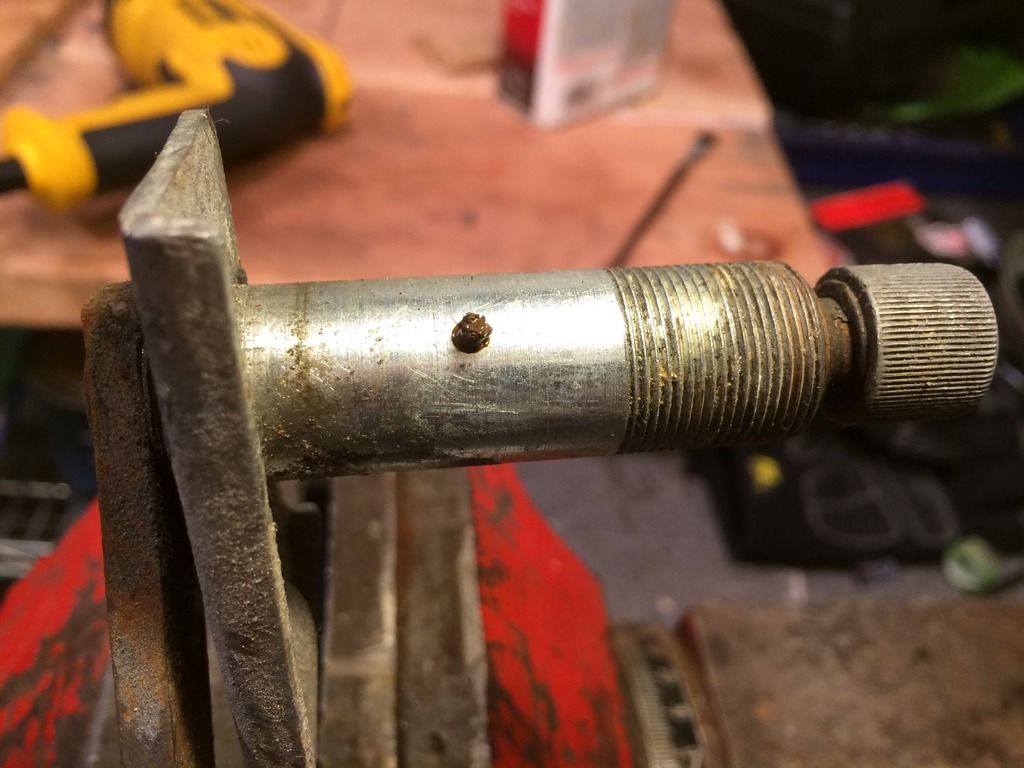
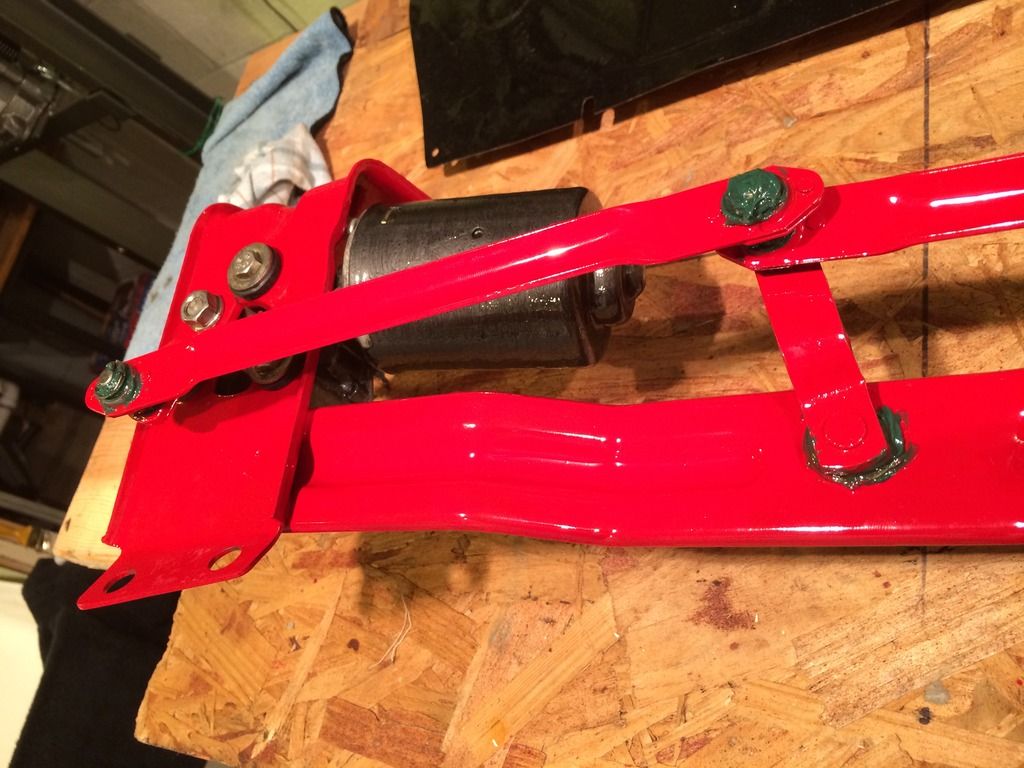
This Puppy was the main villain totally unmovable, I have no idea how the motor even managed to move it!!
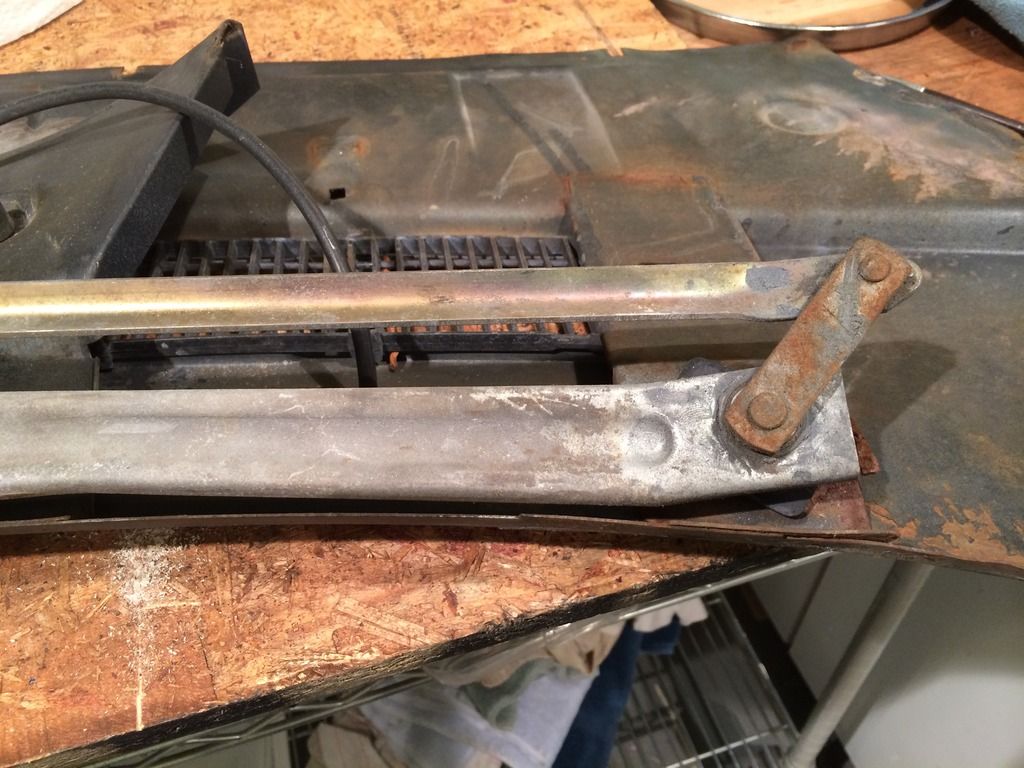
the sidekick moved but not by much
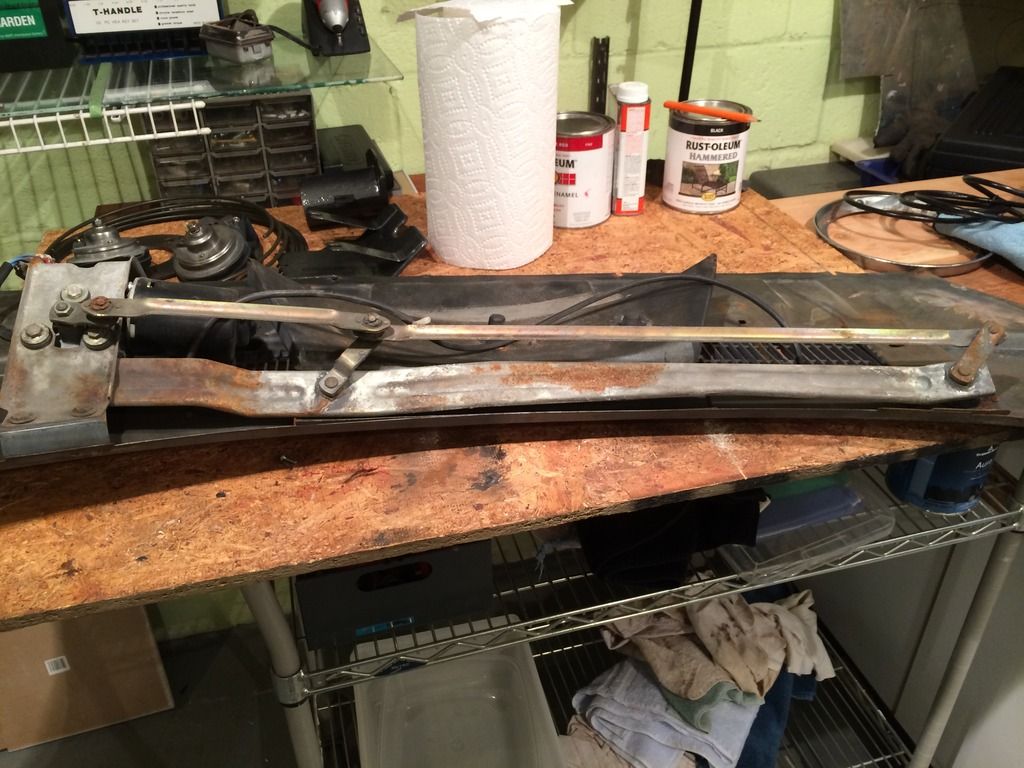
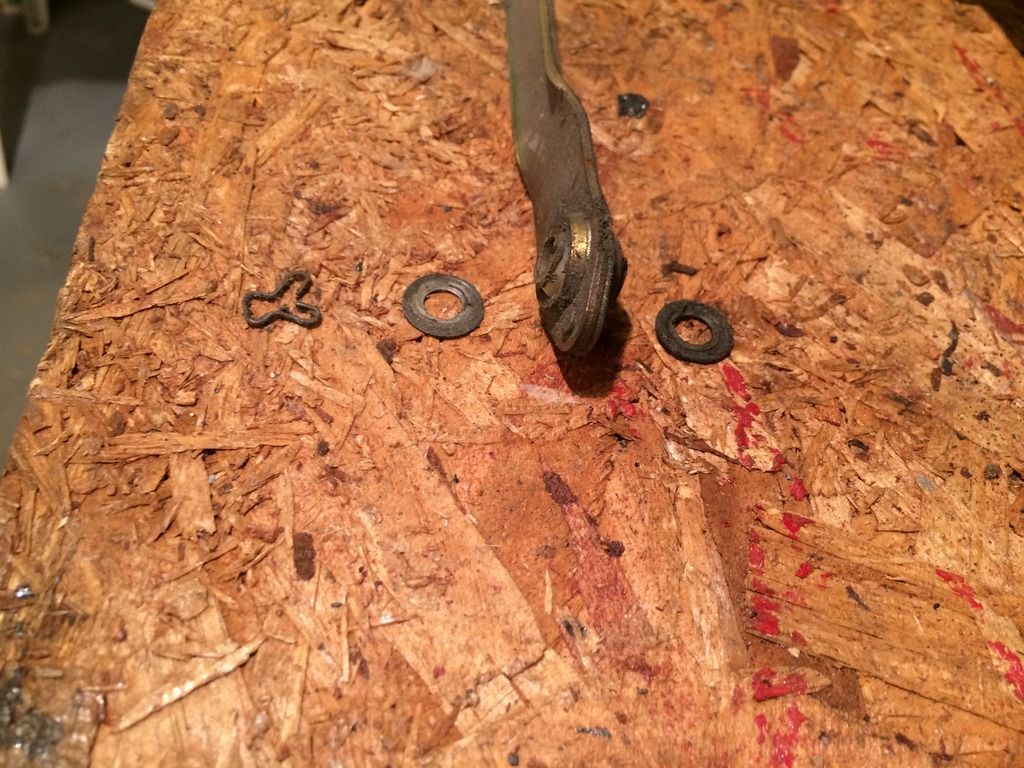
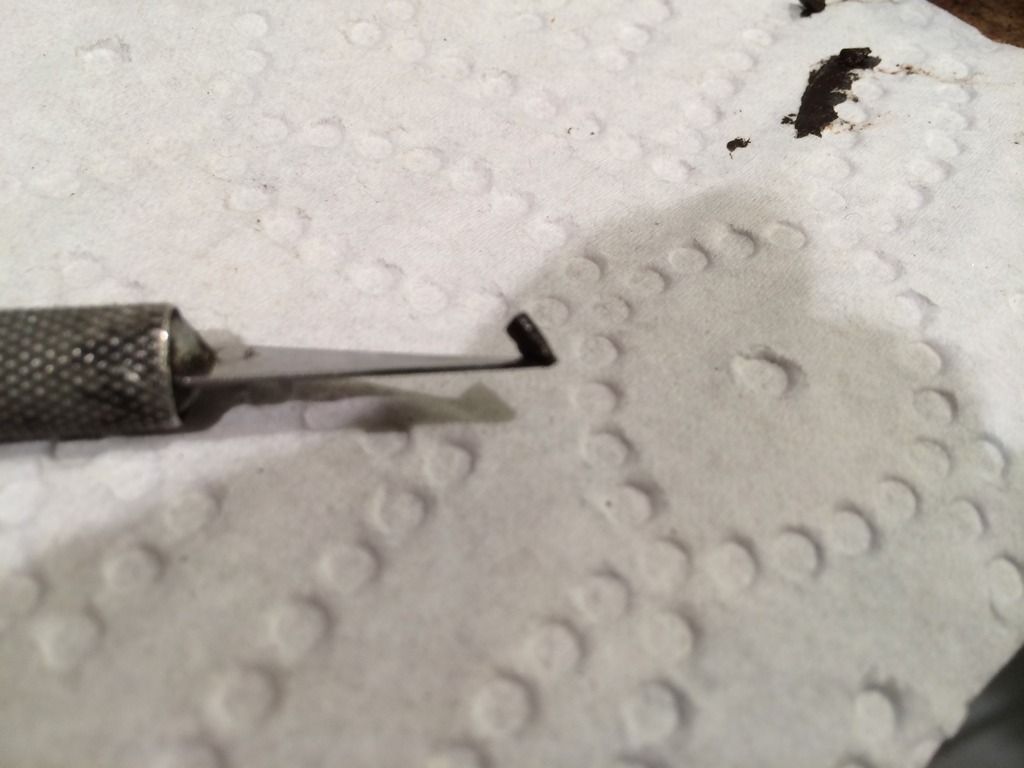
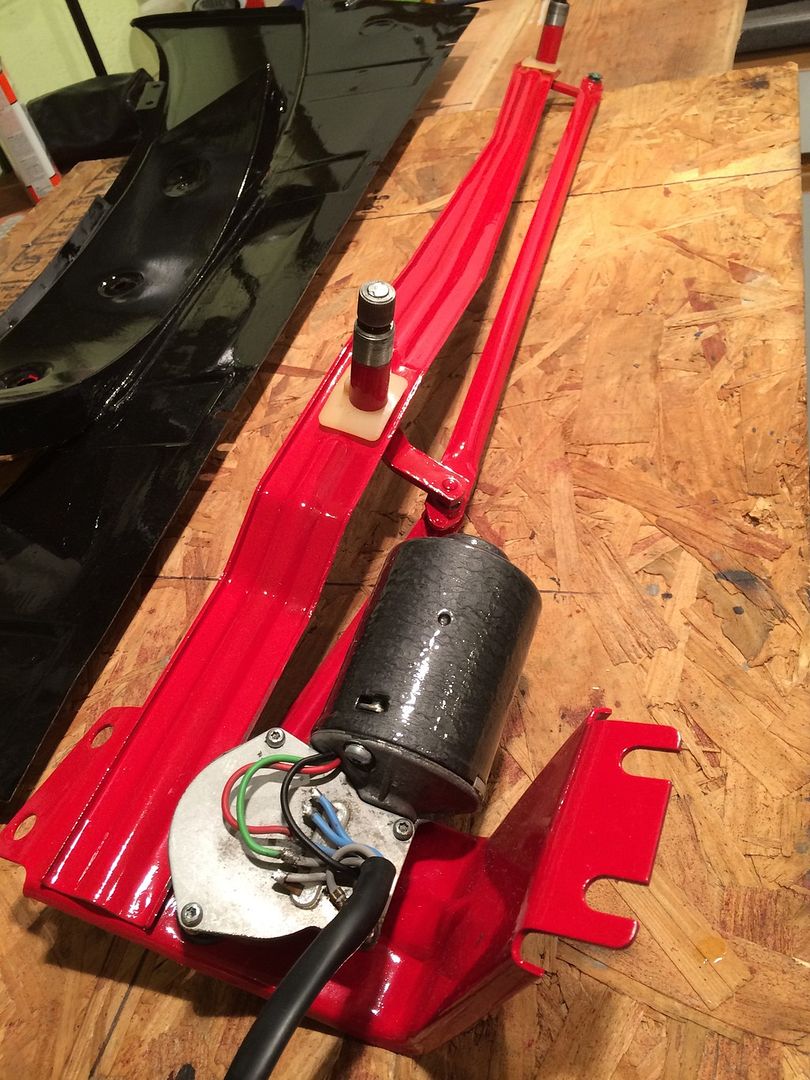
Linkage components all dried up.
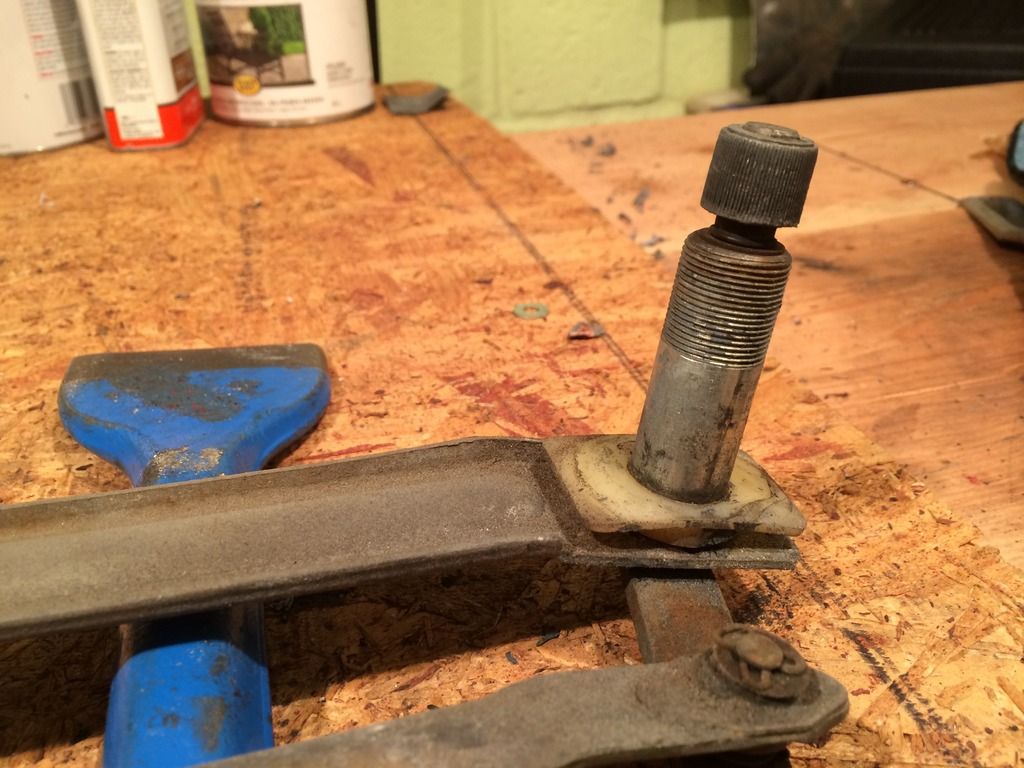
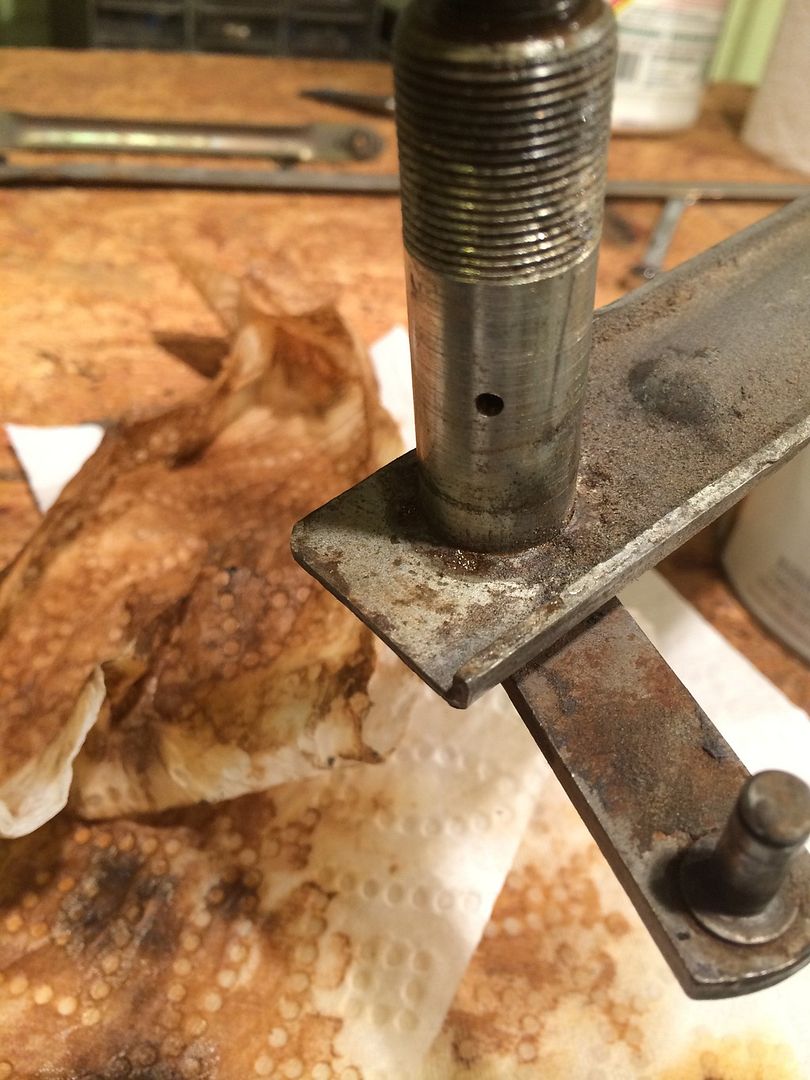
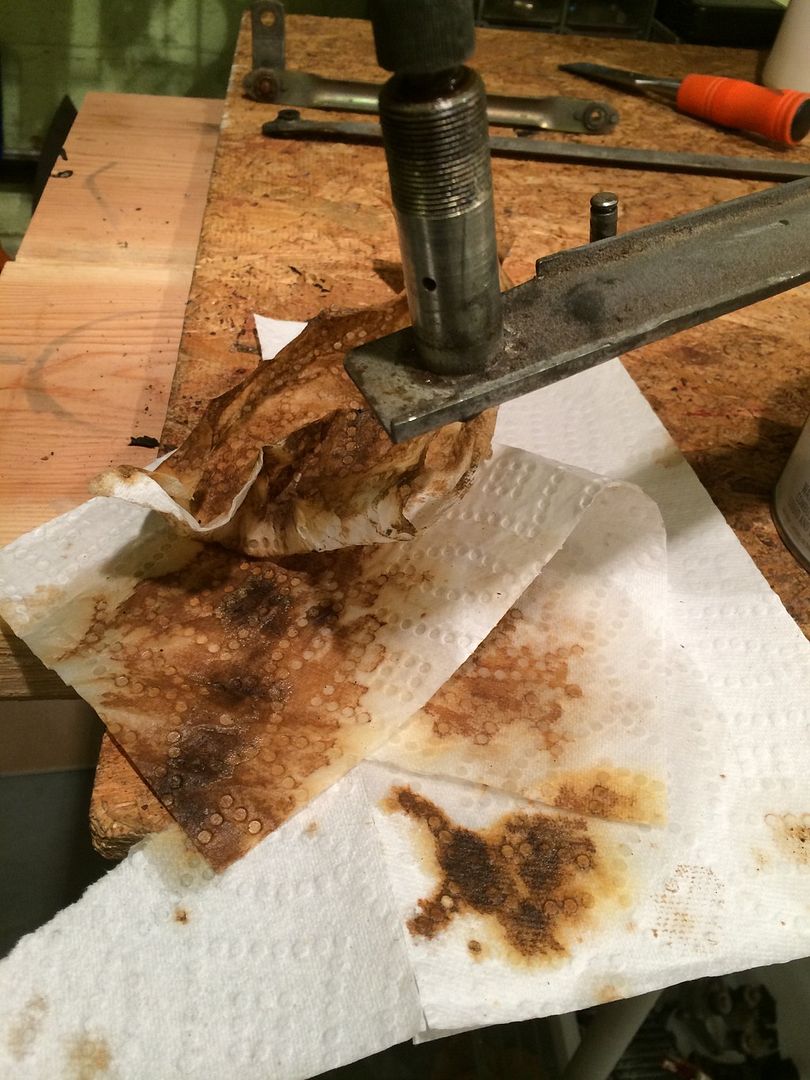
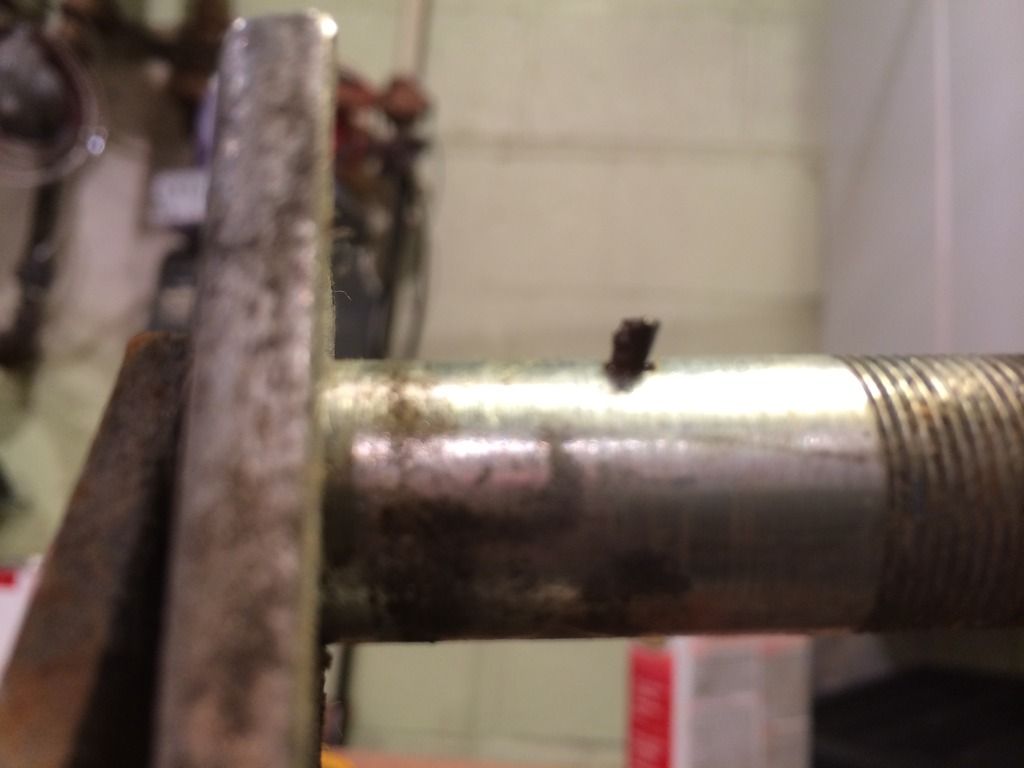
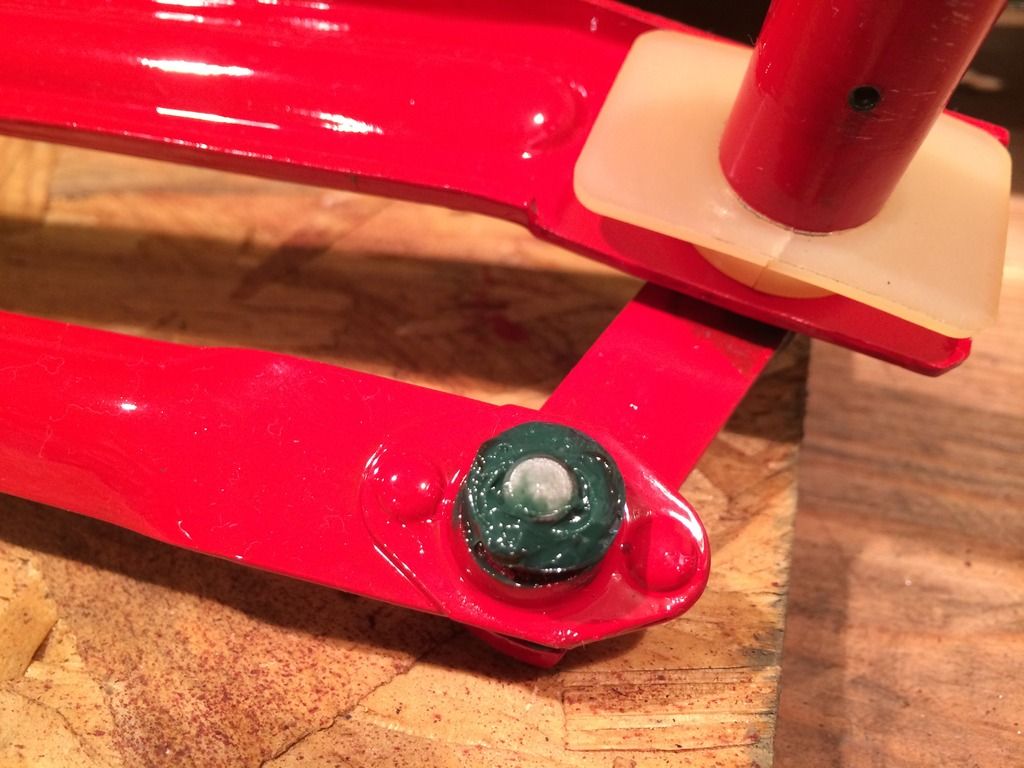
As both spindles were nearly completely seized I drilled a 1/8" hole on either side of the external jacket being careful not to contact the center rod. I then force fed release agent into the holes and down the top collar I did this for 4 days then I soaked them with lithium grease and then started to twist them to force out the hardened grease and rust, took me about 4 hours on each spindle to get a clear liquid to come out. I then forced grease into the holes and collar. they now are free running. Something to think about when you have slow wipers and blame the electrical system for the woes.
Very slow wipers and windows. this is what I found out about the wiper problem. windows come later but very similar in nature
This is how it looked before the rehab. all but one of the linkages had seized up. grease had disappeared long time ago


This Puppy was the main villain totally unmovable, I have no idea how the motor even managed to move it!!

the sidekick moved but not by much

Linkage components all dried up.


As both spindles were nearly completely seized I drilled a 1/8" hole on either side of the external jacket being careful not to contact the center rod. I then force fed release agent into the holes and down the top collar I did this for 4 days then I soaked them with lithium grease and then started to twist them to force out the hardened grease and rust, took me about 4 hours on each spindle to get a clear liquid to come out. I then forced grease into the holes and collar. they now are free running. Something to think about when you have slow wipers and blame the electrical system for the woes.


-
RRoller123

- Patron 2020
- Posts: 8179
- Joined: Sun Nov 13, 2011 2:04 pm
- Your car is a: 1980 FI SPIDER 2000
- Location: SAGAMORE BEACH, MA USA
Re: 1980 spider Restoration phase 2
That is NICE!
'80 FI Spider 2000
'74 and '79 X1/9 (past)
'75 BMW R75/6
2011 Chevy Malibu (daily driver)
2010 Chevy Silverado 2500HD Ext Cab 4WD/STD BED
2002 Edgewater 175CC 80HP 4-Stroke Yamaha
2003 Jaguar XK8
2003 Jaguar XKR
2021 Jayco 22RB
2019 Bianchi Torino Bicycle
'74 and '79 X1/9 (past)
'75 BMW R75/6
2011 Chevy Malibu (daily driver)
2010 Chevy Silverado 2500HD Ext Cab 4WD/STD BED
2002 Edgewater 175CC 80HP 4-Stroke Yamaha
2003 Jaguar XK8
2003 Jaguar XKR
2021 Jayco 22RB
2019 Bianchi Torino Bicycle
-
spider2081
- Patron 2024
- Posts: 3042
- Joined: Fri Jan 27, 2006 11:45 pm
- Your car is a: 1981 Spider 2000
- Location: Wallingford,CT
Re: 1980 spider Restoration phase 2
Nice very nice. I also drill 1/8 inch lubrication holes like you have. works great. But your work is much better detailed than mine. what wiper motor are you using.
-
DRUMMOND
- Patron 2018
- Posts: 443
- Joined: Thu Oct 20, 2011 11:11 pm
- Your car is a: Fiat Spyder 2000 1980 Pininfarina
Re: 1980 spider Restoration phase 2
Hi Spider2081
As far as I know its the original motor. I just enameled the outside and cleaned up the inside.
As far as I know its the original motor. I just enameled the outside and cleaned up the inside.
-
DRUMMOND
- Patron 2018
- Posts: 443
- Joined: Thu Oct 20, 2011 11:11 pm
- Your car is a: Fiat Spyder 2000 1980 Pininfarina
Re: 1980 spider Restoration phase 2
Back to the body work.
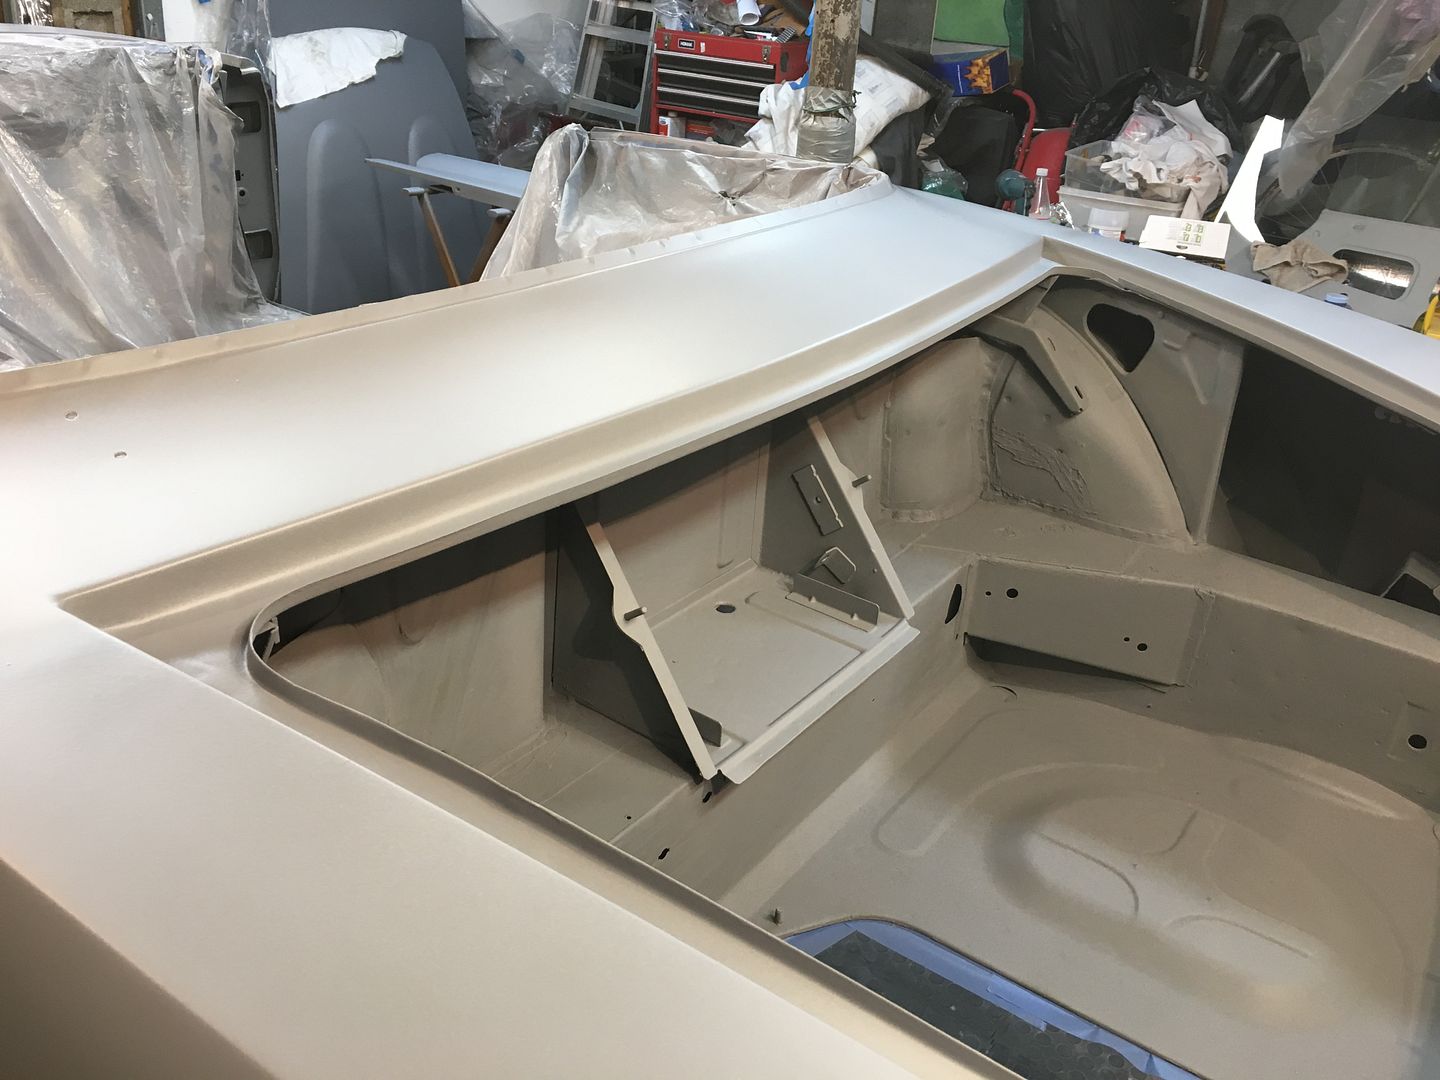
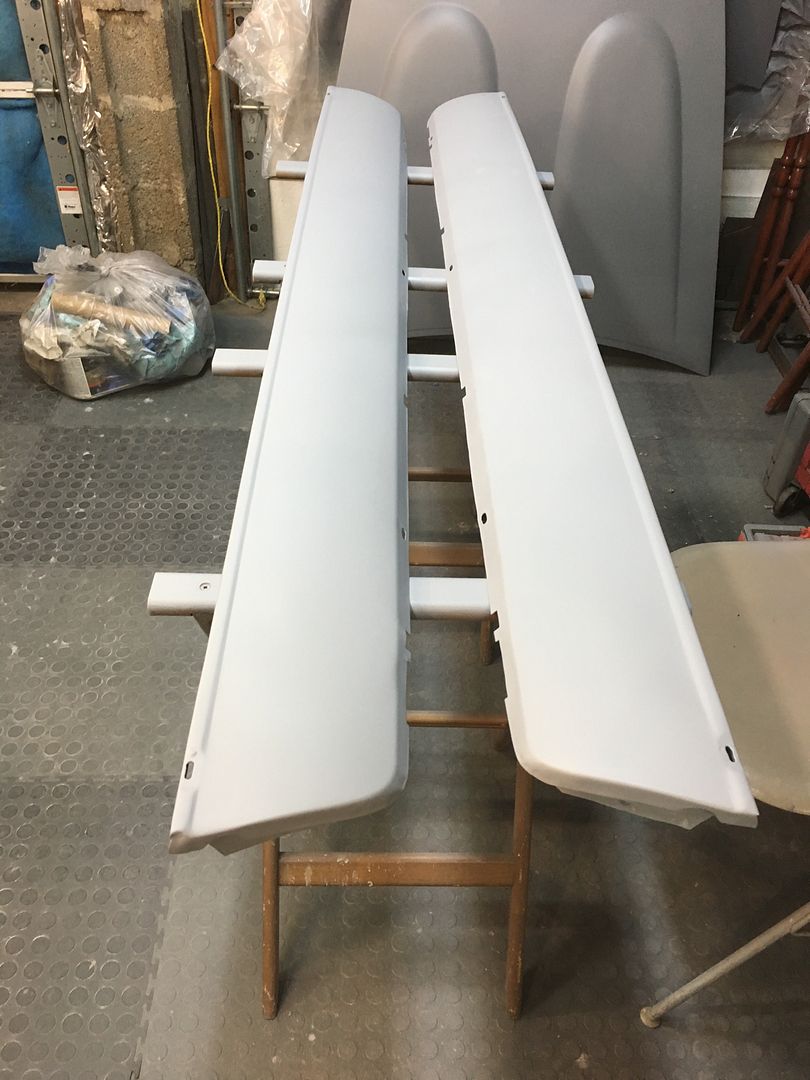
Last week I laid on the primer surfacer then blocked it on Friday.
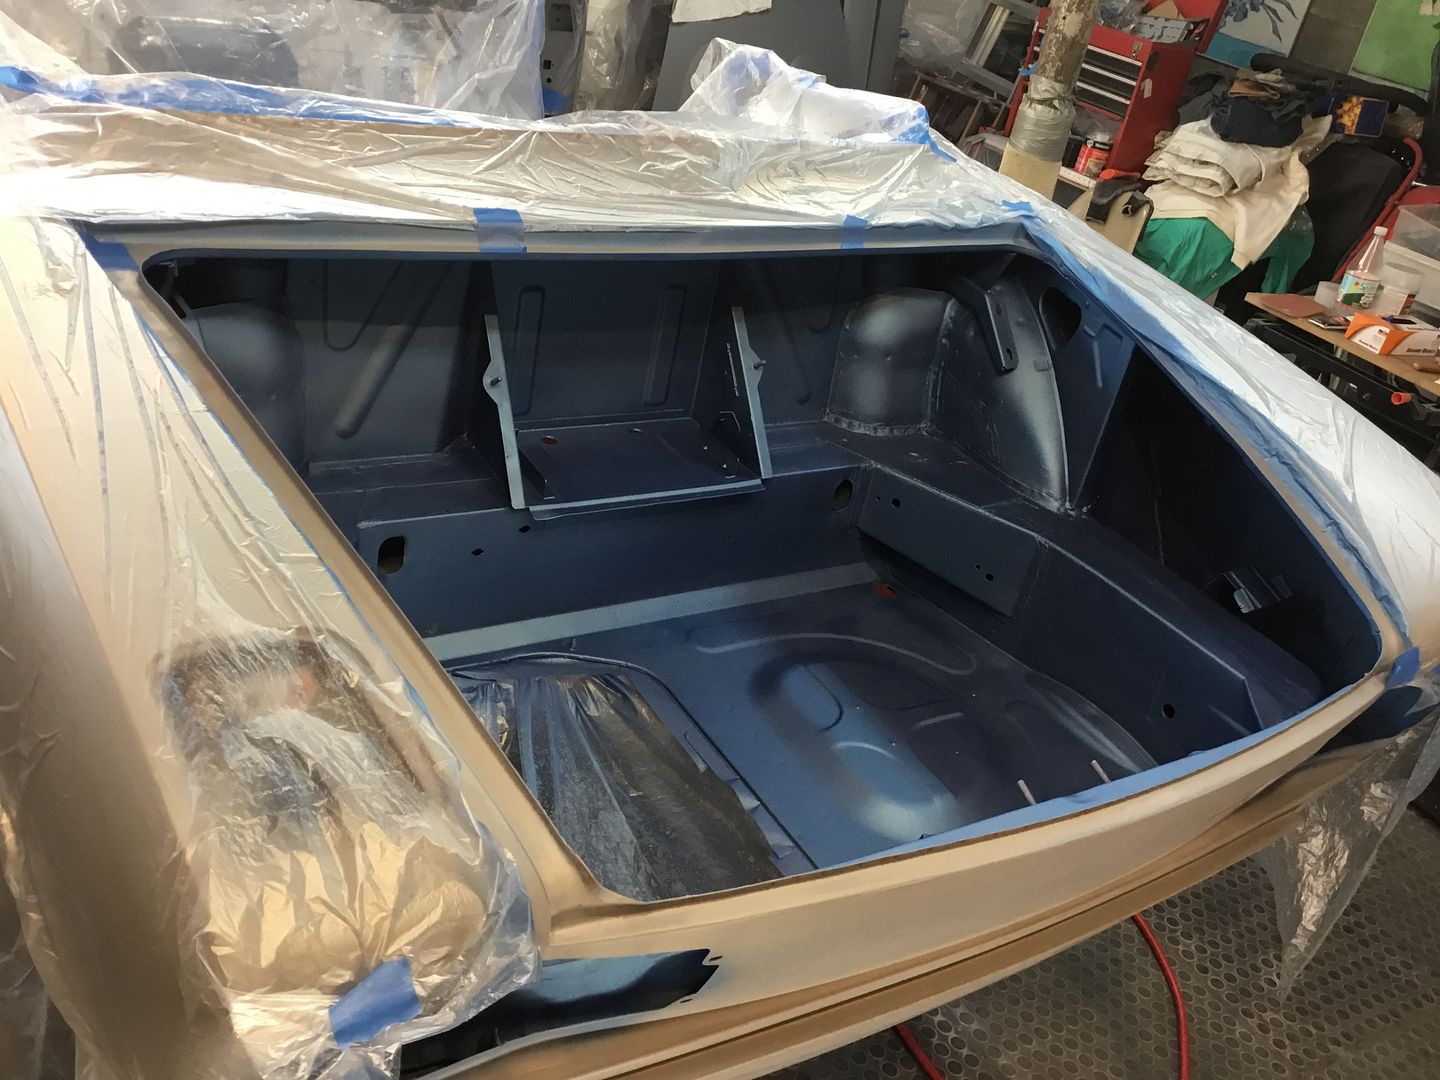
Saturday and Sunday I layed on the base-coat and then the clear coat. Just have to wet block the clear coat and lay the final clear coat then its done!
I did then engine bay and the trunk first. the florescent lights play with the photos so you don't really see the metallic blue that well. this is the base coat
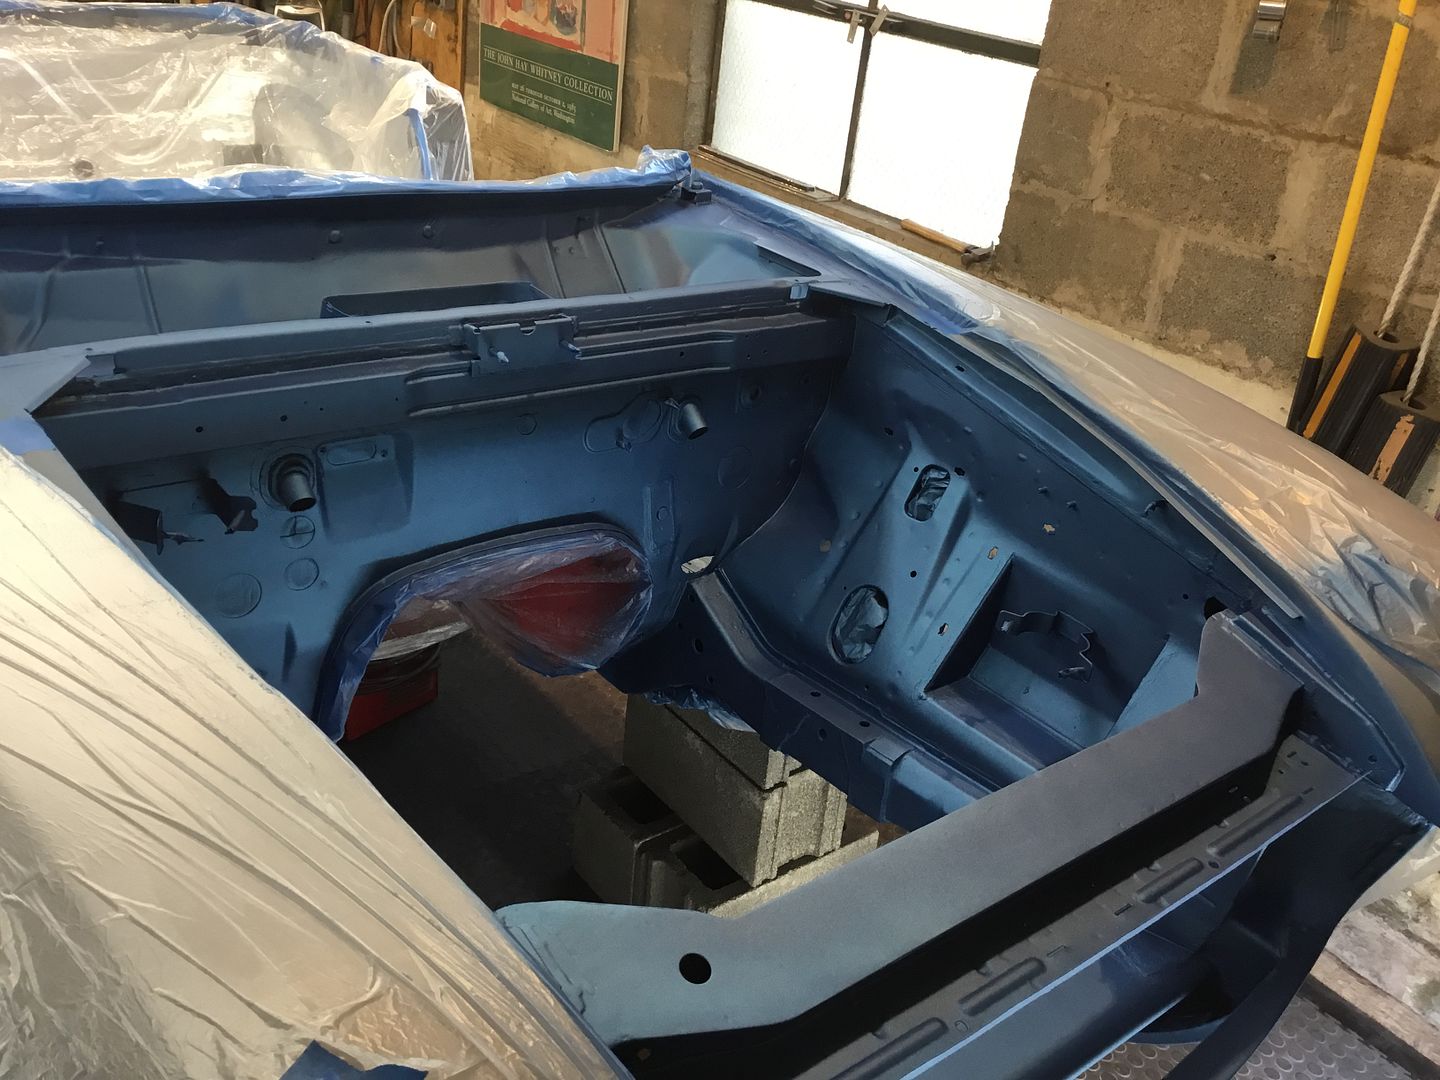
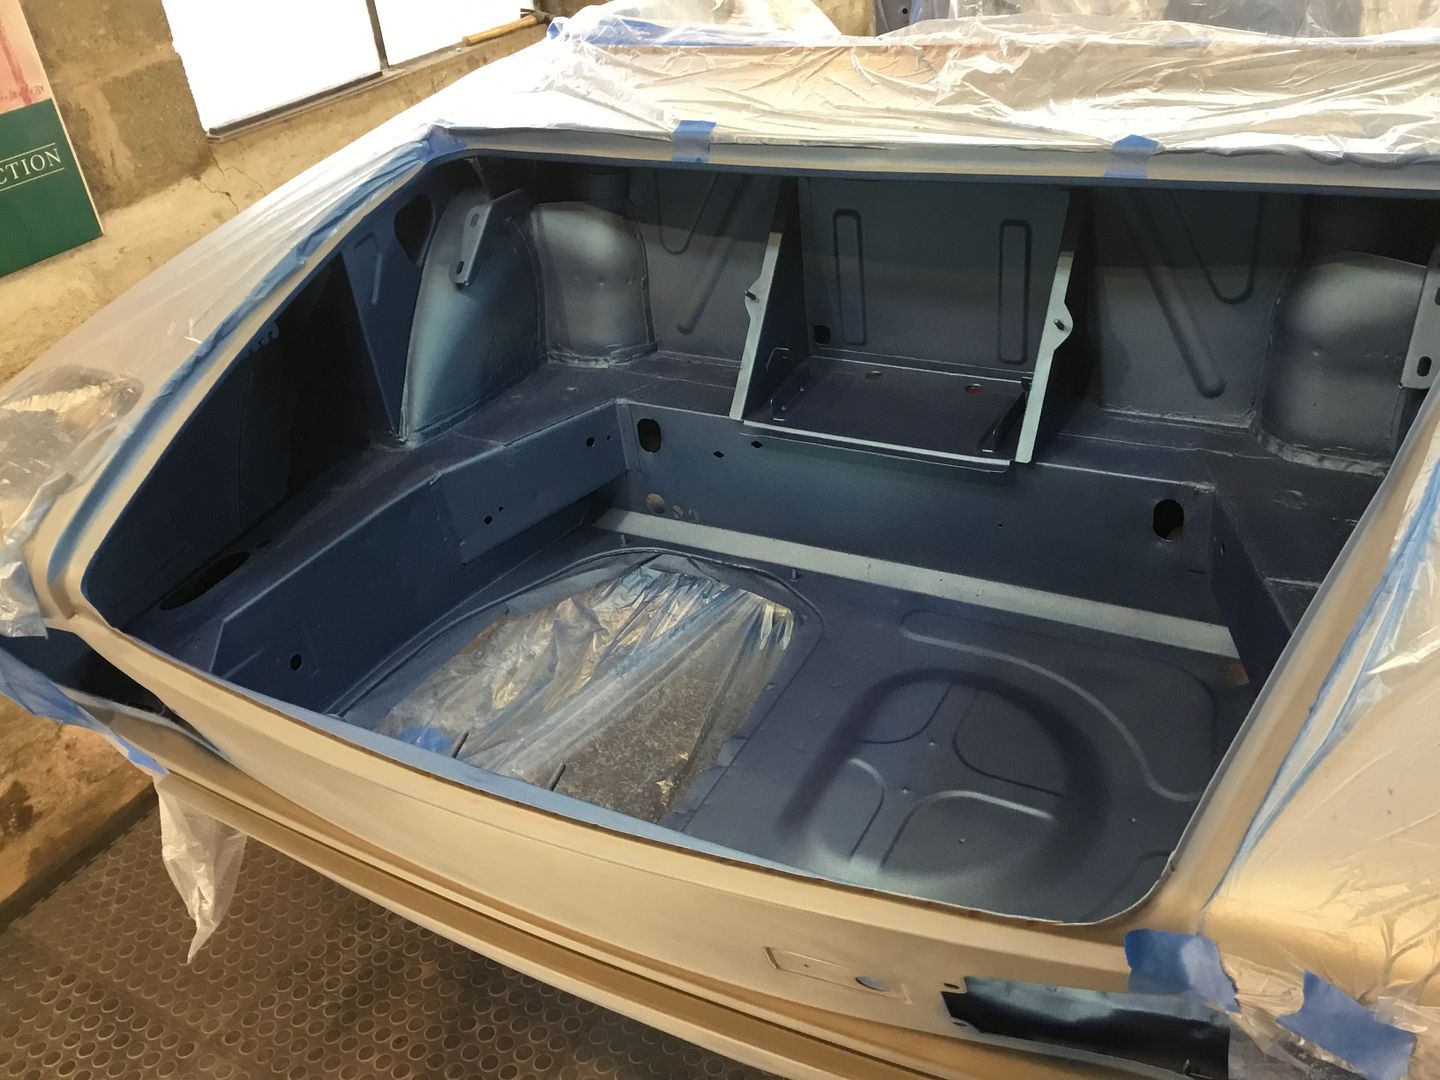
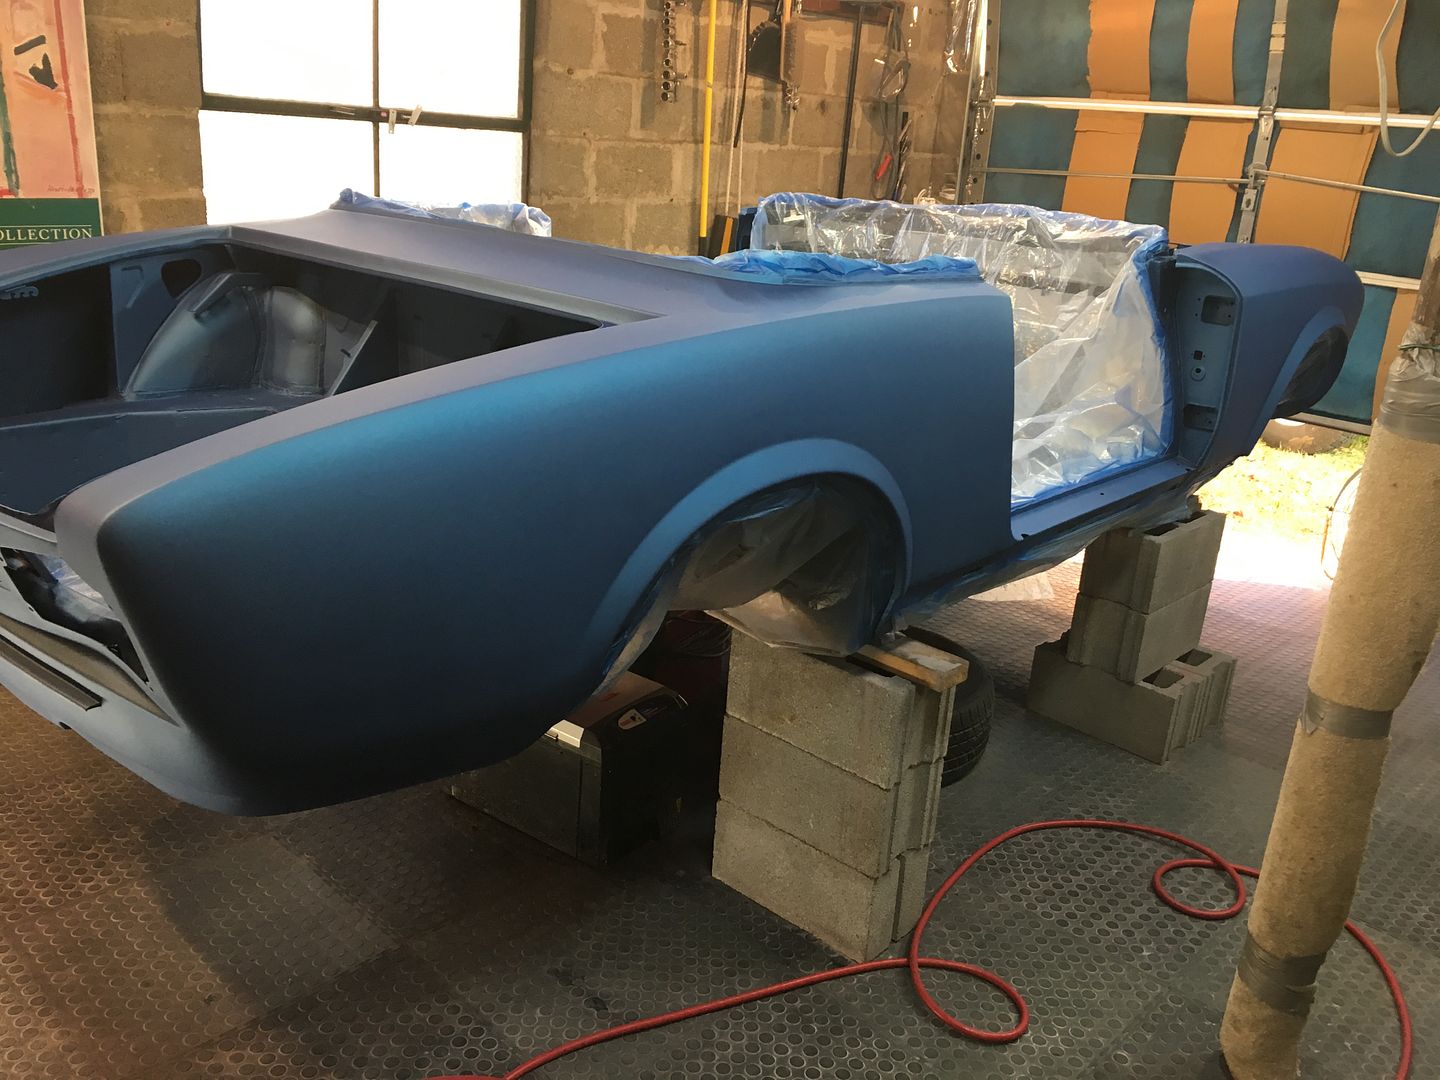
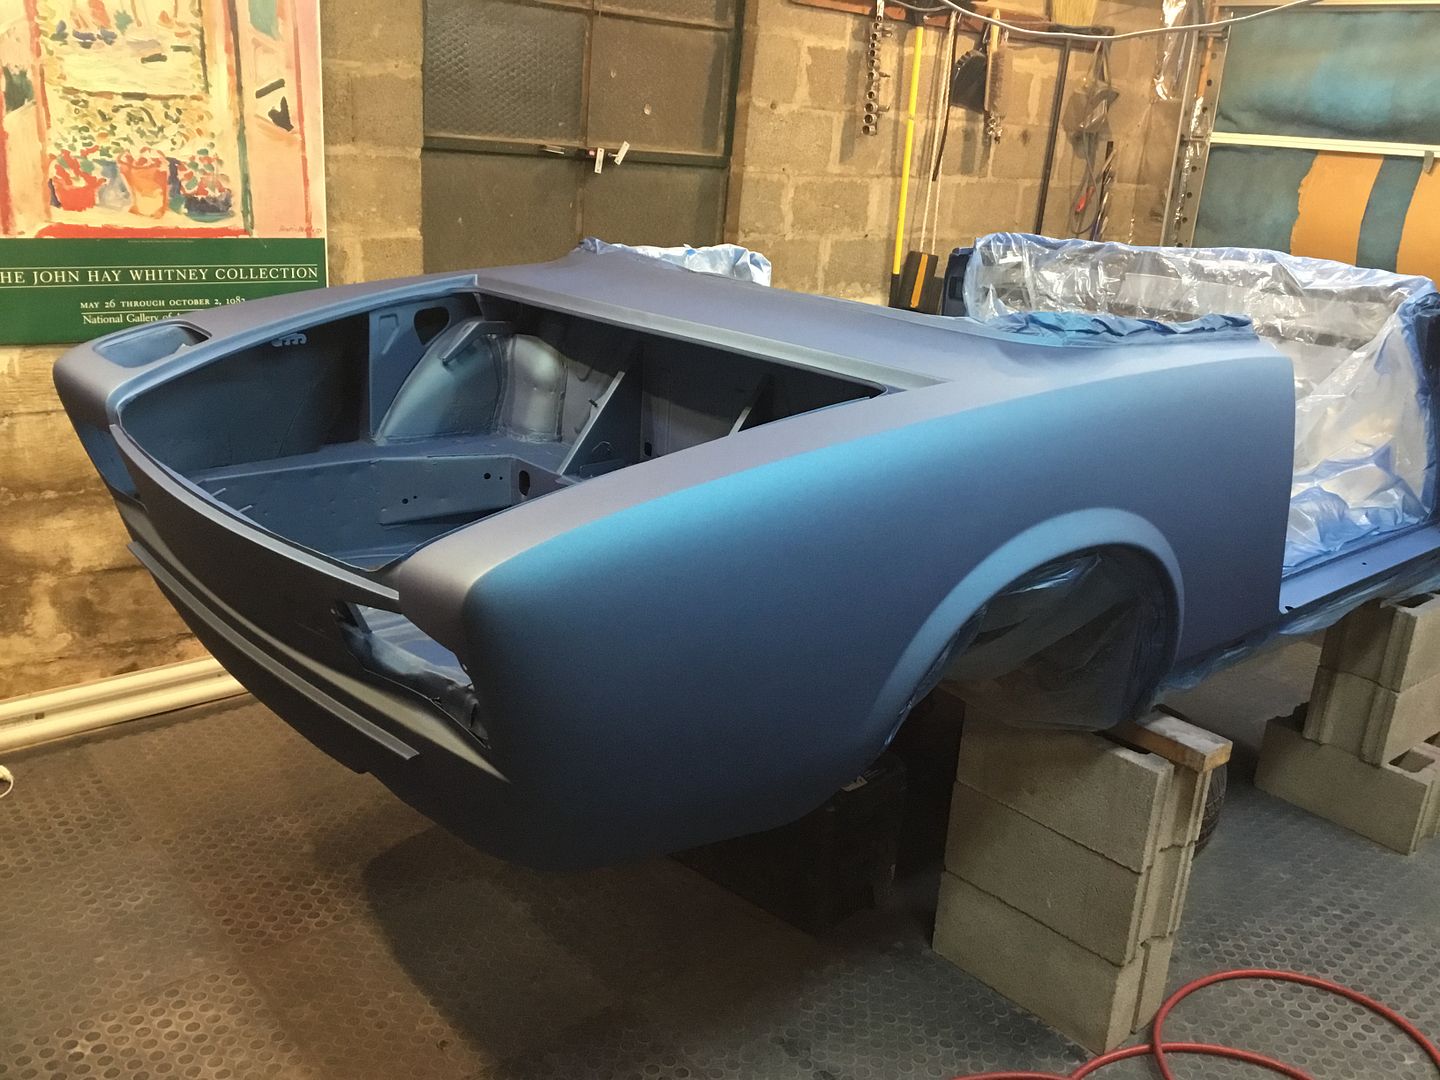
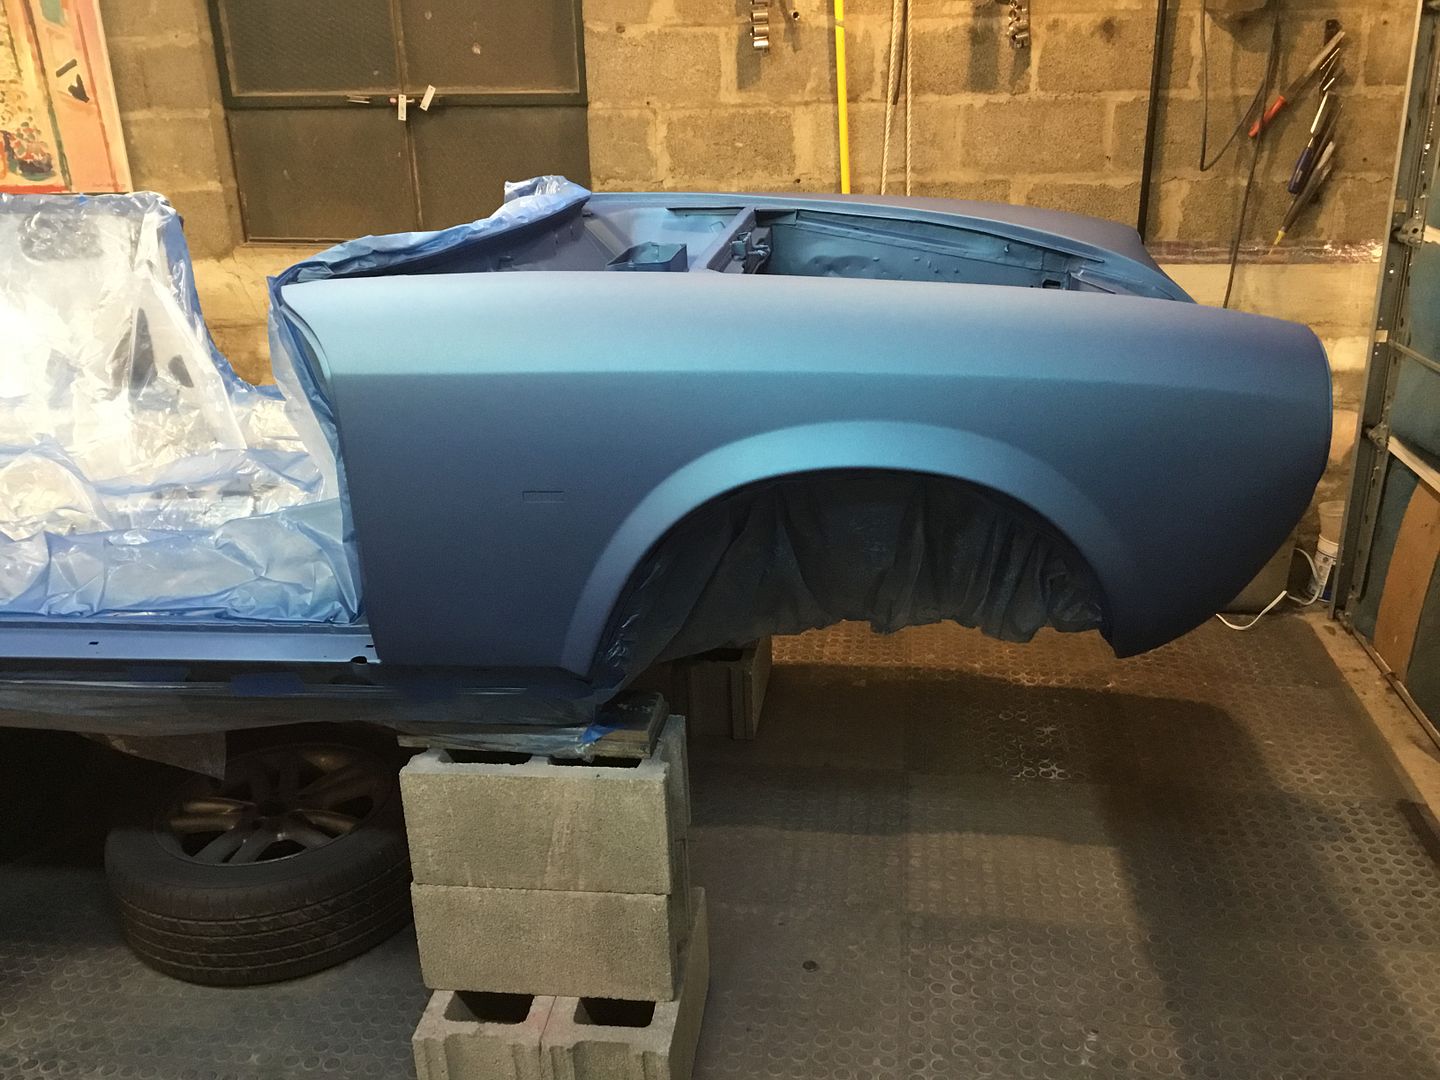
here you can see the blue better in the sunlight

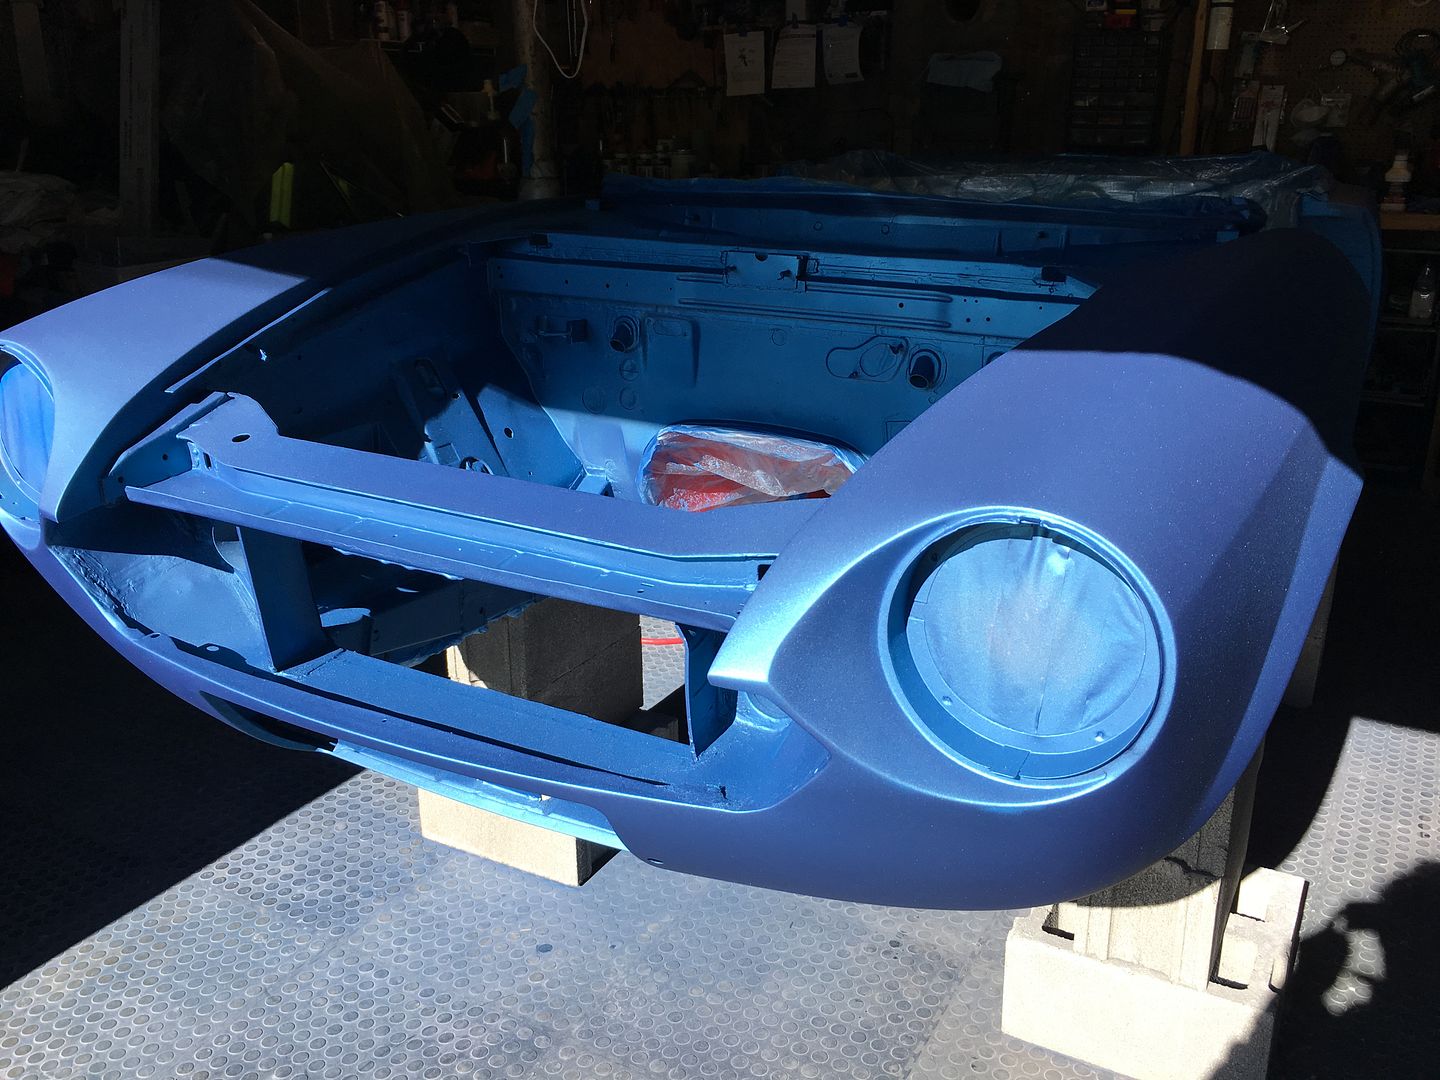
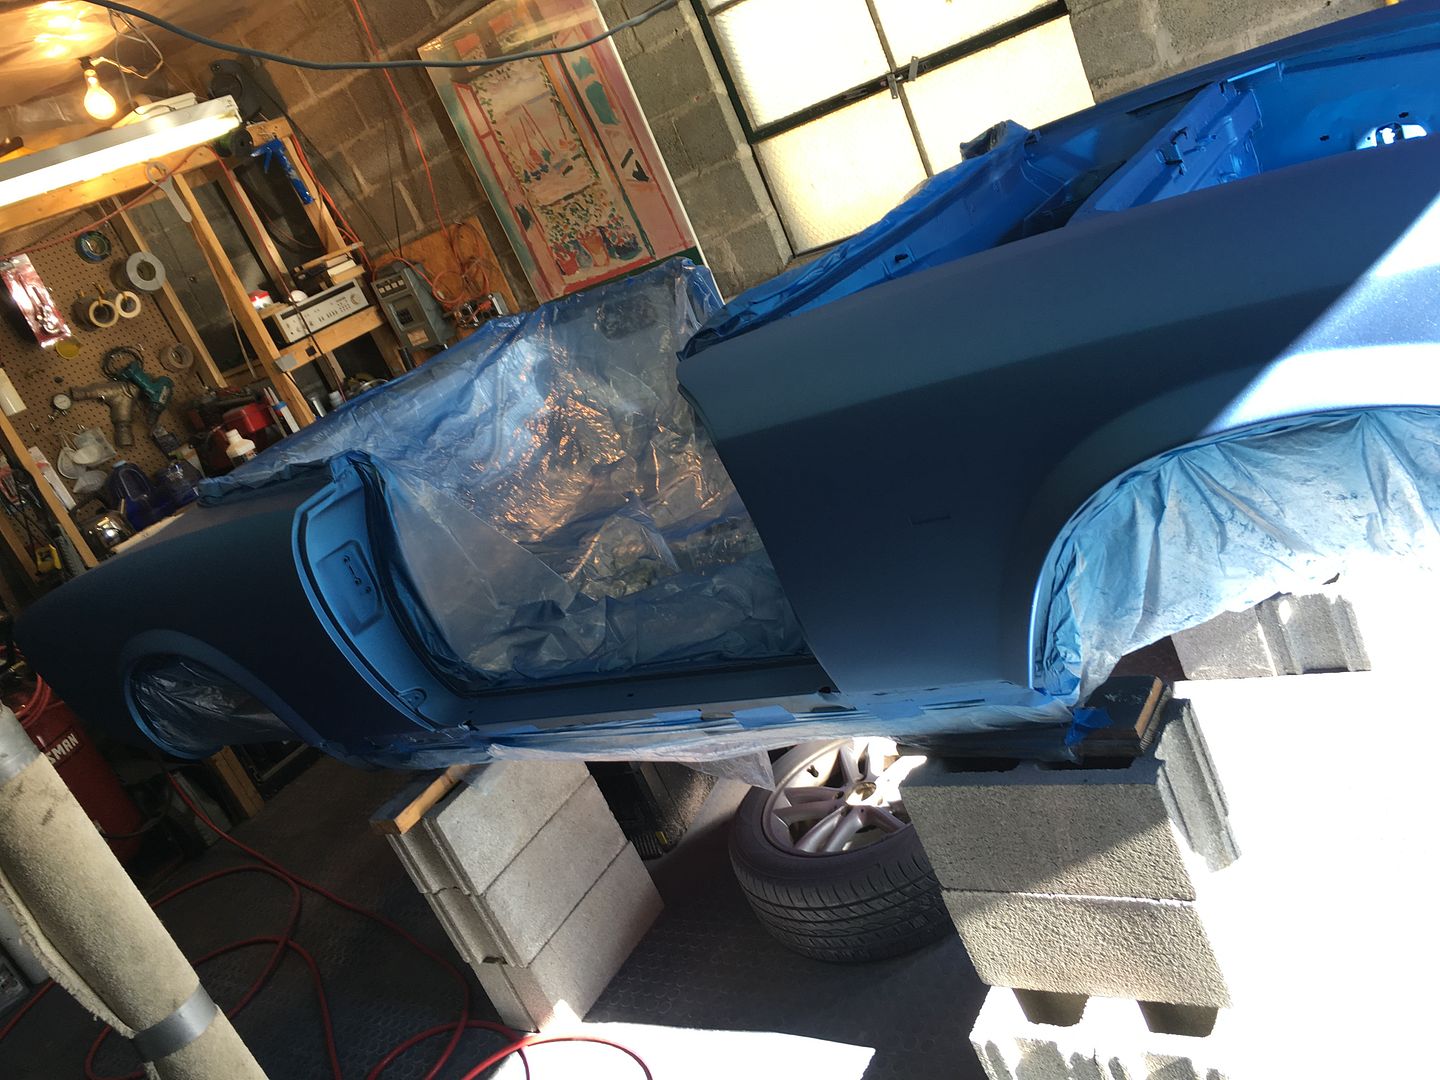
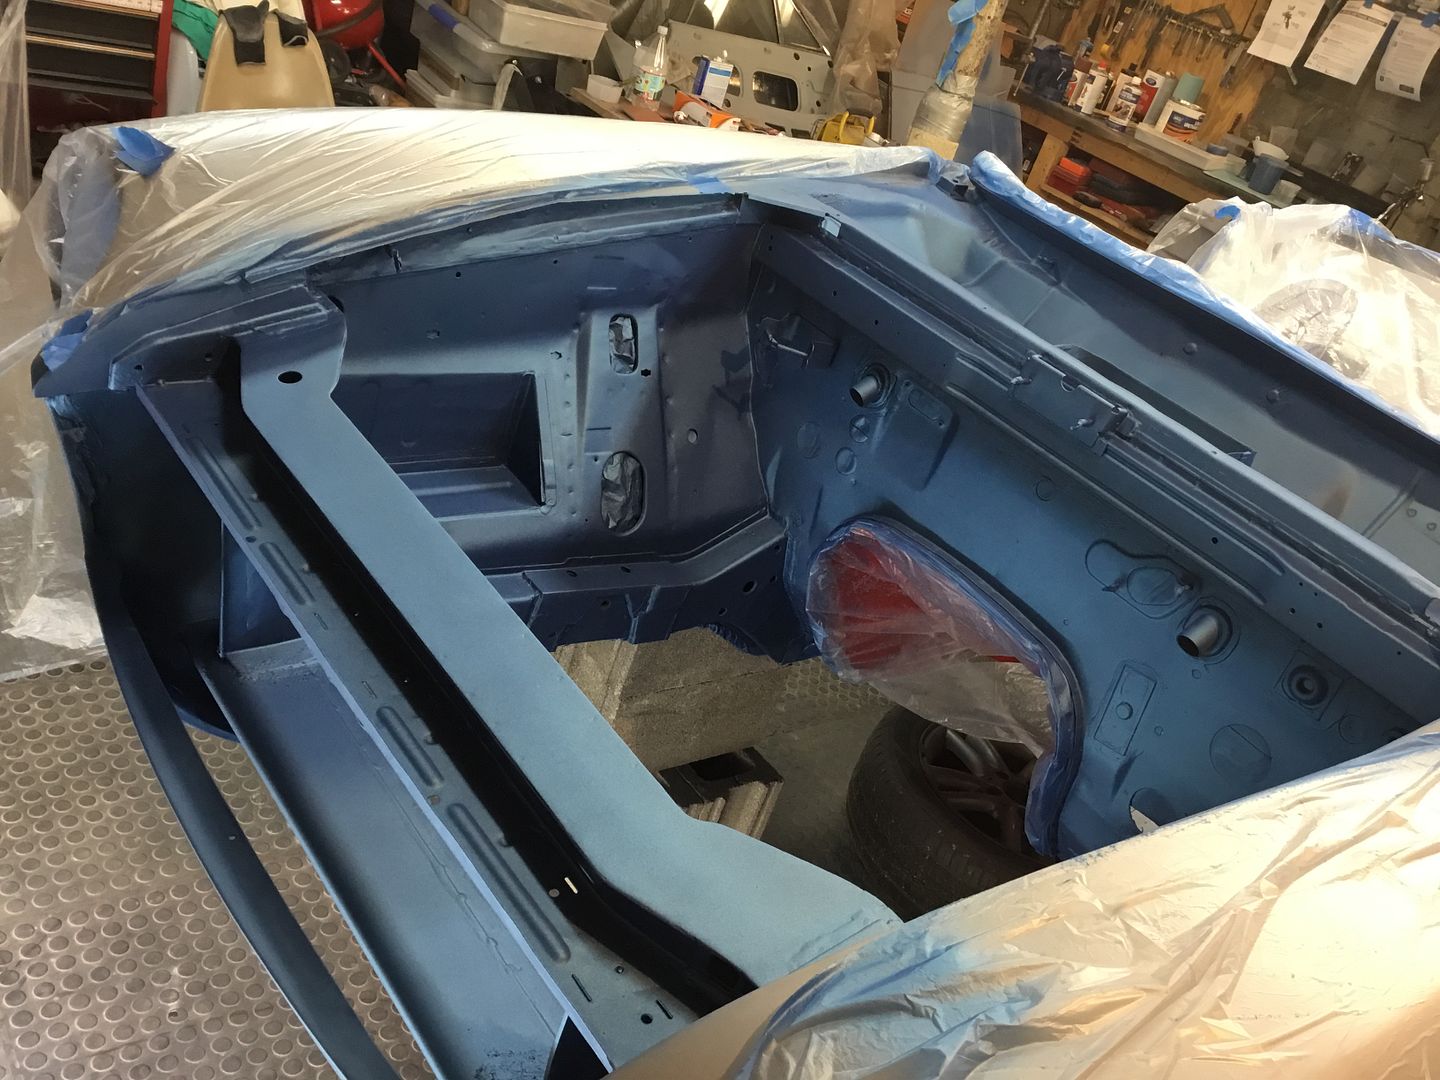
Its kinda hard to take decent photos of metallic under florescent lights but here is the clear coat application the photos do not do it justice
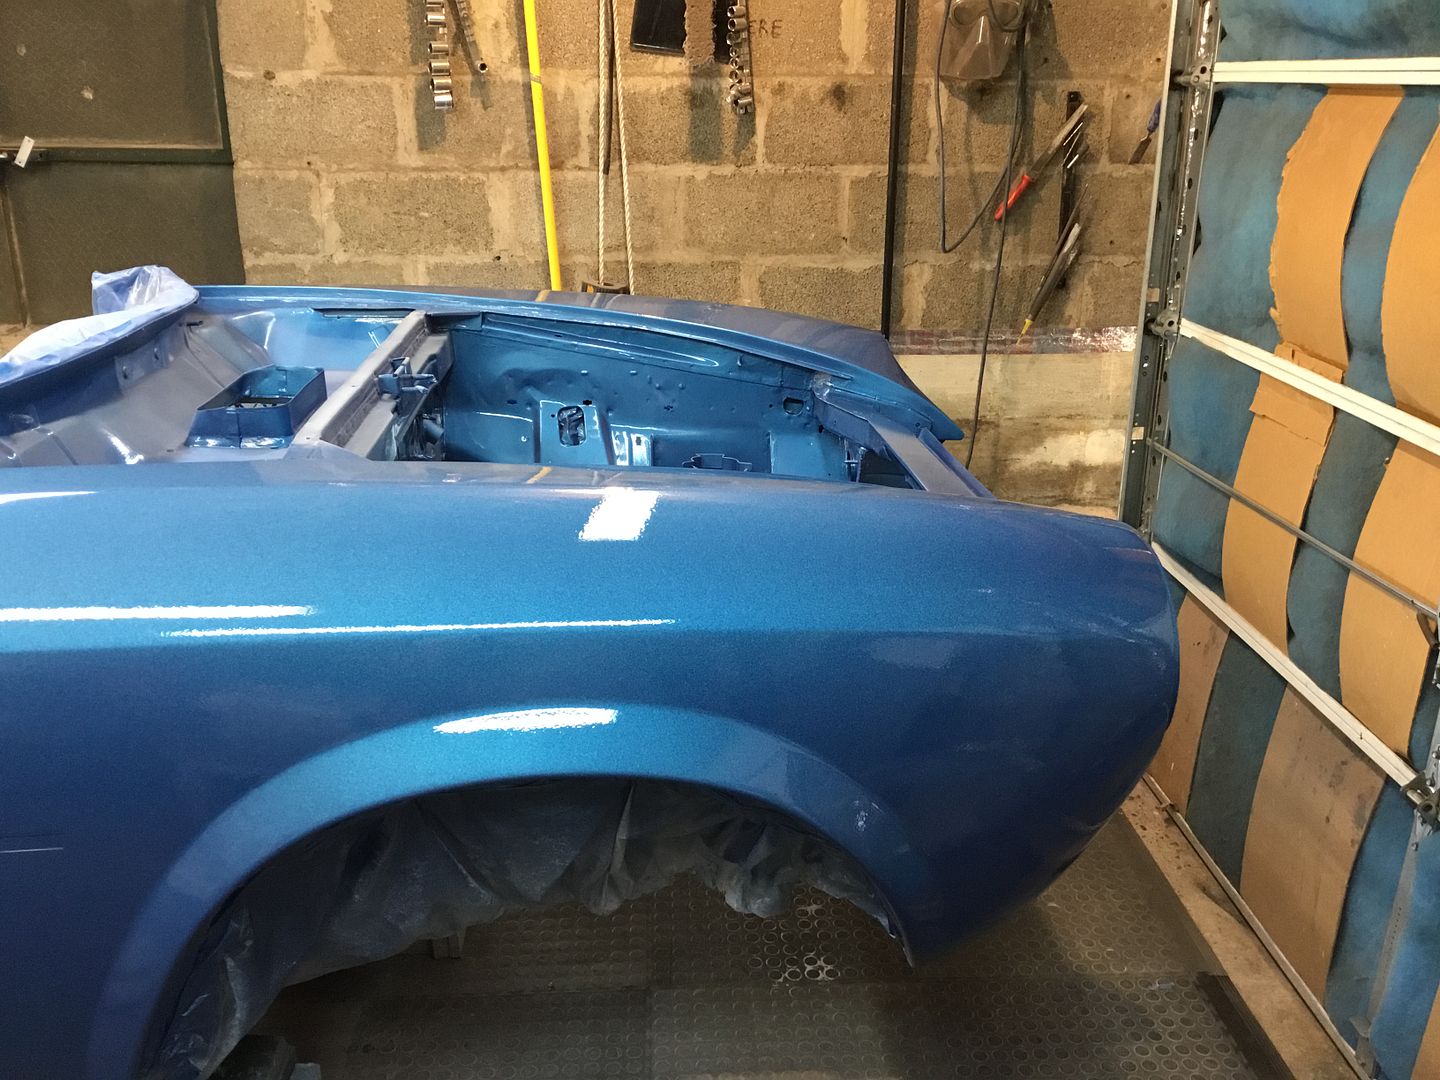
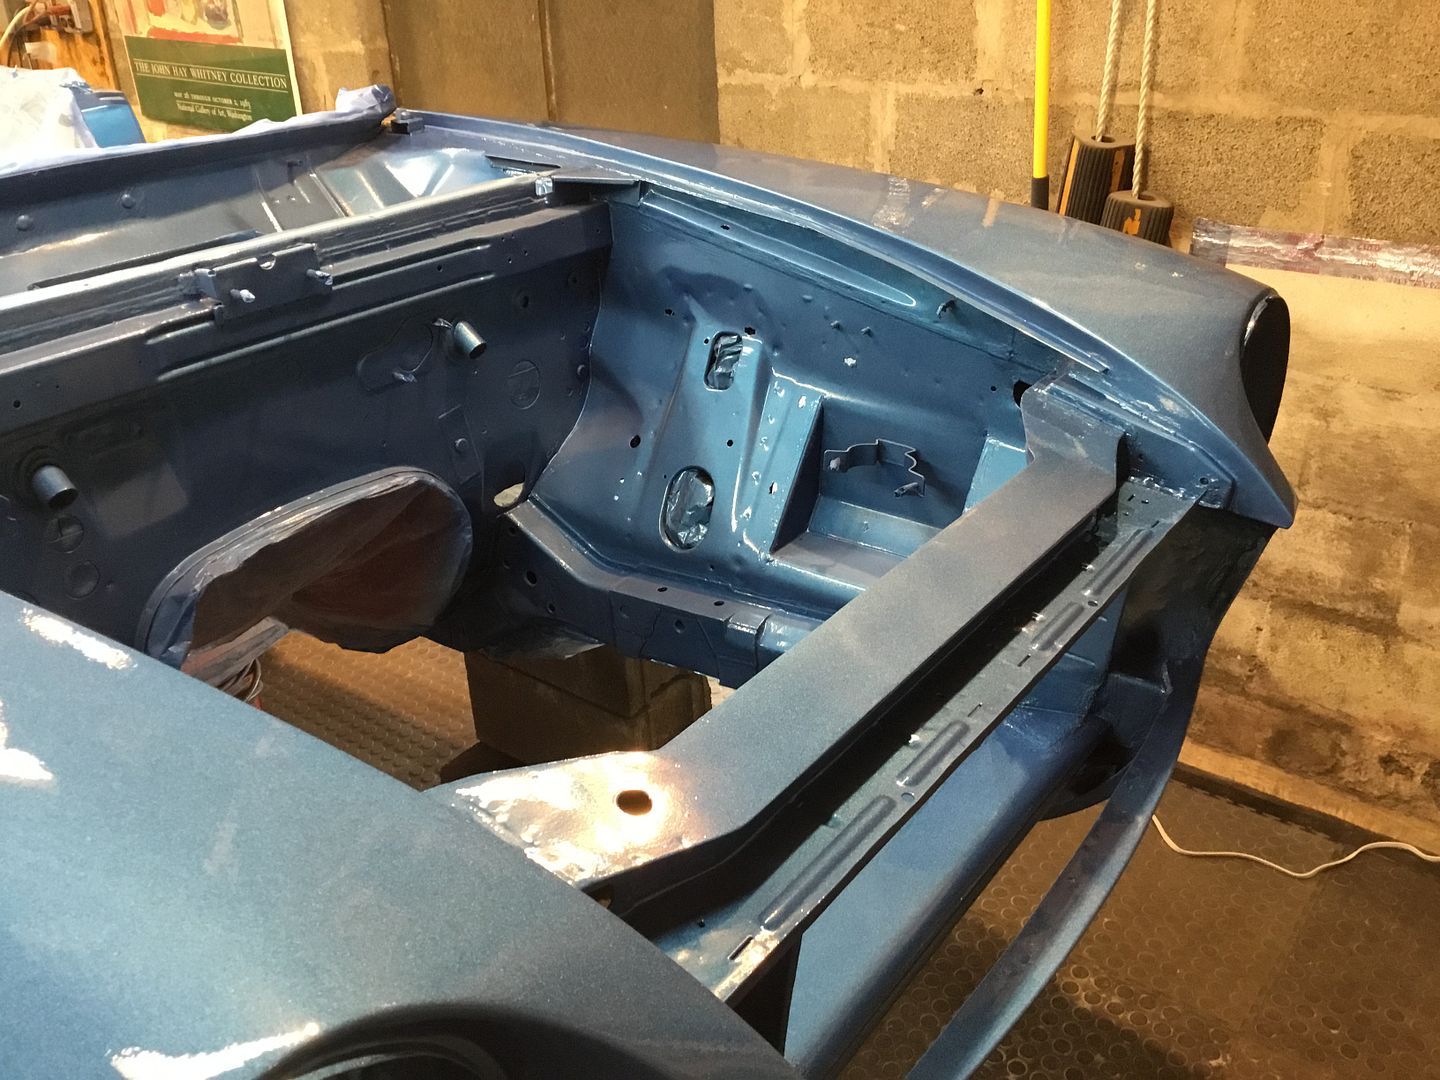
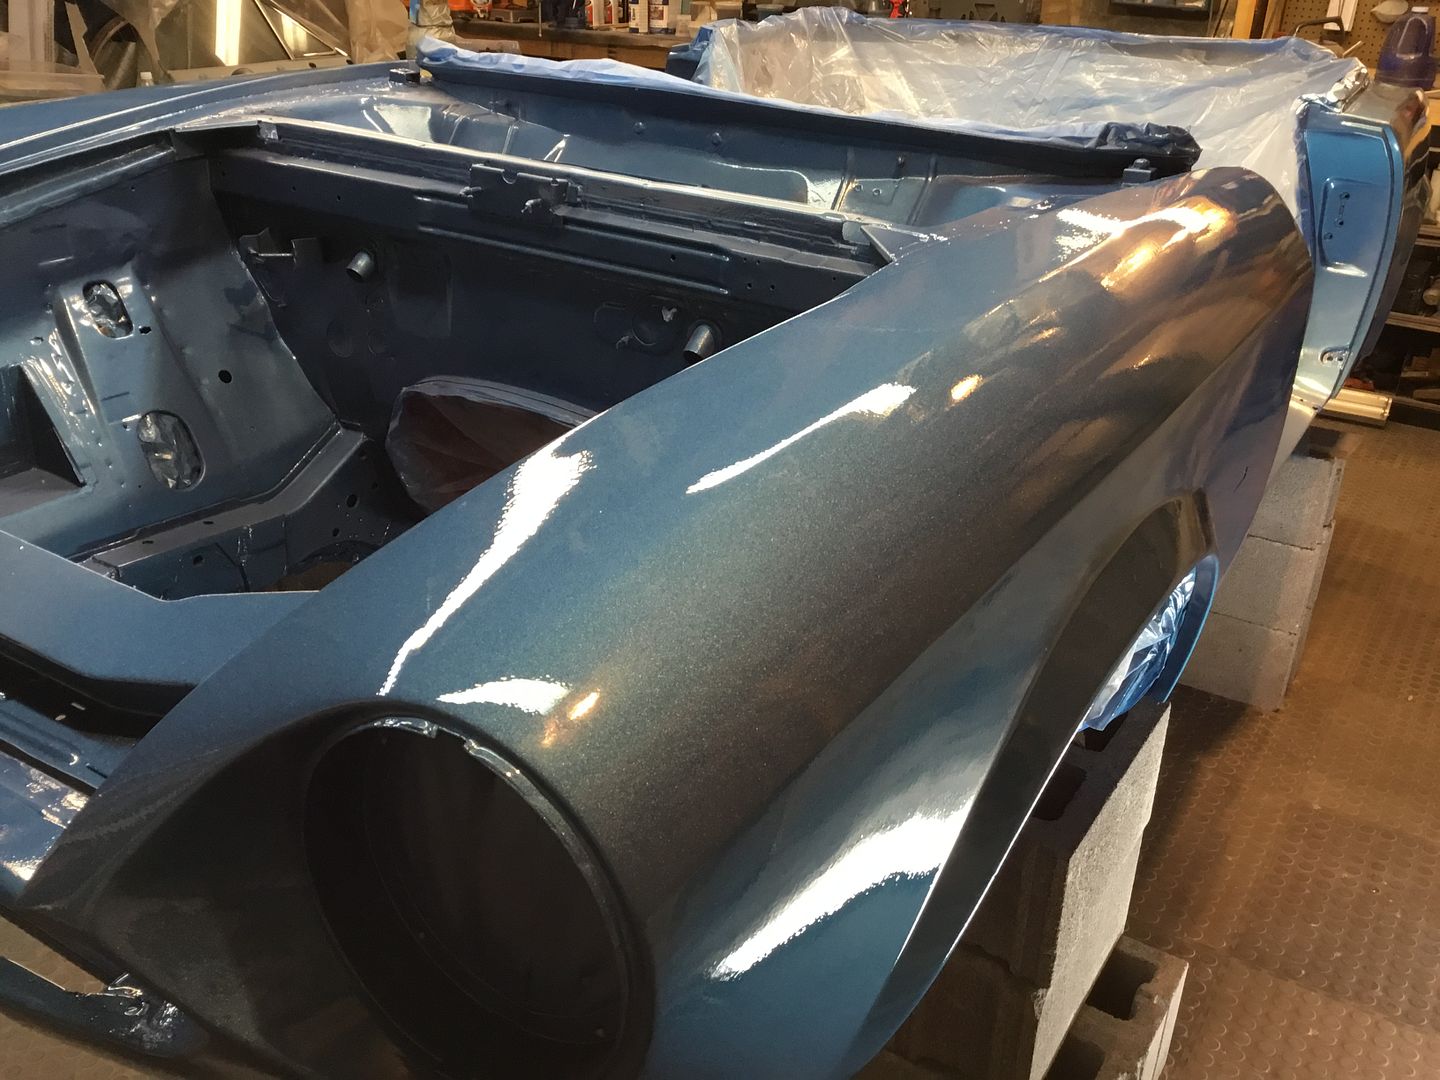
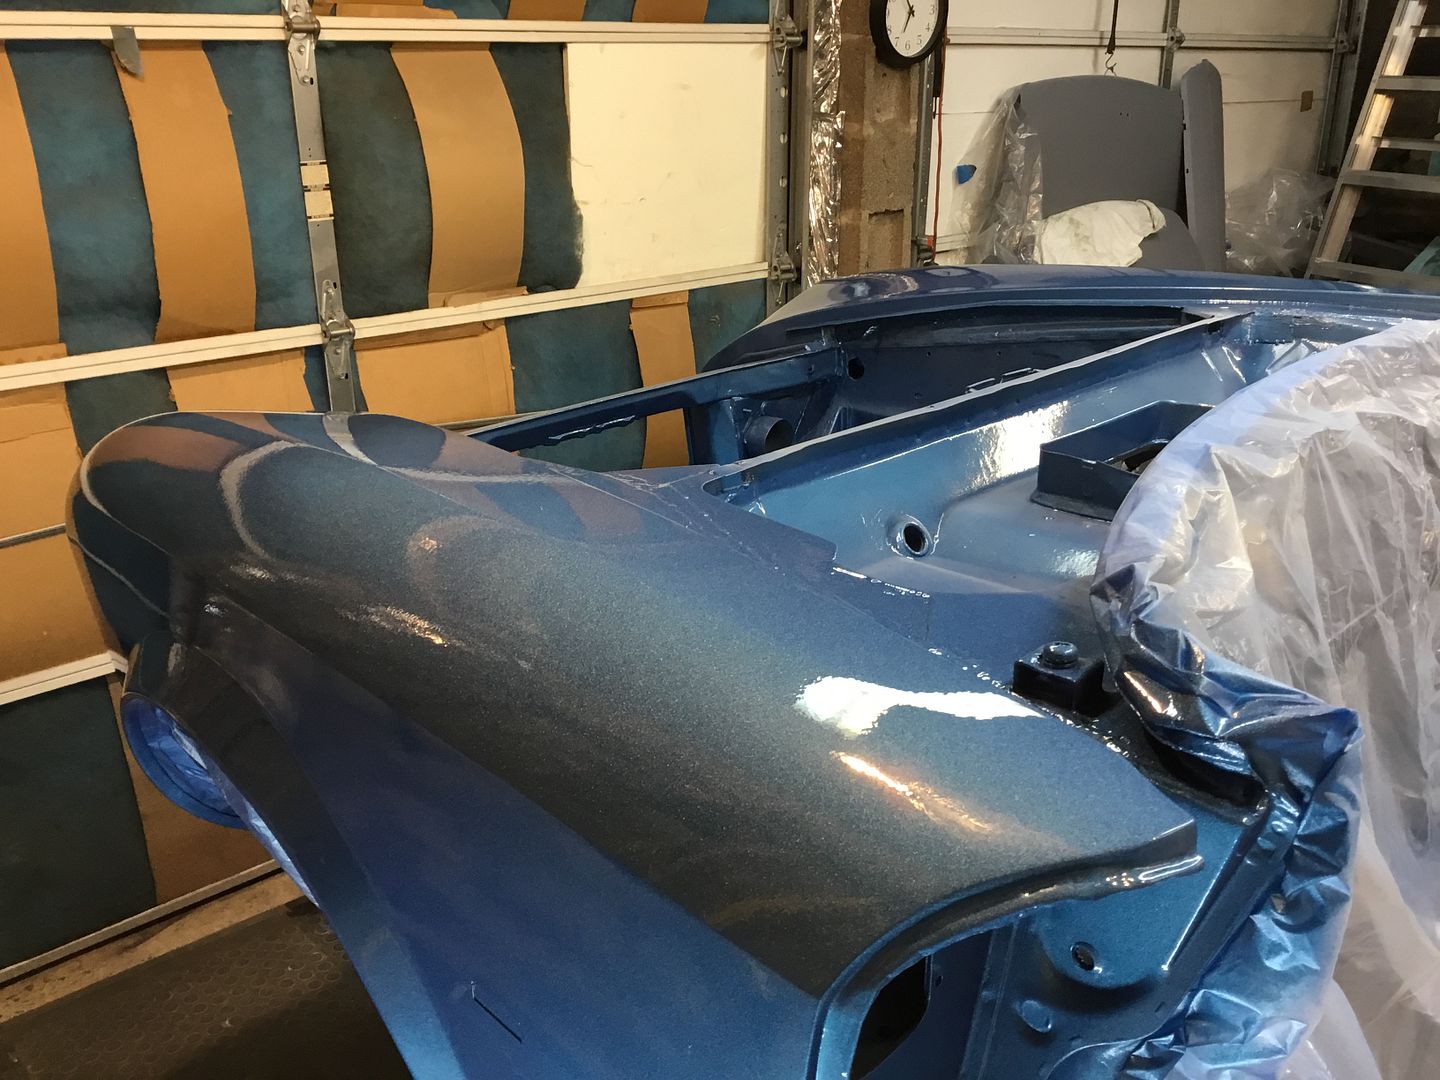
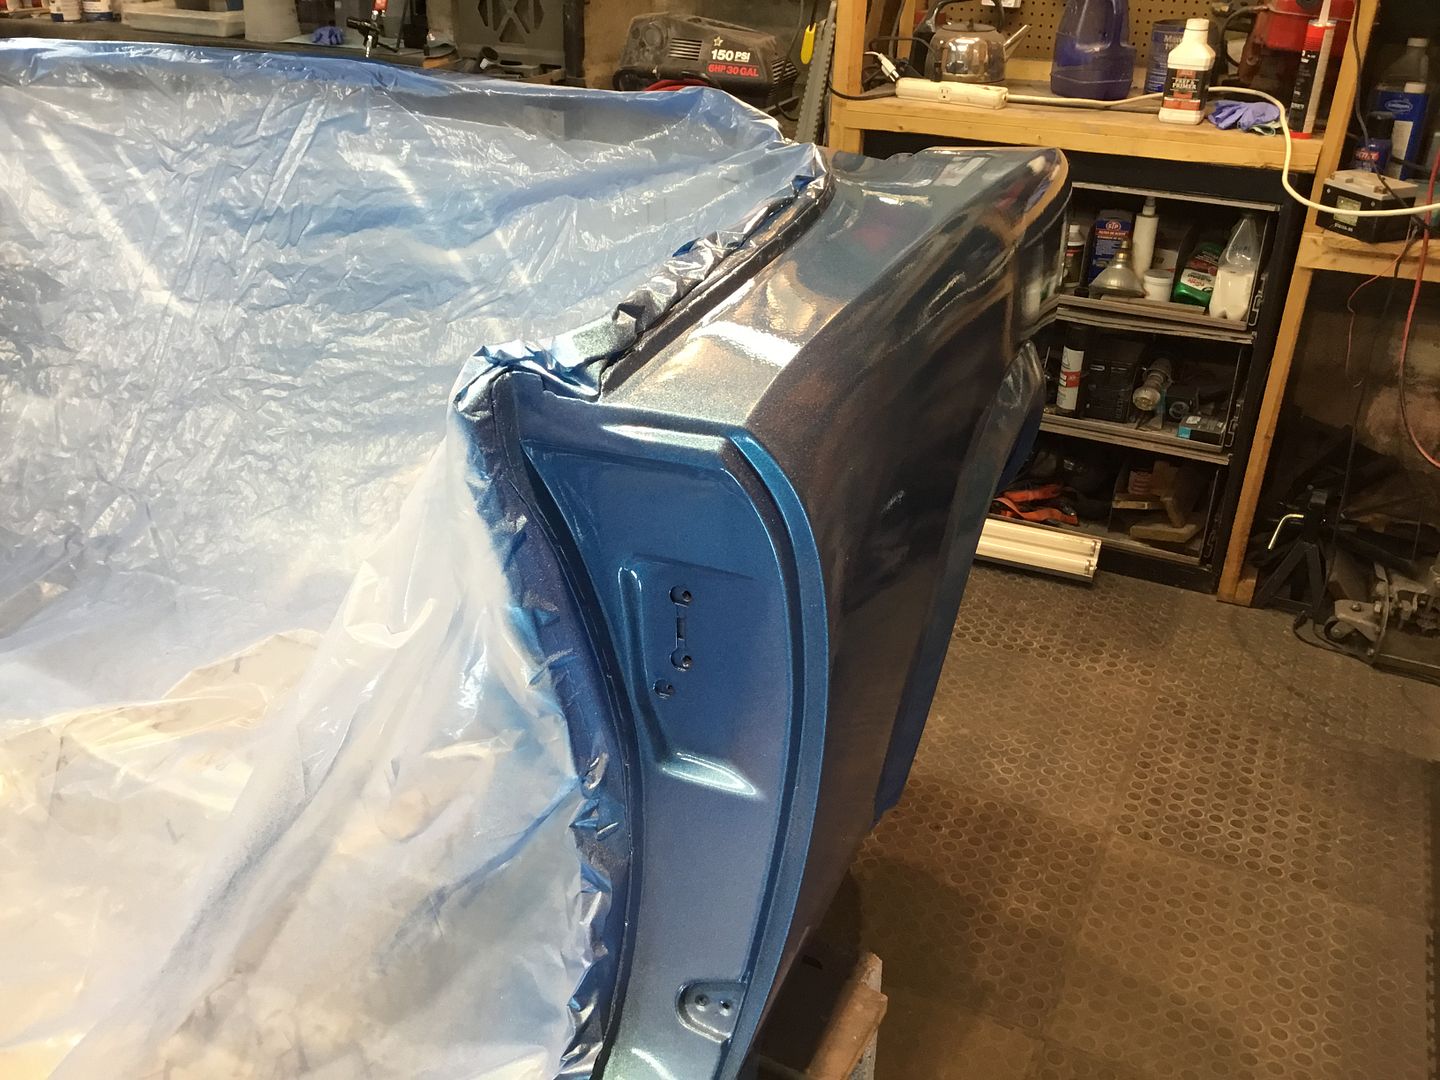
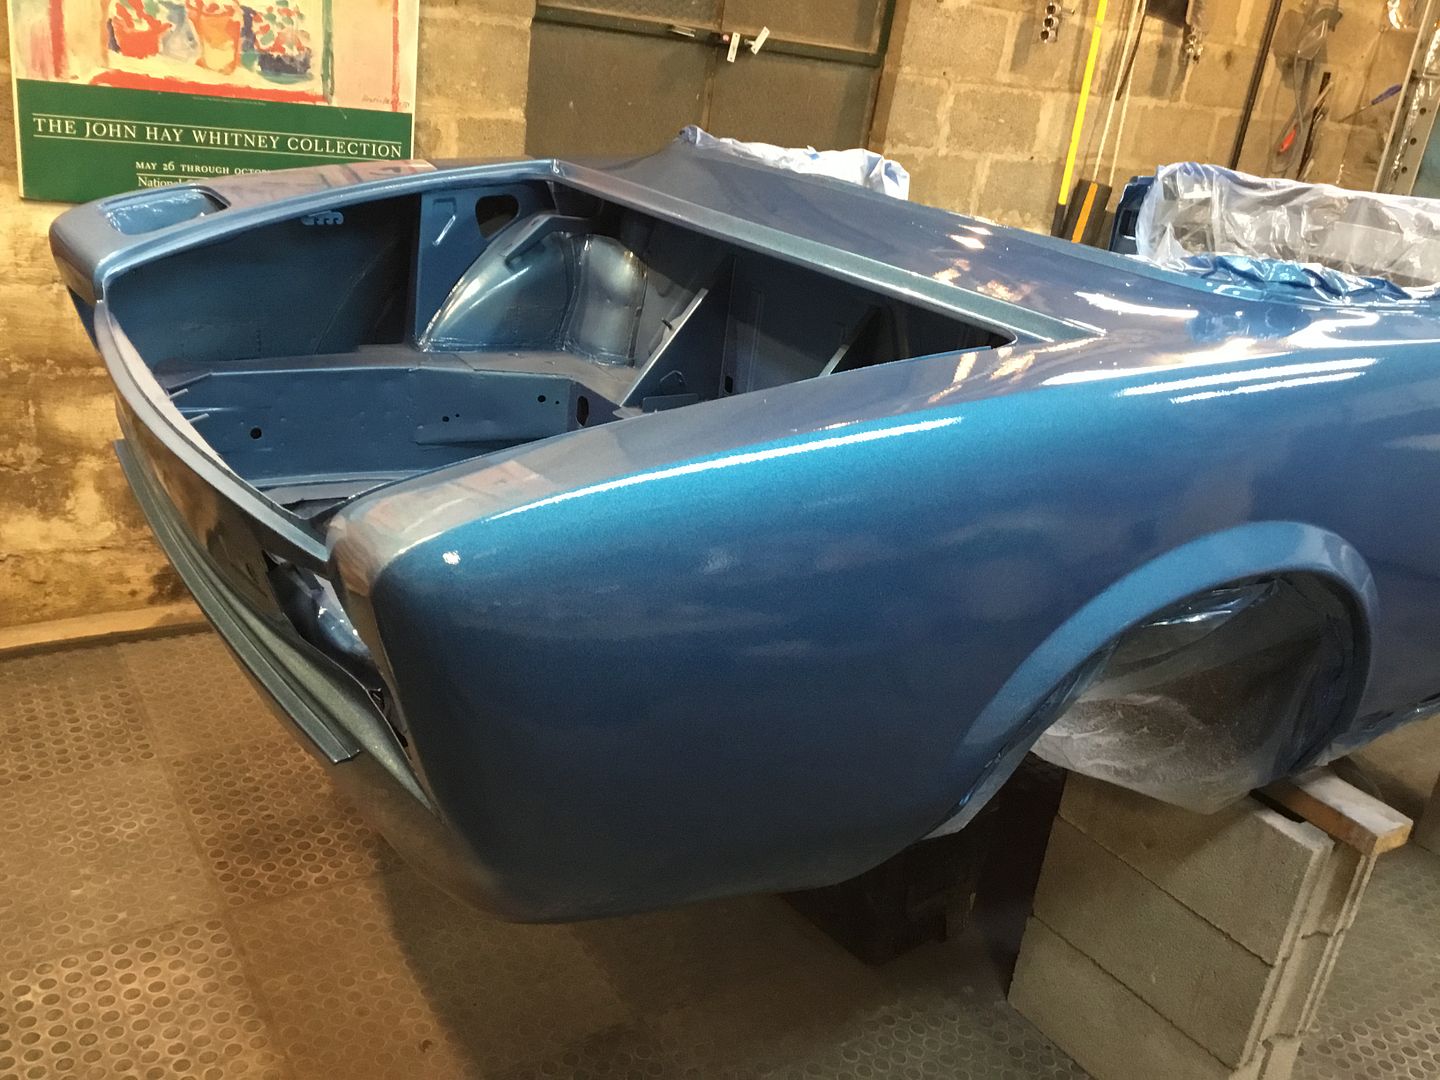
what took the longest to paint was all the nooks and crannies you cant see
Last week I laid on the primer surfacer then blocked it on Friday.
Saturday and Sunday I layed on the base-coat and then the clear coat. Just have to wet block the clear coat and lay the final clear coat then its done!
I did then engine bay and the trunk first. the florescent lights play with the photos so you don't really see the metallic blue that well. this is the base coat


here you can see the blue better in the sunlight


Its kinda hard to take decent photos of metallic under florescent lights but here is the clear coat application the photos do not do it justice


what took the longest to paint was all the nooks and crannies you cant see
-
spider2081
- Patron 2024
- Posts: 3042
- Joined: Fri Jan 27, 2006 11:45 pm
- Your car is a: 1981 Spider 2000
- Location: Wallingford,CT
Re: 1980 spider Restoration phase 2
This is w very inspiring and informative post. Thanks for taking the time to share so much information with us. You do beautiful work.