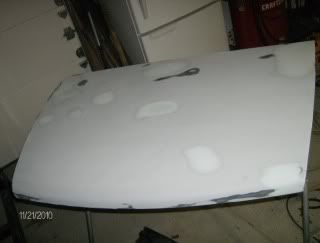
So I want to say I had to do research on how to restore my car. I was set back at least three weeks for a minor mistake of using spray can primer. So I thought I'd help and make this post.
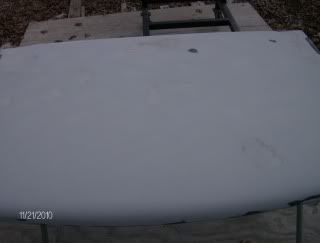
I have already sanded the car, applied primer, did the body filler,and sanded again. Since I am a beginner, I wanted to make sure the car was going to come out good. So I put a high build primer on the car to help smooth it out where filler or other slight imperfections may be. Here you see the trunk which I have sanded and applied a guide coat. I'm using a 11" hard sanding block with 120 grit. You want to start sanding from one end to the next as if you were raking leaves. Hold the sanding block flat. You don't want to put more pressure on either end. Keep the pressure evenly distributed. The sanding pattern you want to use is an "X" pattern. Just do half the "X" until you get to the end. Then sand in the other direction going all the way across till you get to the end again. This would complete the "X". Sand with about a foot stroke. Once you finish this, go back over the same area until you get most of the roughness sanded down. Don't try to make it perfect just yet. You don't want to over sand any areas. Move down to your next area. You want to start sanding again but overlapping a little of the first area you sanded. Sand again using the "X" pattern. Do this until you finish the panel. Now go back to the top and sand up and downward covering two of the areas (or lines) until you get all the way across. When you are done start over on the same area and go side to side. You don't want to sand in the same direction all the time. You don't have to do this in this same manner. As long as you give equal sanding to the lid. You don't want to create a low spot by over sanding just one area. You don't want to push down real hard either. The body panels flex. So don't be in a rush and sand just enough to cut into the panel. Watch on corners too. It is so easy to over sand a corner or edge. Be lighter in those areas.
Once you have the entire panel done and see that it's smooth in most areas. You'll see some low spots. You can do one of two things. Keep sanding or add filler. If you see any bare spots. Then add filler. If you see low spot and your still seeing primer or filler. You could sand a little more. Just don't go down too low.
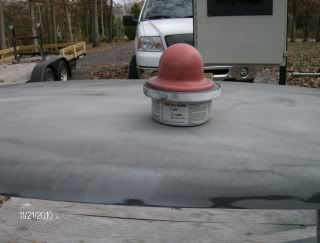
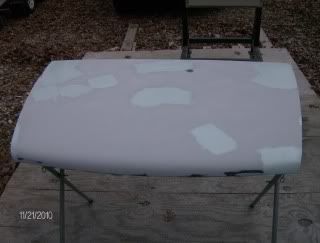
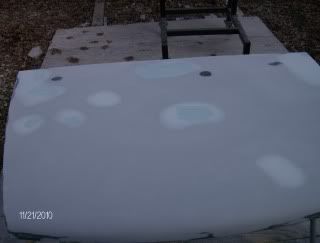
After you feel you have the entire area good. Rub some guide coat on the panel. You can get guide coat in different colors. So make sure you don't prime the car the same color as your guide coat. This costs about $35 but is worth every penny. It will insure your body work is done like a professional. Believe me, they use it. If you have a compressor. It will save you money using sand paper. Every once in a while use your air to blow off the panel and sandpaper. This will keep everything clean and the sand paper will last 5 times longer. I used only one piece to do this panel plus the hood and some other sanding. The paper is still good. Once you rub the guide coat on, blow off the extra. Now start sanding lightly the same way you did in the beginning until the whole lid is sanded. Make sure you hold the block flat. The guide coat will stay in the areas that are low. You'll be shocked what you'll find is low. The trunk and hood are the hardest things to make straight. They flex and are very thin. You can see the low spots here.
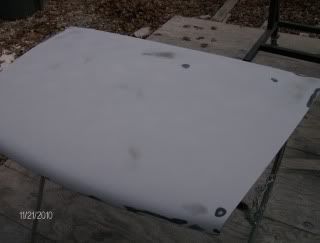
After I find the low spots, I like to take a pencil and circle them to insure I don't miss any. Then I take some 80 grit and rough up the low spot. If you have two low spots near each other. Just go from one to the other with the filler. Don't leave a small gap in between. I like to use nitrile gloves when mixing the filler. You always get that stuff on you. At least I do. It's much easier to pull the glove off and throw it away. I also use some paint sticks from Home Depot to mix my filler. Be sure to fully mix the filler until all of it changes color. After I use the paint stick, I use my spreader to mix it. If you don't scrape it up and turn it, it won't be mixed right and won't harden. You don't want to put fresh filler onto filler that has just been applied either. You want it harden first. Lets just say you put too much hardner in the second batch. Then the outside will harden and the inside won't cure properly. Here is a pic of filler on the lid. When you sand the areas with the filler. You want to stay mostly on top of the area of the filler. If your sanding from the side trying to feather in in right away. Your going to create a low spot outside of the filler. So make you sand on top of the filler until it starts to feather. If you still have a low spot in the middle. Repeat adding filler until the panel is smooth. You want to use a respirator used for sanding. Don't go to Home Depot and buy the masks good for sanding. They don't work. I'm still cleaning out my nose.
Think about safety. You want to be around long enough to enjoy your car once you finally complete it.
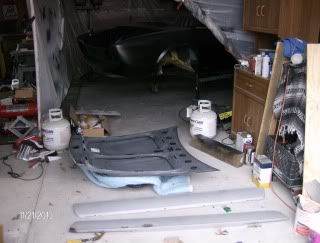
This last pic is where I'm currently at restoring my car.
